Every task in the Spinoco application has a head where you can find the same basic information for each task. Let's walk through the task head step by step.
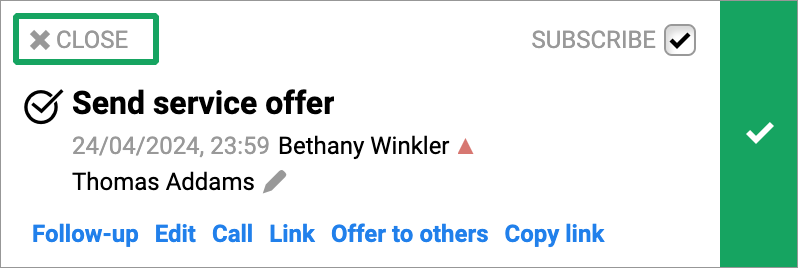
At the top left of the header, you can close the task view - this will cause the task popup to disappear from the right-hand side where it has opened, like so:
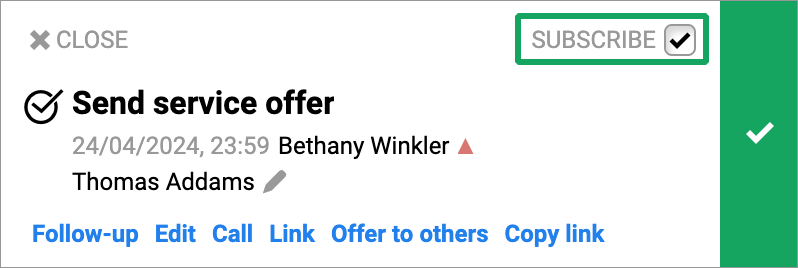
You can also toggle the subscribe button directly in the header. If the checkmark is present, you will receive notifications about everything that happens with the given task. If the field is empty, you will not receive any notifications about the task.
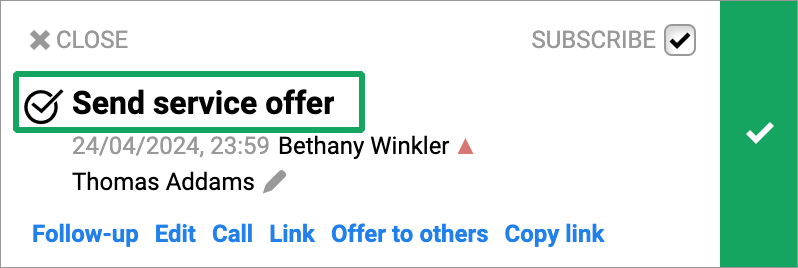
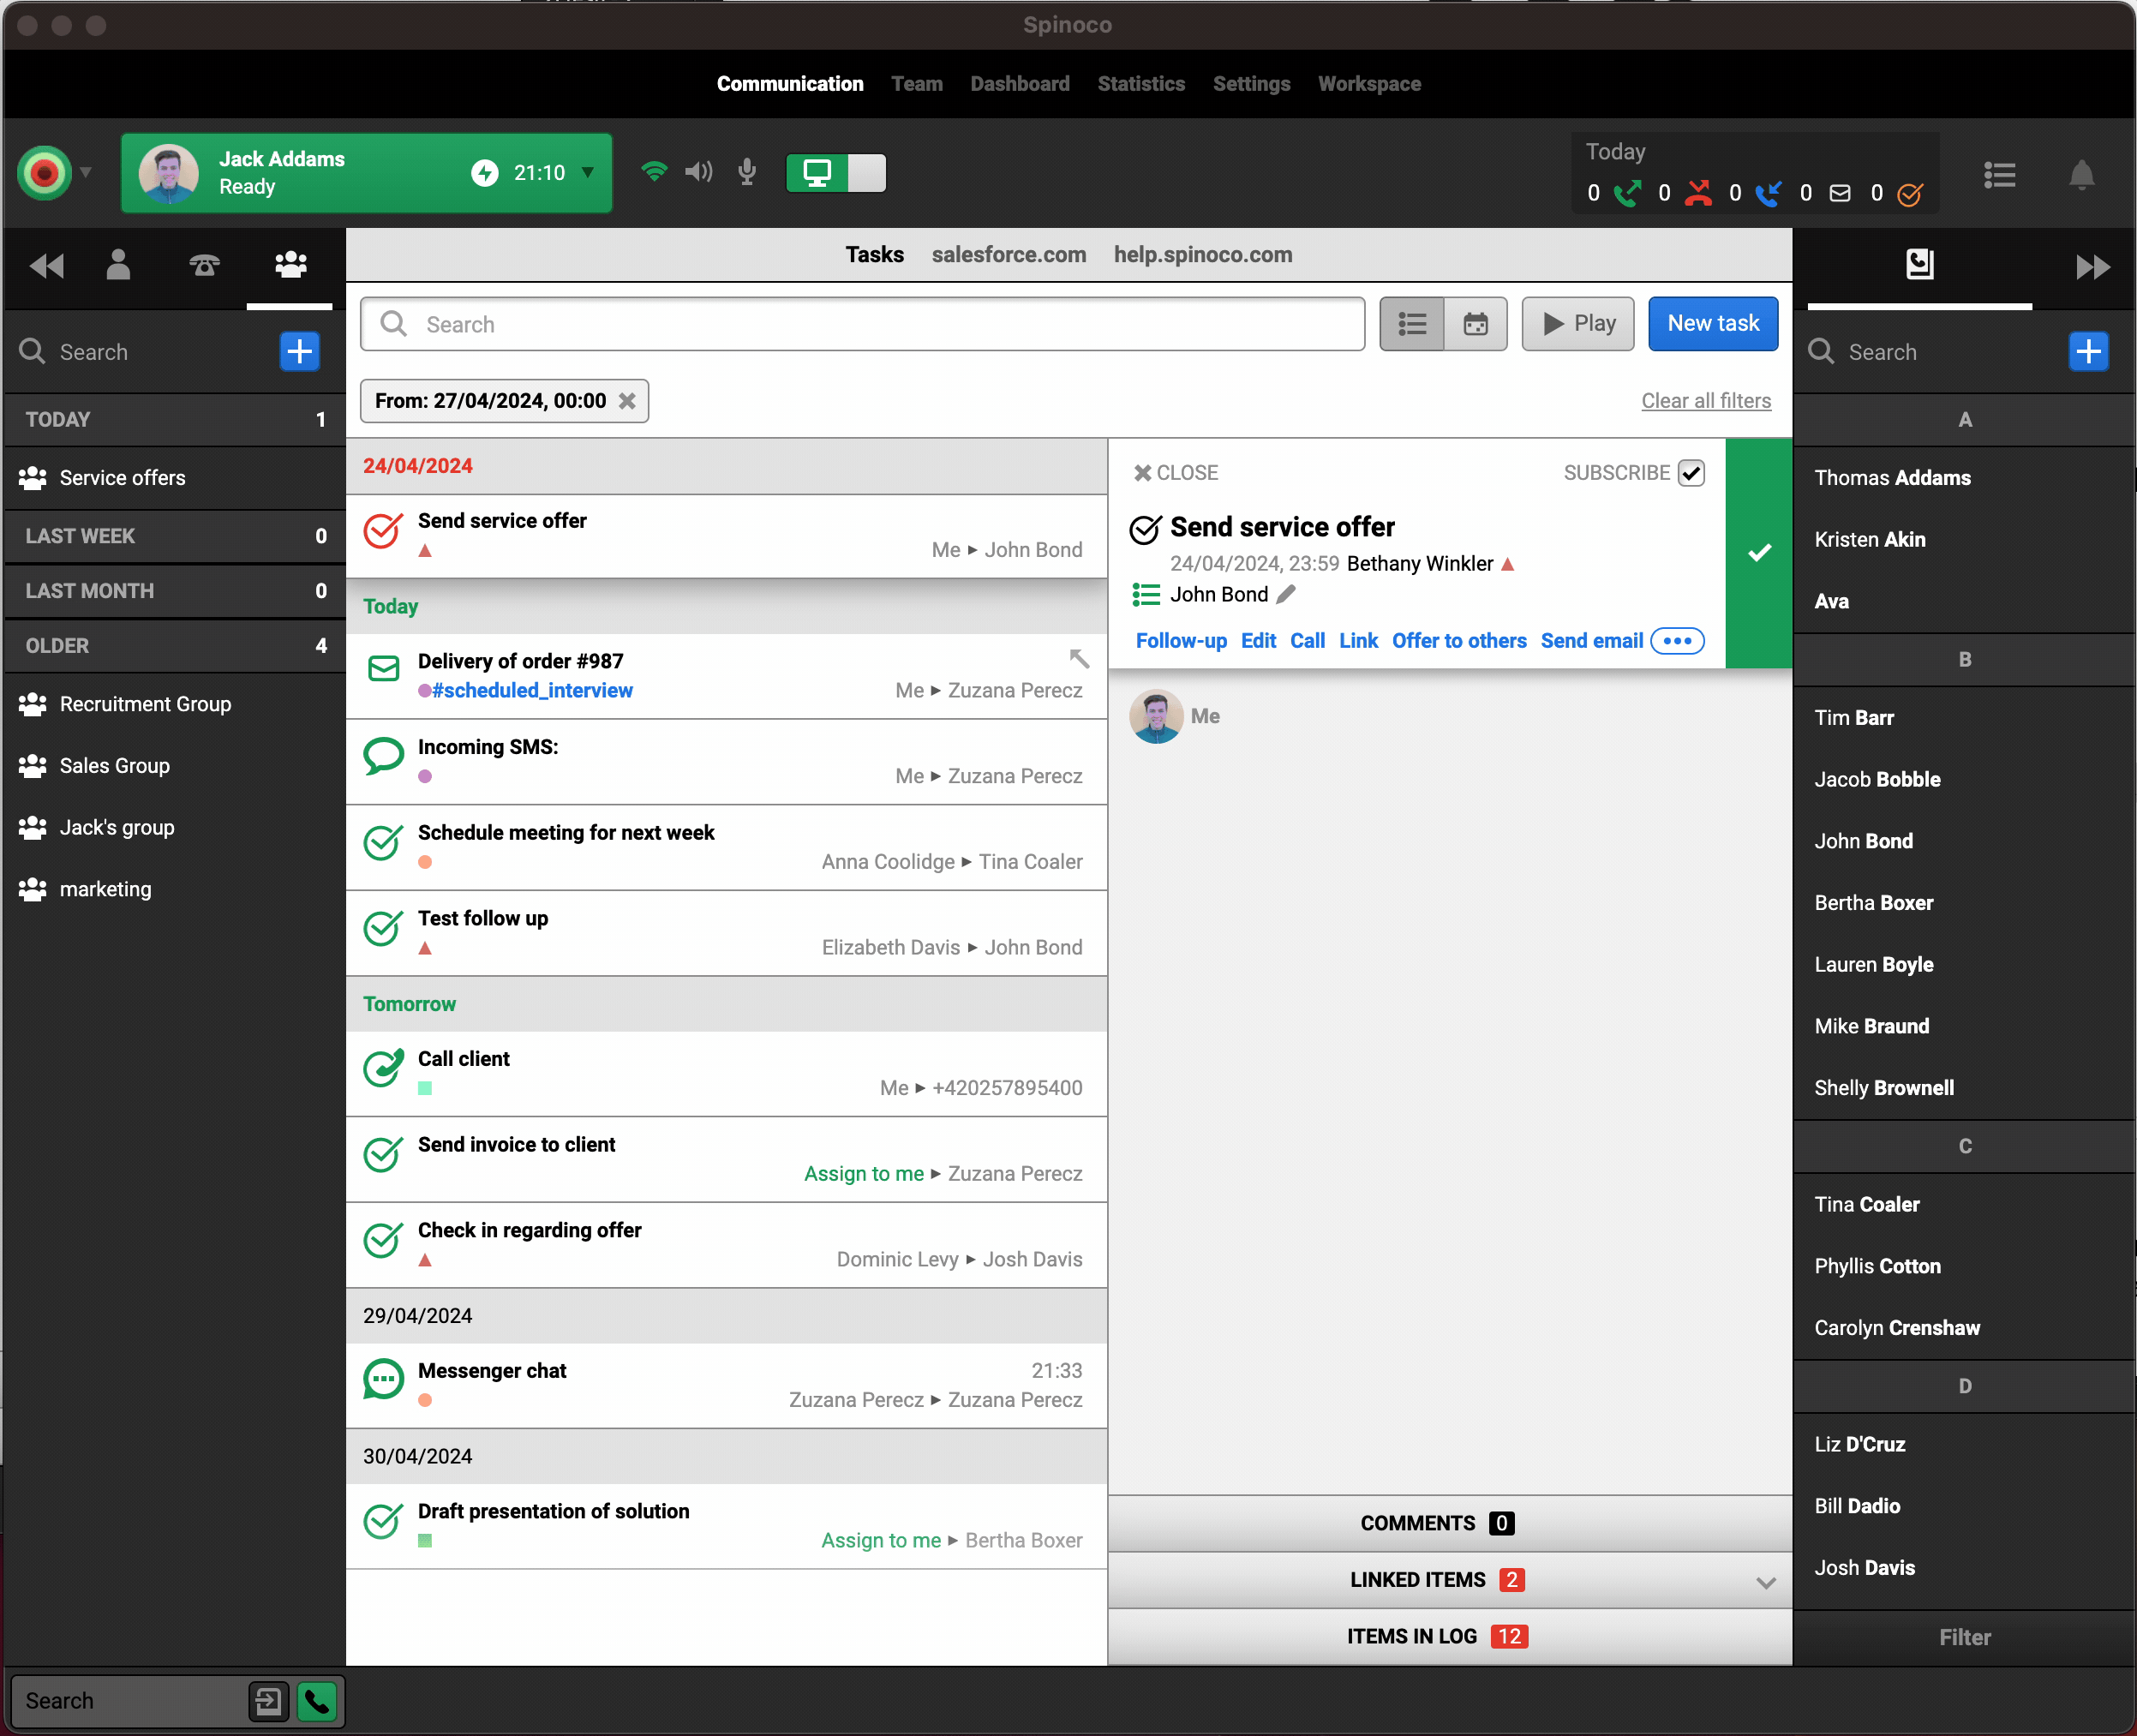
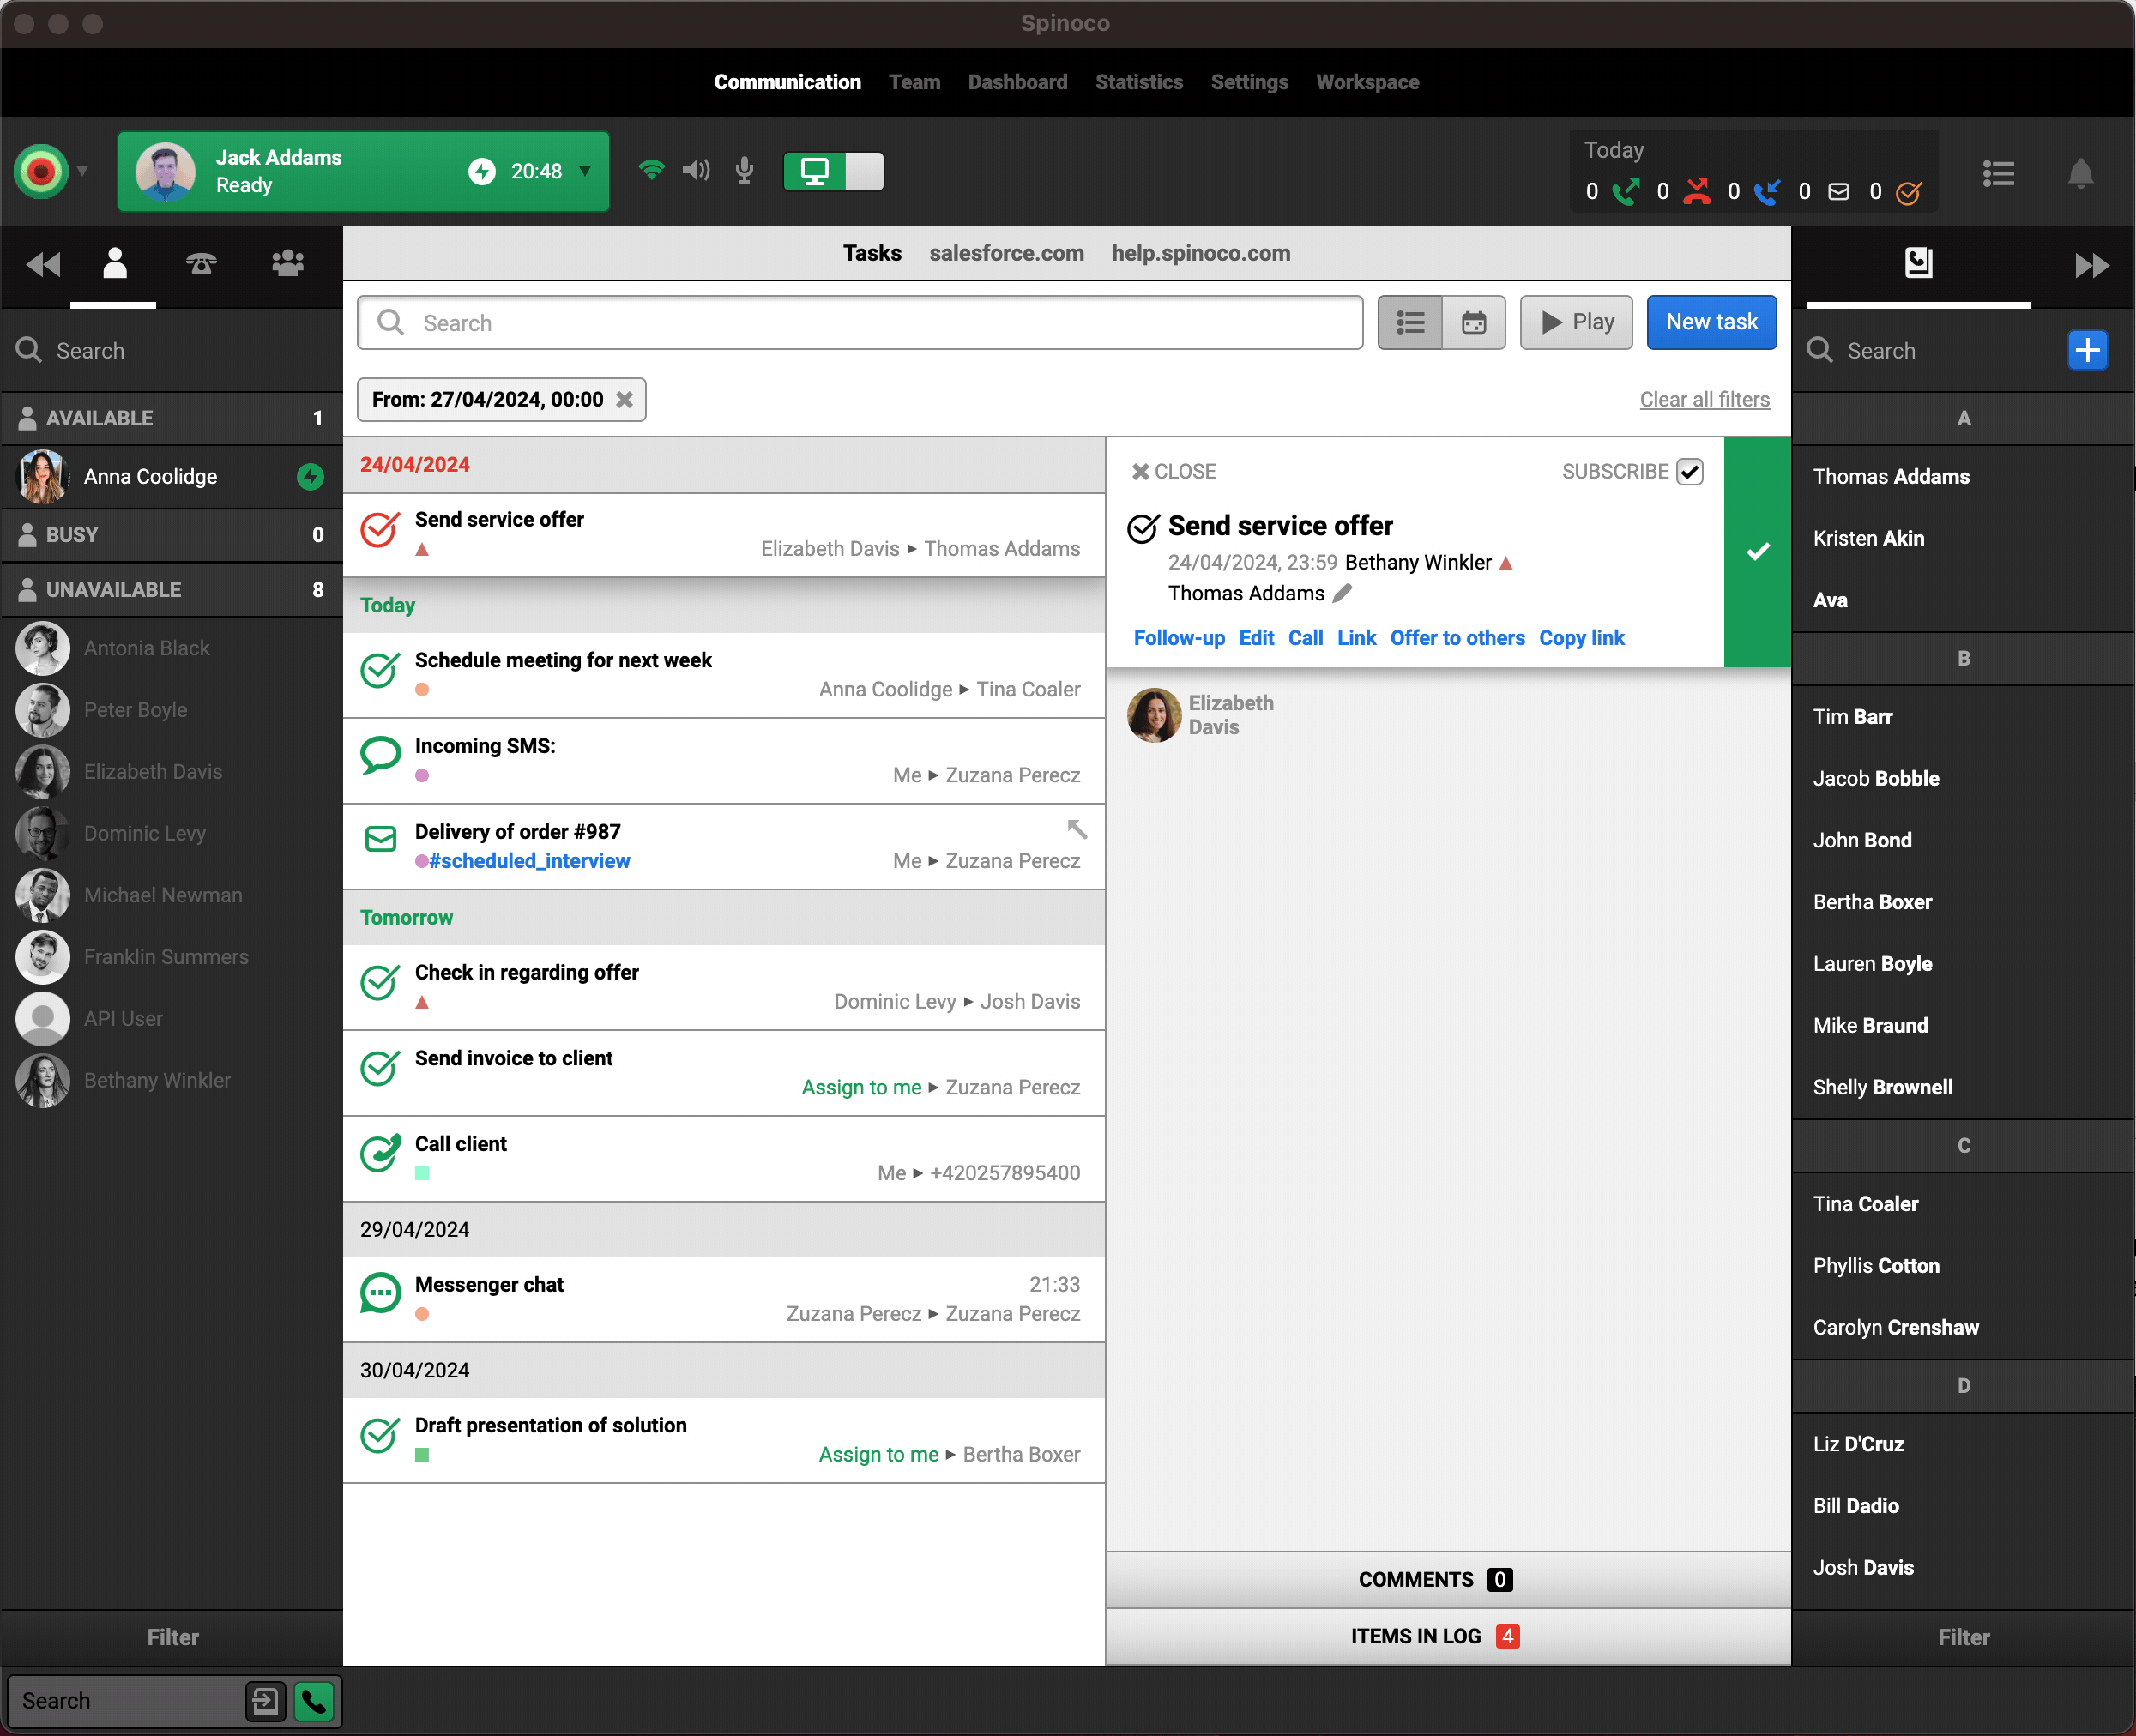
Next up is the task's name, alongside the icon corresponding to the task type. In our example, the icon indicates that the task is of a common task type (i.e., it is not a task created via communication directly), and the task's name is "Send service offer".
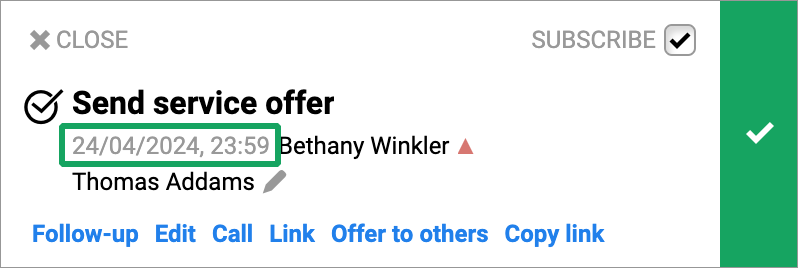
The due date of the task is an important concept—it indicates when the task in question should be completed. You can optionally define either just the date or even the time at which the task should be completed. For tasks that are closed, this indicates when they should have been completed rather than the time of completion.
You can see the user who created the task right next to the due date. In our case, Bethany Winkler created it. If there is no name, the task was created automatically or directly by the customer as they started the communication.
The icon next to the creator's name indicates skills that are associated with the task. You can find out the exact skill by hovering over the icon (or, as it may be, icons) of the skill.

Below is information about the customer for whom the task is being created. The field can be empty if the task is not associated with any customer. If needed, you can use the edit button (grey pencil) to modify the contact associated with the task.

The blue items in the header offer more menu options for the task, and depending on the task's type, they might vary. Let's walk through the options available in our example.
"Follow-up" offers the option to create a task directly linked to the task whose header we are looking at. This can be handy if you need to split a task into several smaller ones for which different team members are responsible or even if you just do not want to forget a particular step.

The "Edit" button allows you to change all the modifiable information about the task, depending on the task type.
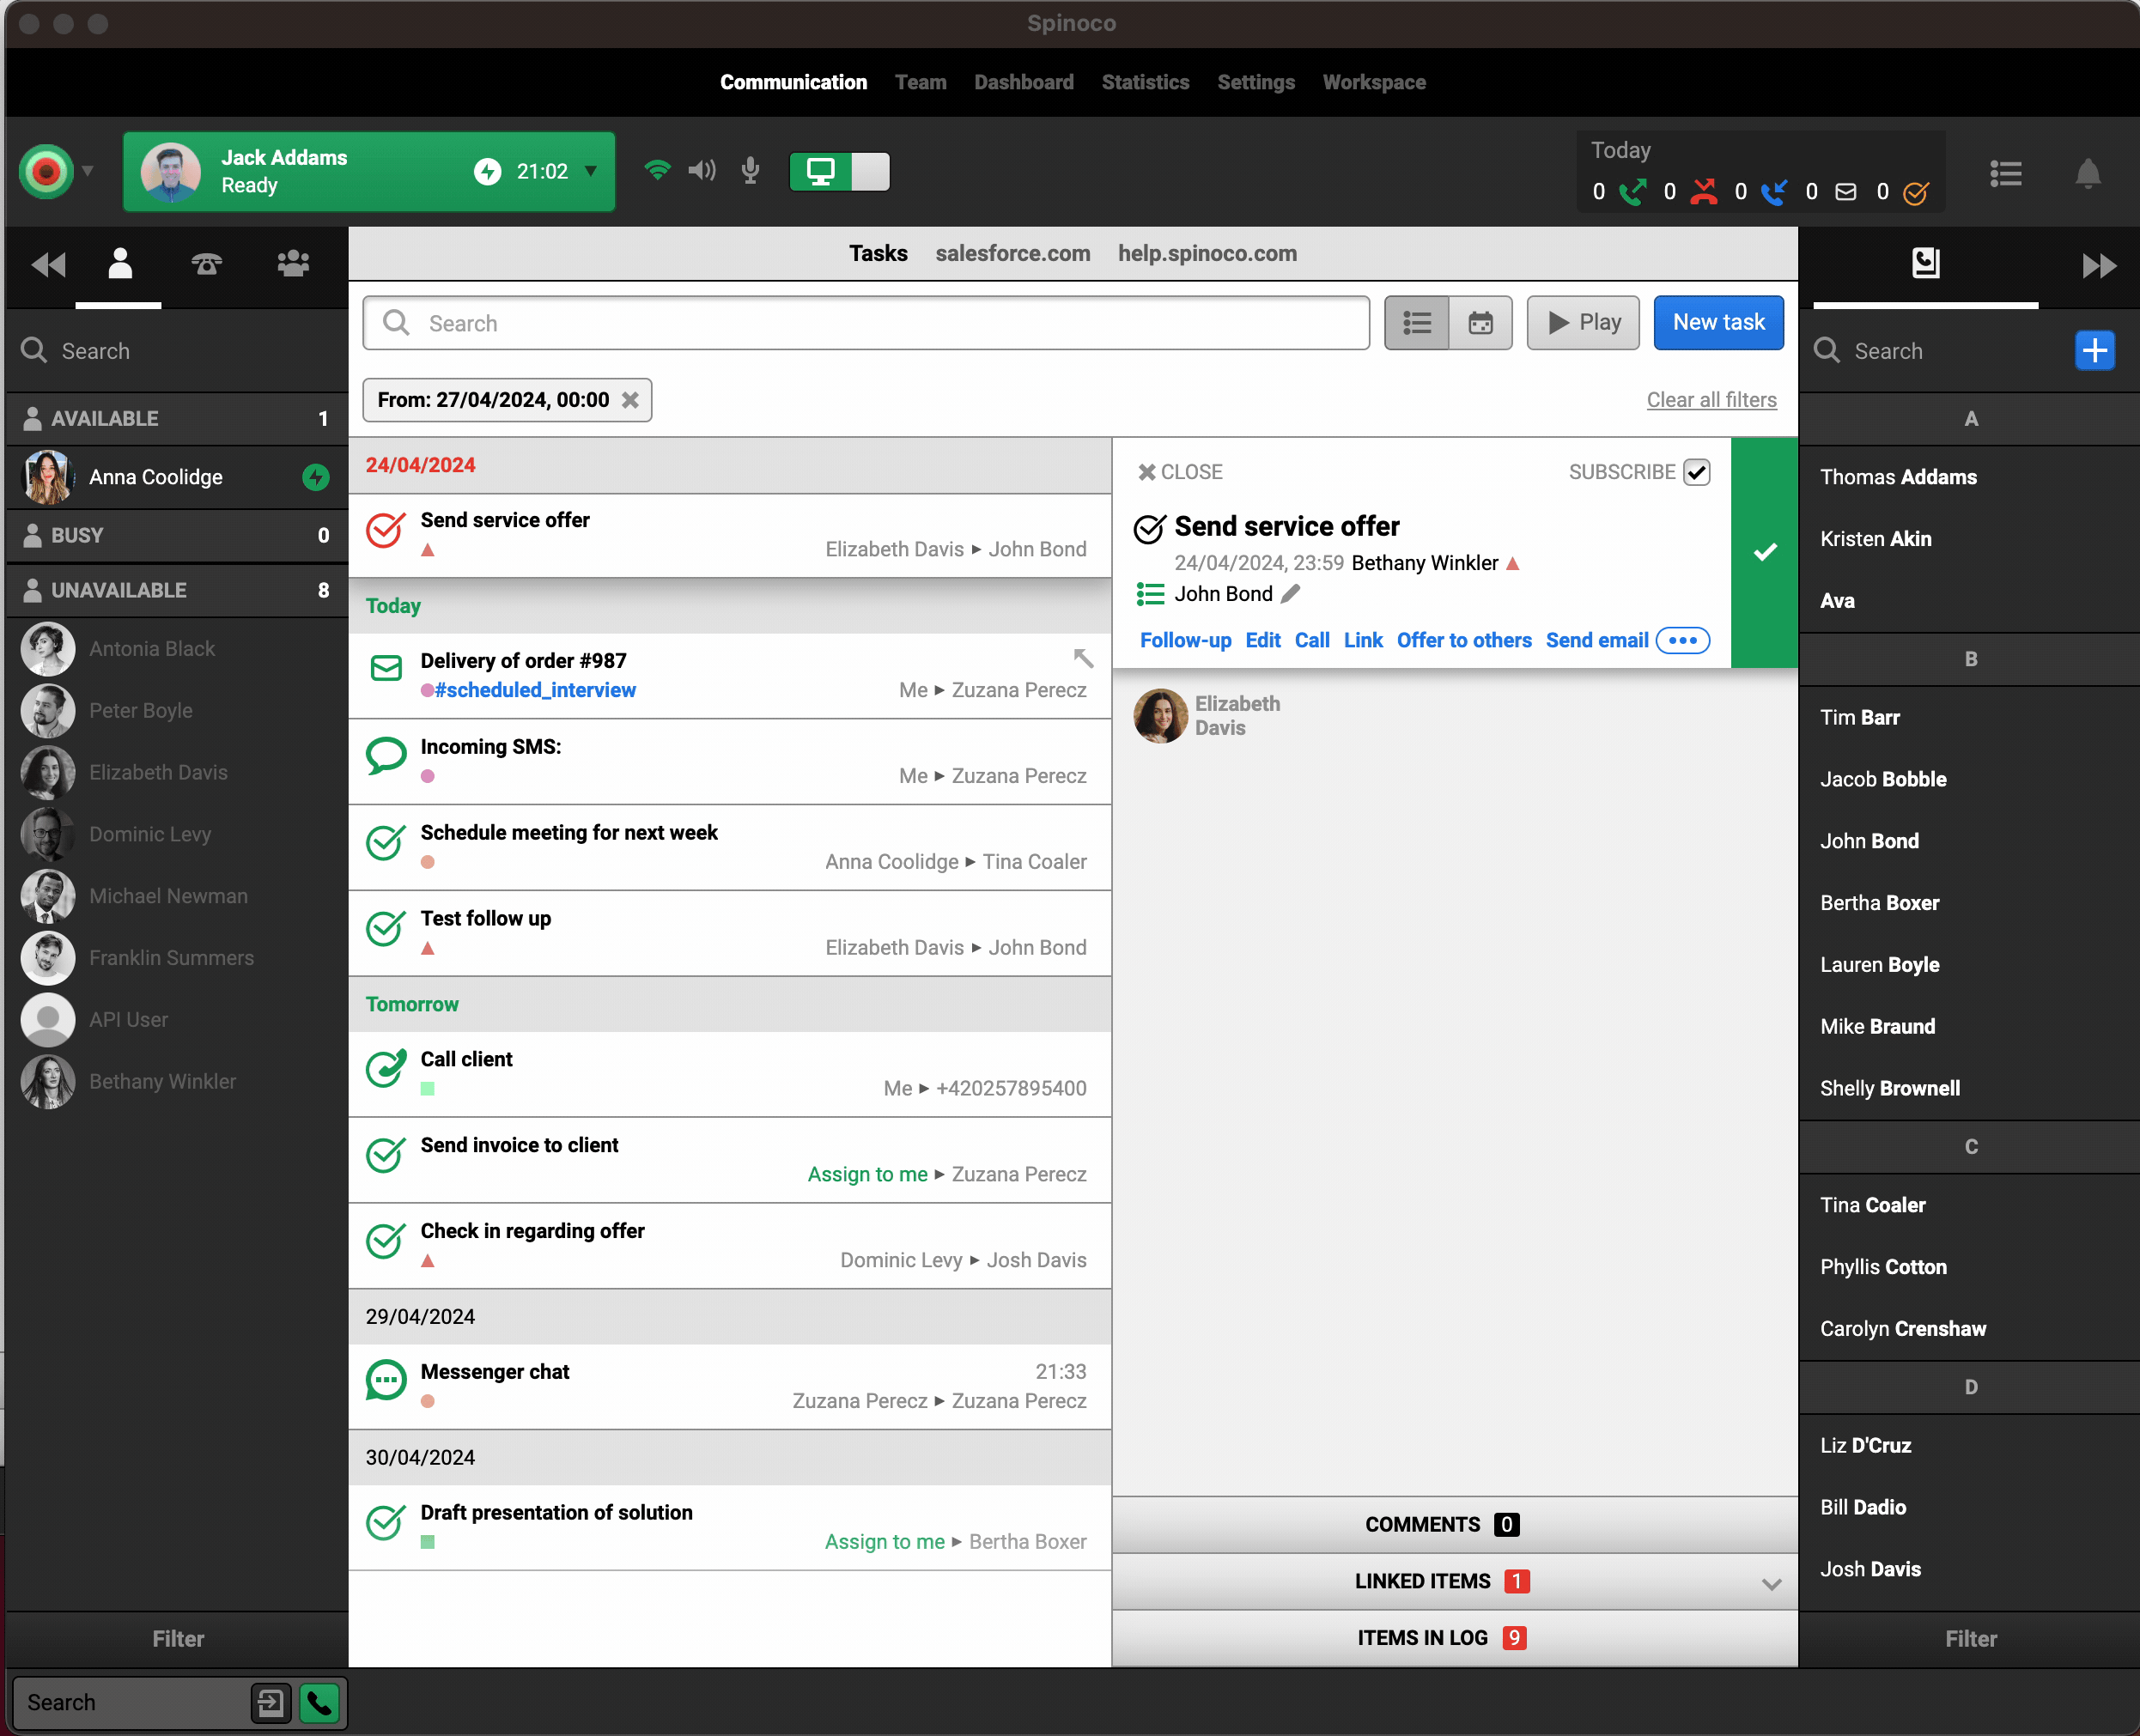
You can use the Call function to call the customer who is associated with the task - this will call their topmost phone number in the address book customer card.
Linking tasks is an important concept, allowing you to link tasks together to keep a single communication line or maintain context. This is how you can, for example, link one task to another:

The "Offer to Others" option is available for tasks that have already been assigned to a colleague. For tasks that have not been assigned, you can "Assign to Me."
The "Send email" option is available wherever the task is linked to a contact with an available email address. You can use it to start a new email thread.
If the task has more options than can fit in the menu, the three dots of the expandable menu will appear. In our example, there is only the option to "Copy link" exists. This allows you to copy a link to the task that your colleagues can then open within the application upon sharing it with them.
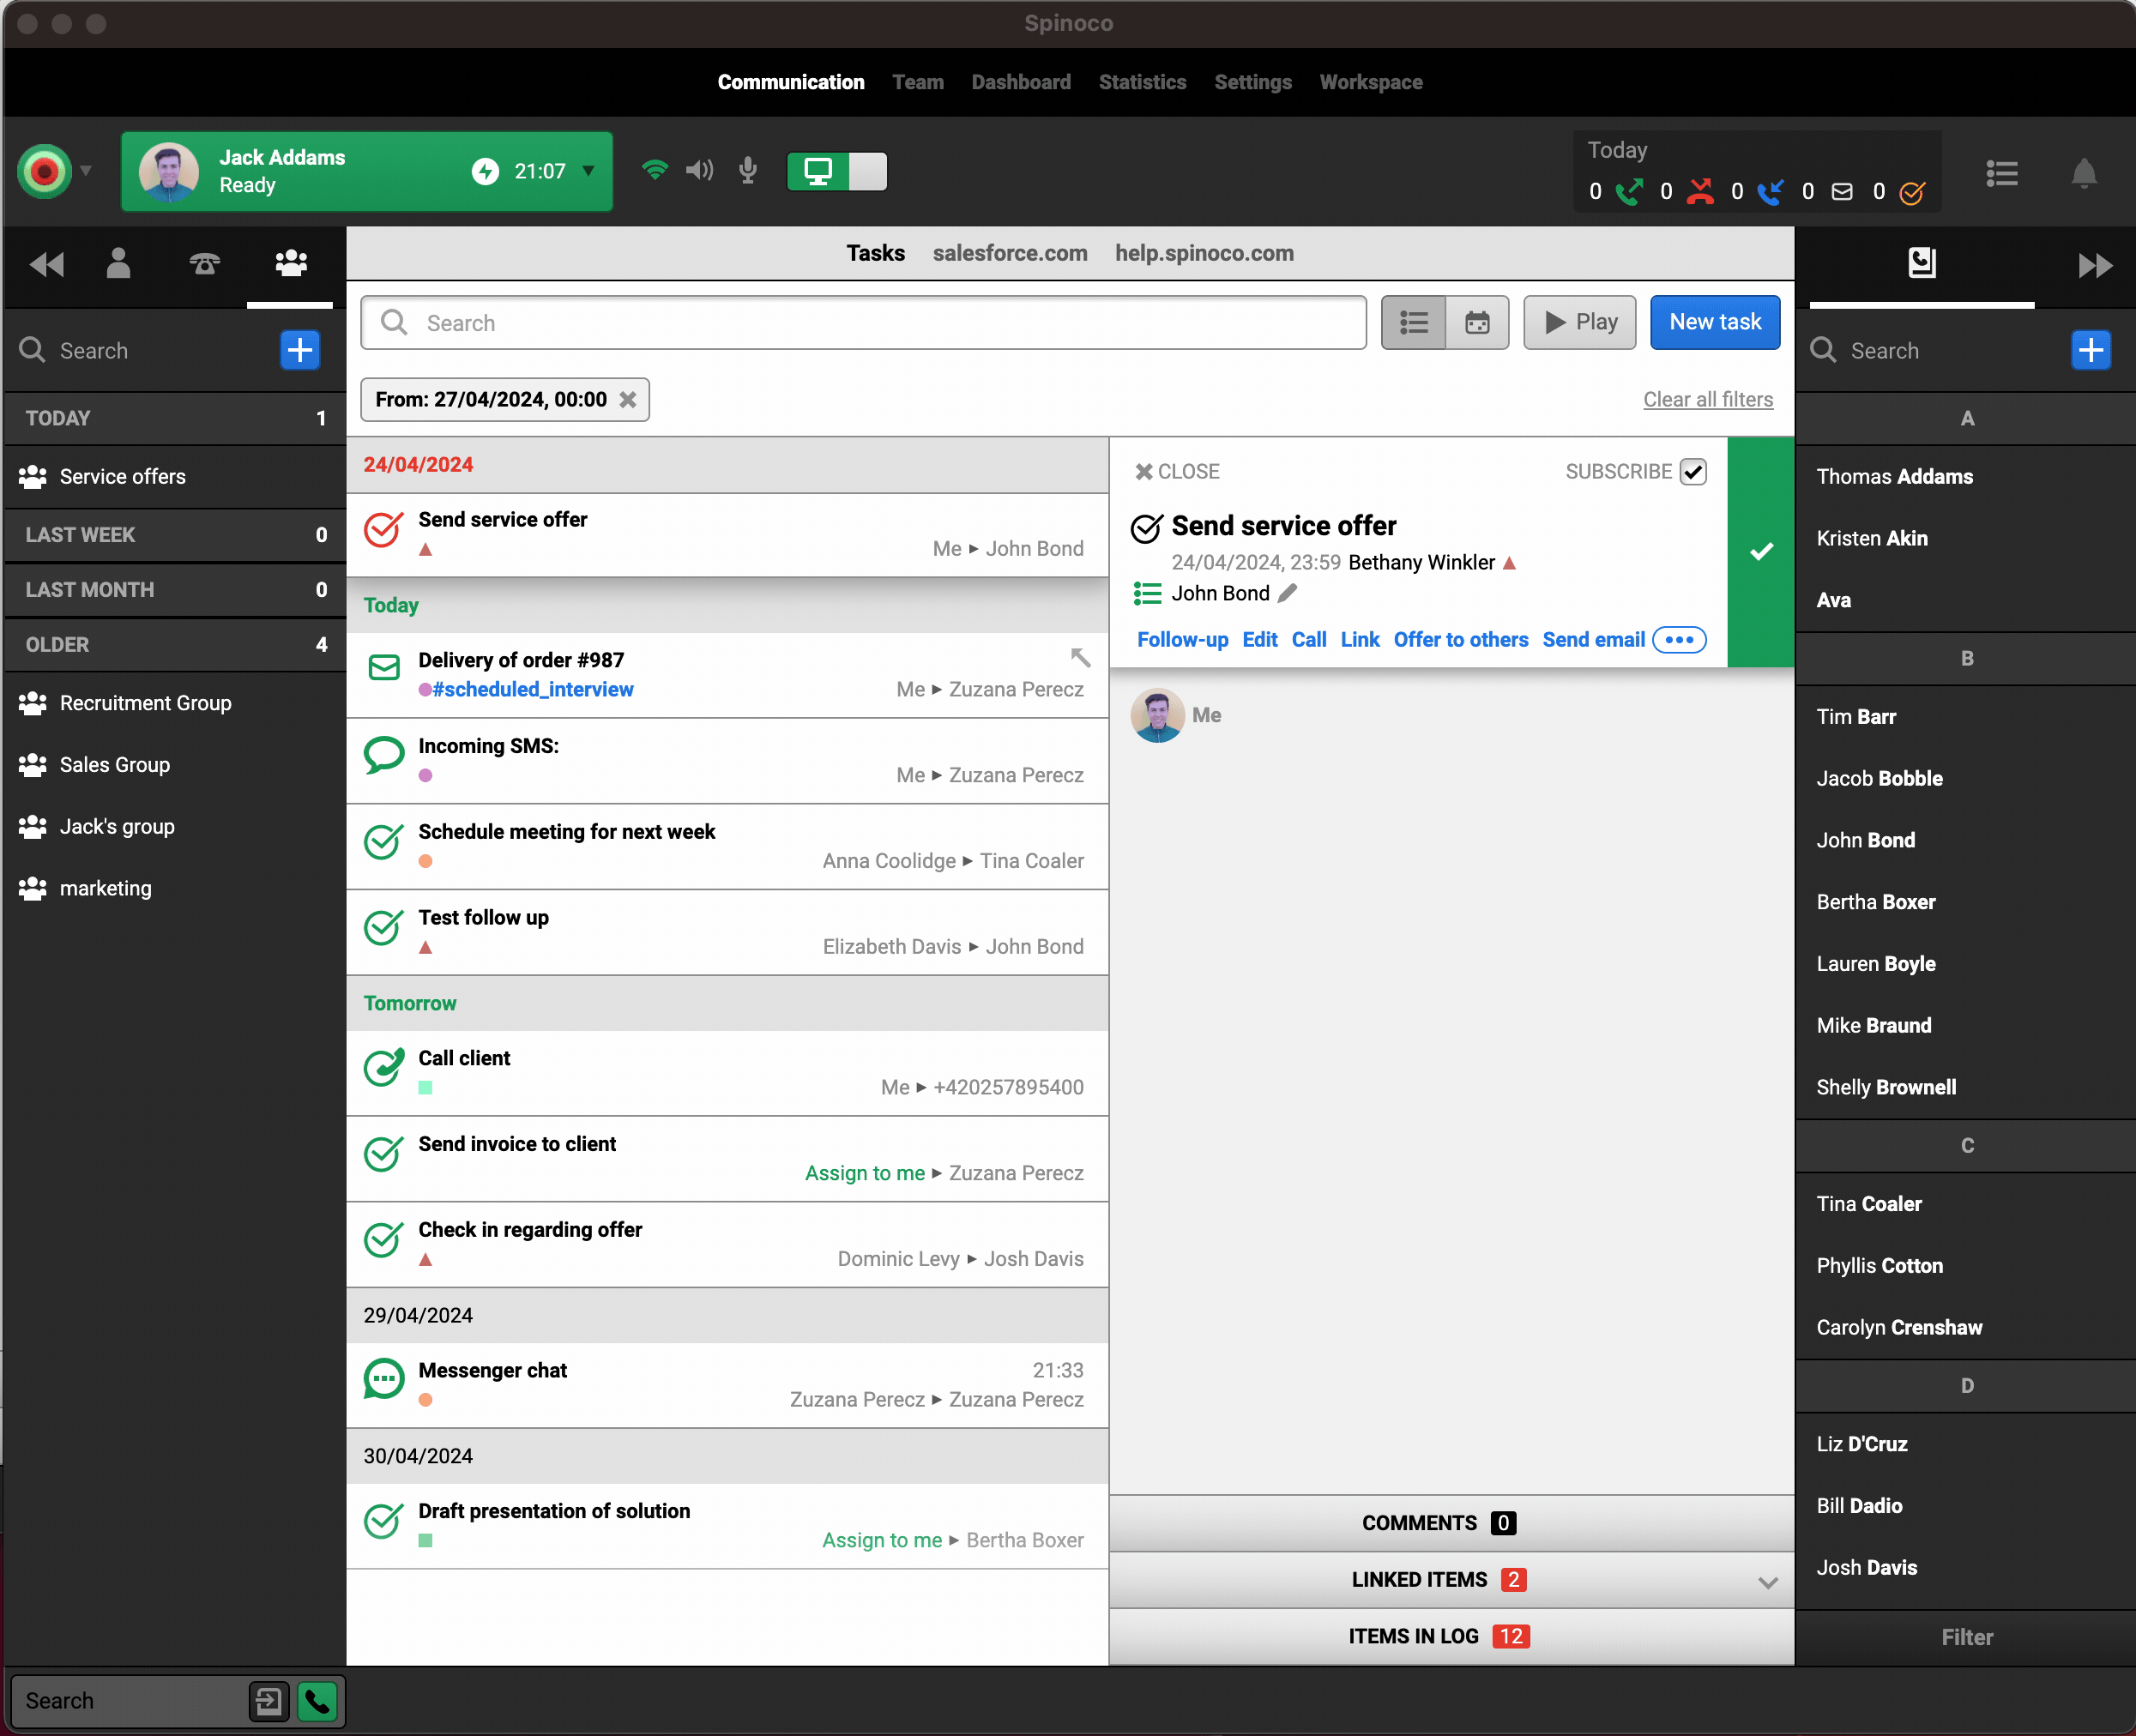
The last important concept within the task header is the ability to close a task. For open tasks, you will see the big green button with a checkmark—you can use this button to close a task. This will mark the task as completed for you and for all your colleagues. The button then becomes grey, and it is impossible to click it—this is how you can identify that the task has been closed.