Contacts help you keep track of people and groups. You can store key details and make sure you always have the right information at your fingertips.
Add a person
Use this guide to learn how to add an individual to your contact list.
- Tap Contacts.
- Tap the plus icon
 .
. - Select Add Person.
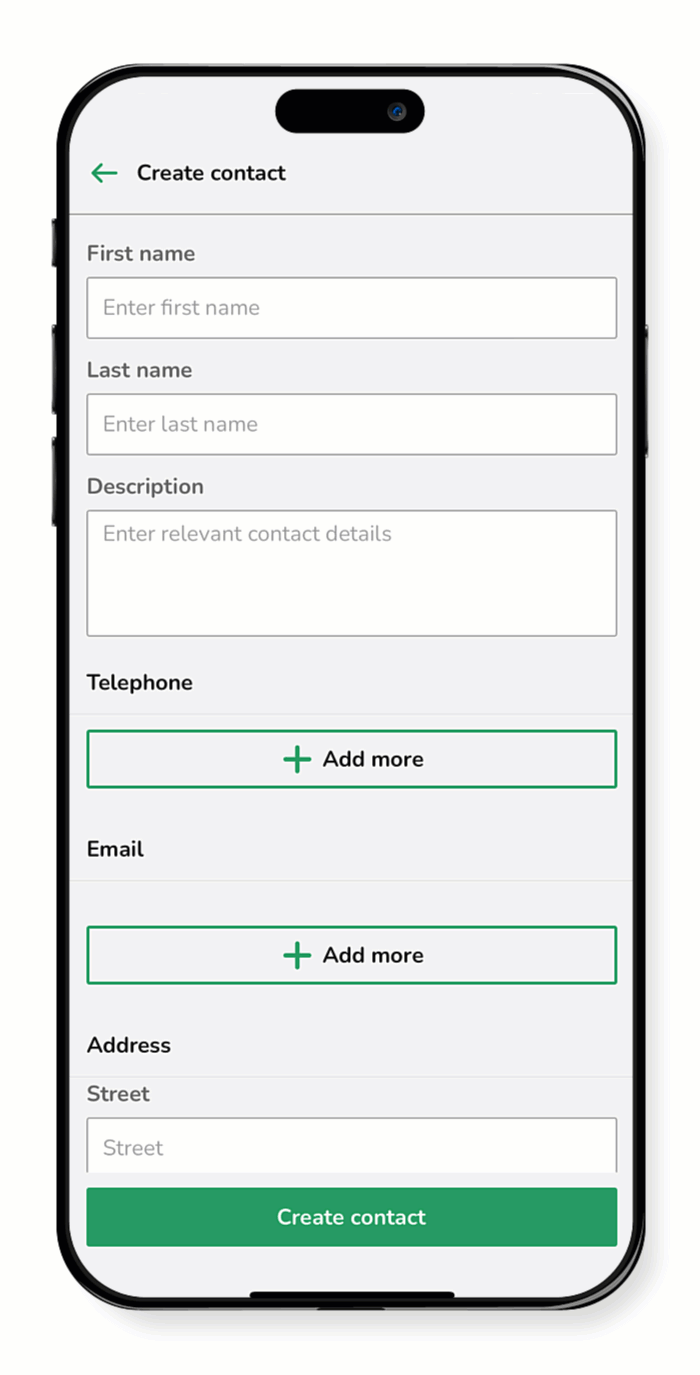
- Enter the contact’s First name and Last name in the corresponding fields.
- In the Description field, add any relevant notes or context about the contact.
- Under Telephone, tap Add more to enter one or more phone numbers.
- Choose the appropriate label from the dropdown: Mobile, Alternate, Fax, Home, or Landline.
- A green check mark appears when a field is completed correctly; a red status indicates an error.
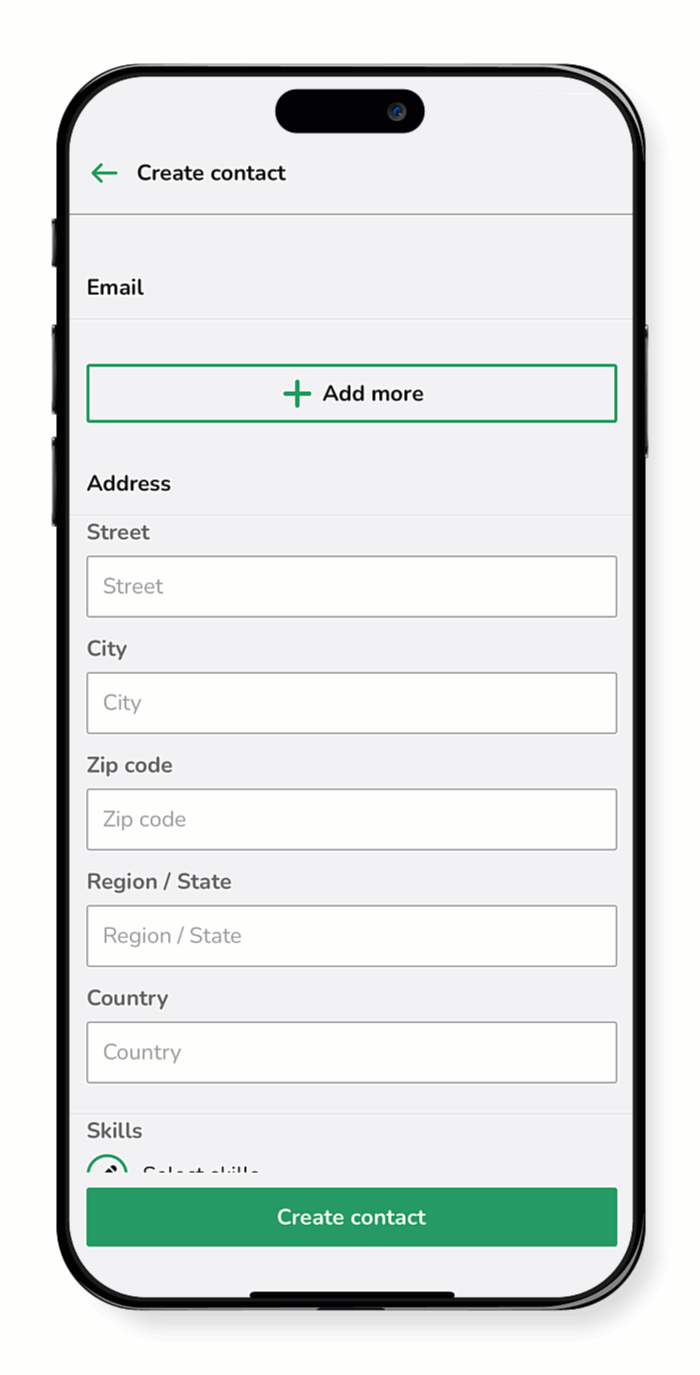
- Under Email, tap Add more to enter one or more email addresses.
- Use the dropdown to select Work or Personal.
- A green check mark confirms a valid email address; a red status indicates an error.
- Enter the contact’s Address in the appropriate fields.
- (Optional) Include additional information:
- Add a Skill - Tap the edit icon
 , select the relevant skill, then tap Confirm.
 - Add Relations - Tap the edit icon , then choose a contact group from the list or use the search box, then tap Confirm.


Add a group
A group is a company or team contact that links multiple individual contacts together. Use this guide to learn how to add a new group to your contact list.
- Tap Contacts.
- Tap the plus icon .
- Select Add Group.
- Enter the Name of the group.
- In the Description field, add any relevant notes or context about the group.
- Under Telephone, tap Add more to enter one or more phone numbers.
- Choose the appropriate label from the dropdown: Mobile, Alternate, Fax, Home, or Landline.
- A green check mark appears when a field is completed correctly; a red status indicates an error.
- Under Email, tap Add more to enter one or more email addresses.
- Use the dropdown to select Work or Personal.
- A green check mark confirms a valid email address; a red status indicates an error.
- Enter the contact’s Address in the appropriate fields.
- (Optional) Include additional information:
- Add a Skill - Tap the edit icon , select the relevant skill, then tap Confirm.
- Add Relations - Tap the edit icon , then choose a contact from the list or use the search box, then tap Confirm.
- When finished, tap Create contact.

.gif)