Configuring the Outlook and Gmail integration as a service provider gives you control to adjust email settings, response times, and task assignments as needed.
Use this guide to learn how to configure the Outlook and/or Gmail integrations as a service provider.
Note: To configure the Outlook and Gmail integration as a service provider, the end-user admin must first authorize the integration for Outlook and/or Gmail.
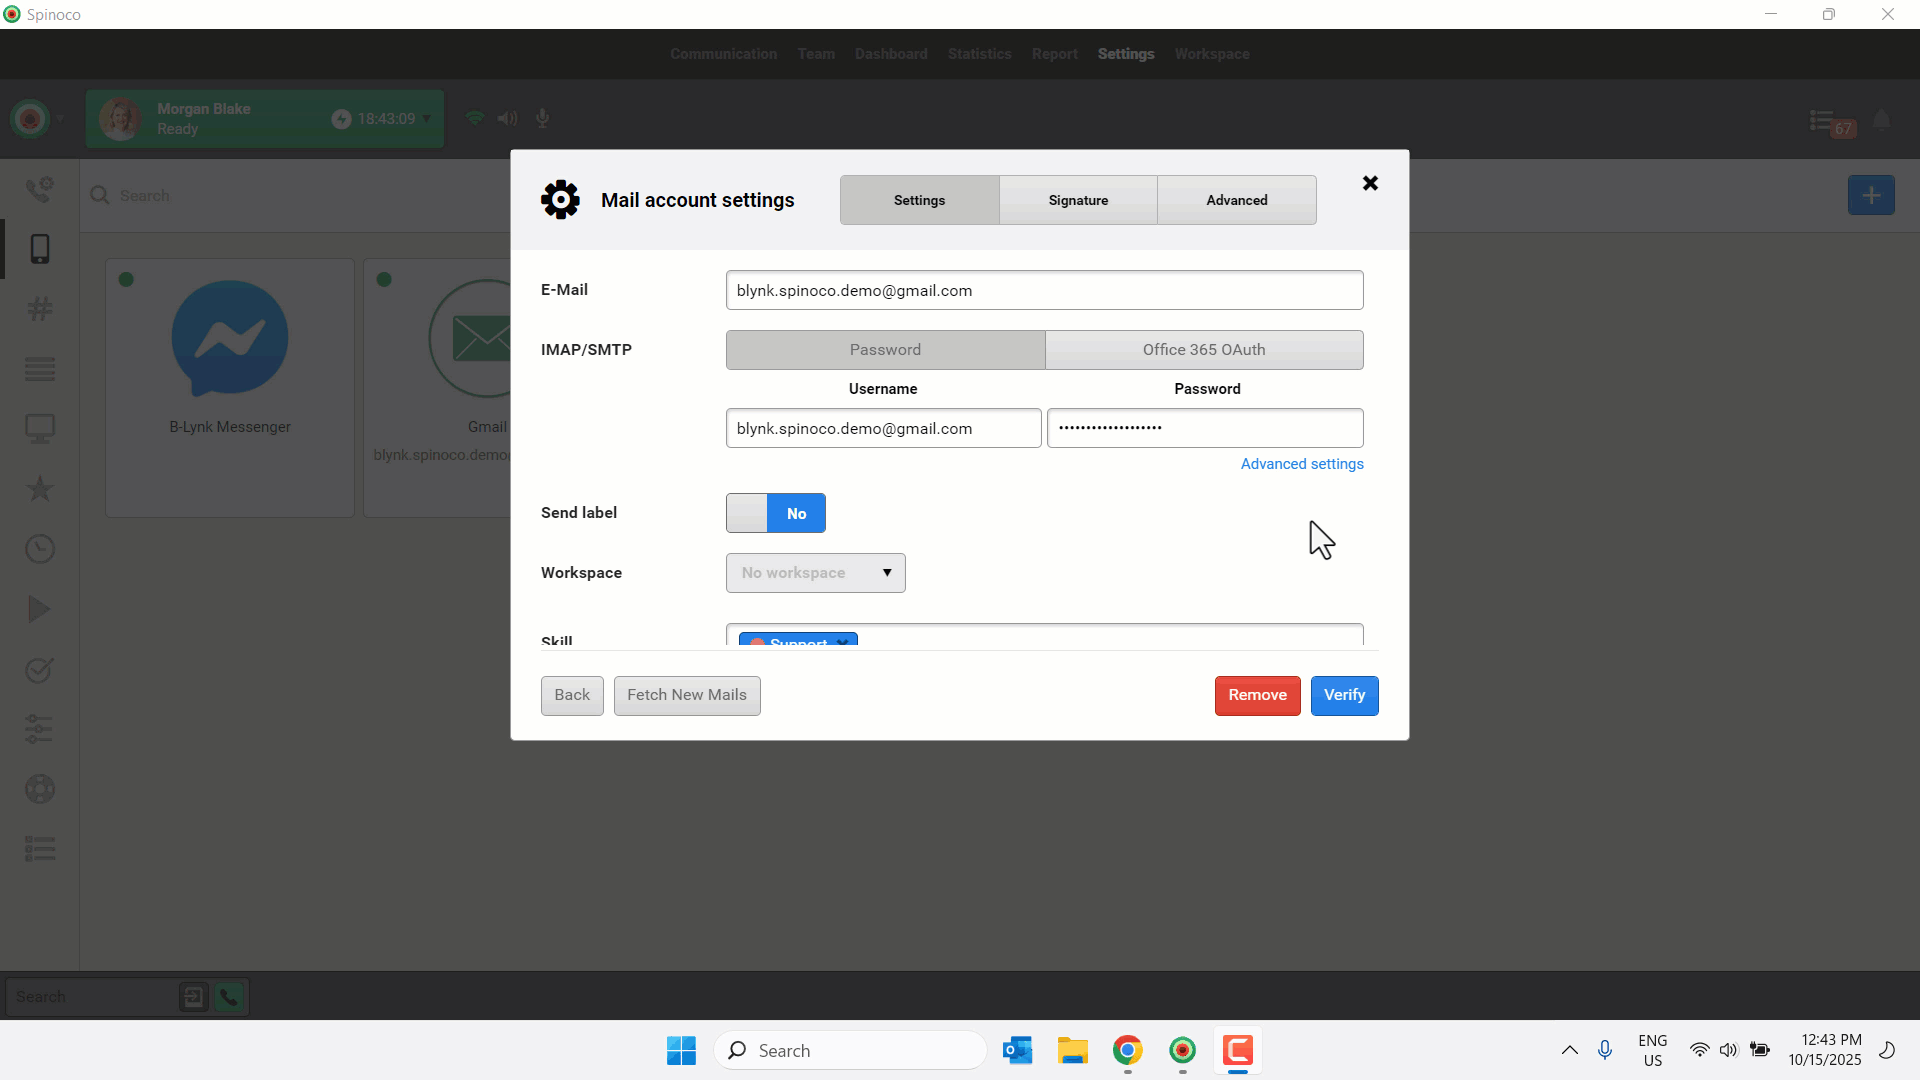
- Click Settings.
- Select the mobile icon.
- Click the edit icon on the applicable integration.
- Click the desired email from the list.
- Modify the following configurations as desired.
- Send label: When configured, the information entered in the field is always used as the sender name (label), regardless of who sent the email.
- Skill: Select the applicable skill for this email address.
- Due within: The amount of time before the application marks an incoming email with no response as overdue.
- Send due within: The amount of time before the system marks a task without a response from the customer as overdue.
- State: Shows when the email was last checked and displays information about whether there are any issues fetching emails.
- Automatically offer tasks assigned to unavailable users: When enabled, conversations assigned to offline or on-break users are automatically offered to other available users.
- Automatically assign tasks to users who responded to them: If enabled, when a user replies to an email conversation, the task is automatically assigned to them.
- Mark multiple active conversations owned by a single contact: If enabled, tasks from multiple active conversations with the same customer are marked with the selected skill.
- Email numbering: Assigns incoming emails a tracking identifier similar to a ticketing system.
- Text: Letter assignment, e.g., CS.
- Number length: The number of digits assigned after the text; 3 would indicate there are three digits after the text, e.g., CS-001.
- Add Contact skills: If enabled, the customer’s assigned skills are automatically applied to their email task.
- When all desired changes are complete, click Verify.