To start sending Feedback to your clients after communication is carried out in Spinoco, you can create Feedback Procedures that will get triggered when you close any communication in Spinoco. Let's look at the simple way you can define these Procedures in Spinoco.
Start by navigating to the Feedback tab in Settings. Before creating a new Feedback Procedure, make sure you have at least one Feedback Form created. If you need to create one, you can do so by following this tutorial. Then, in the Feedback tab, you can start by hitting the blue Plus button to start creating a new Procedure.
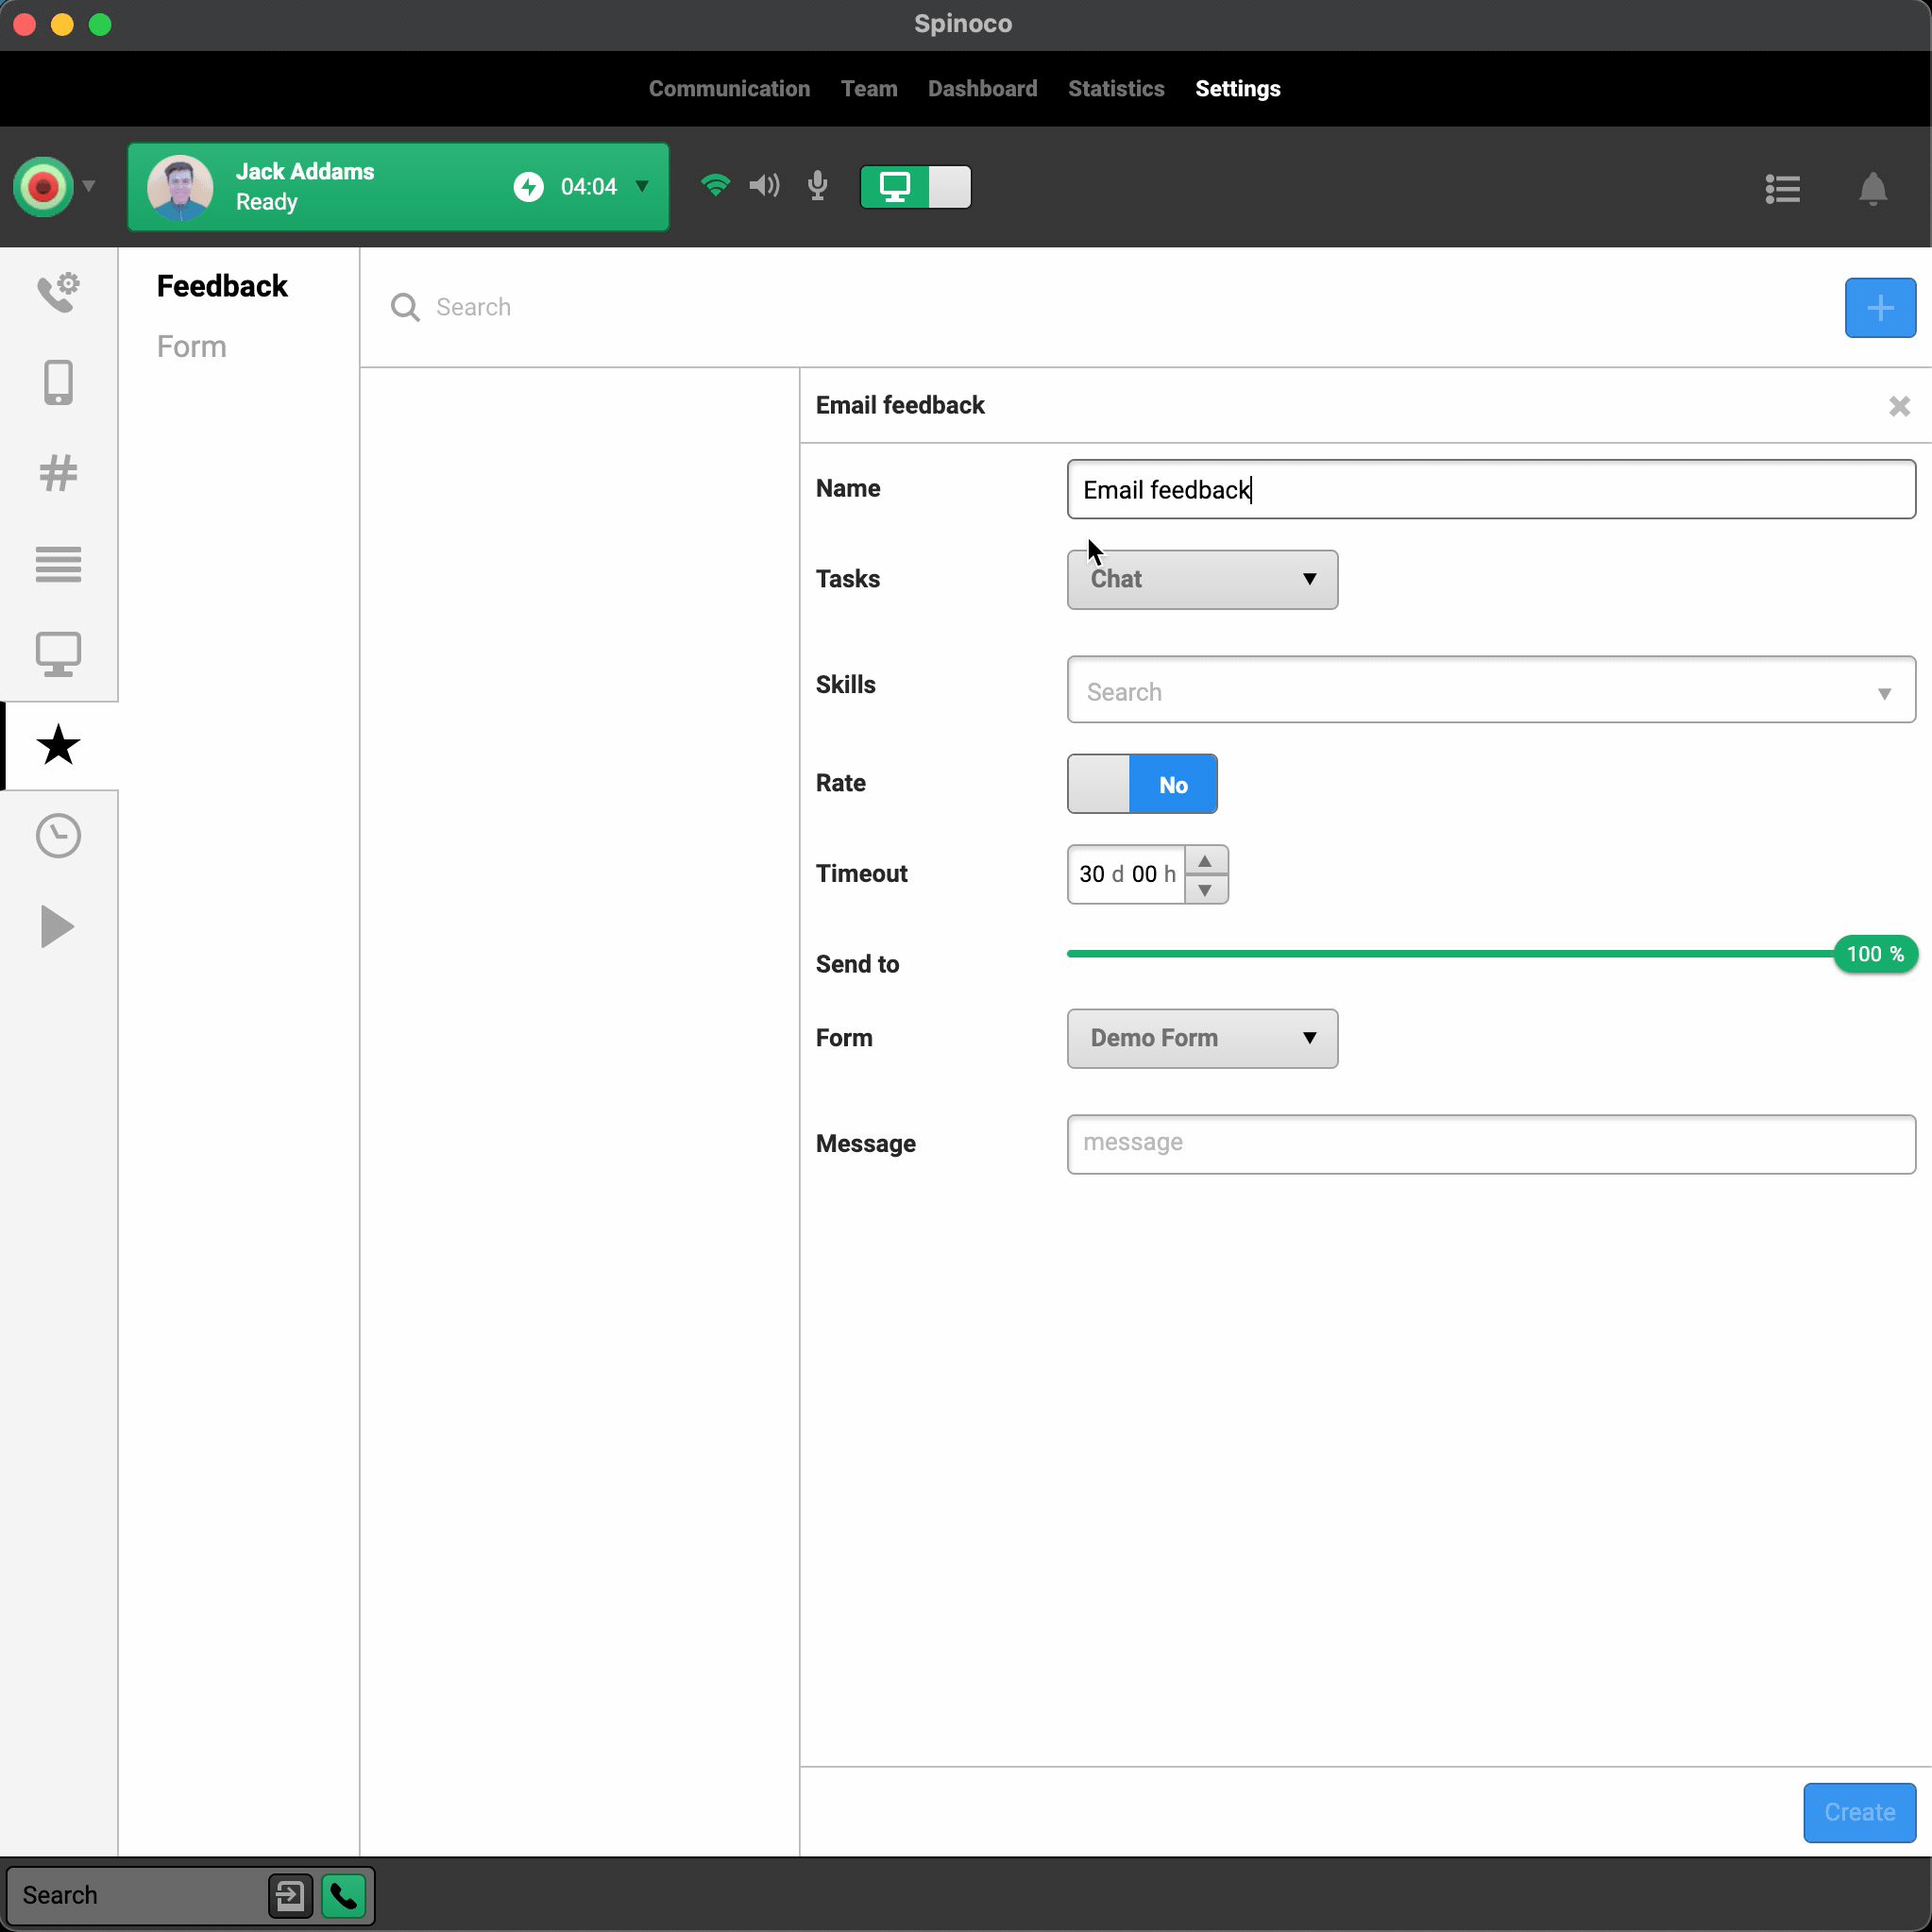
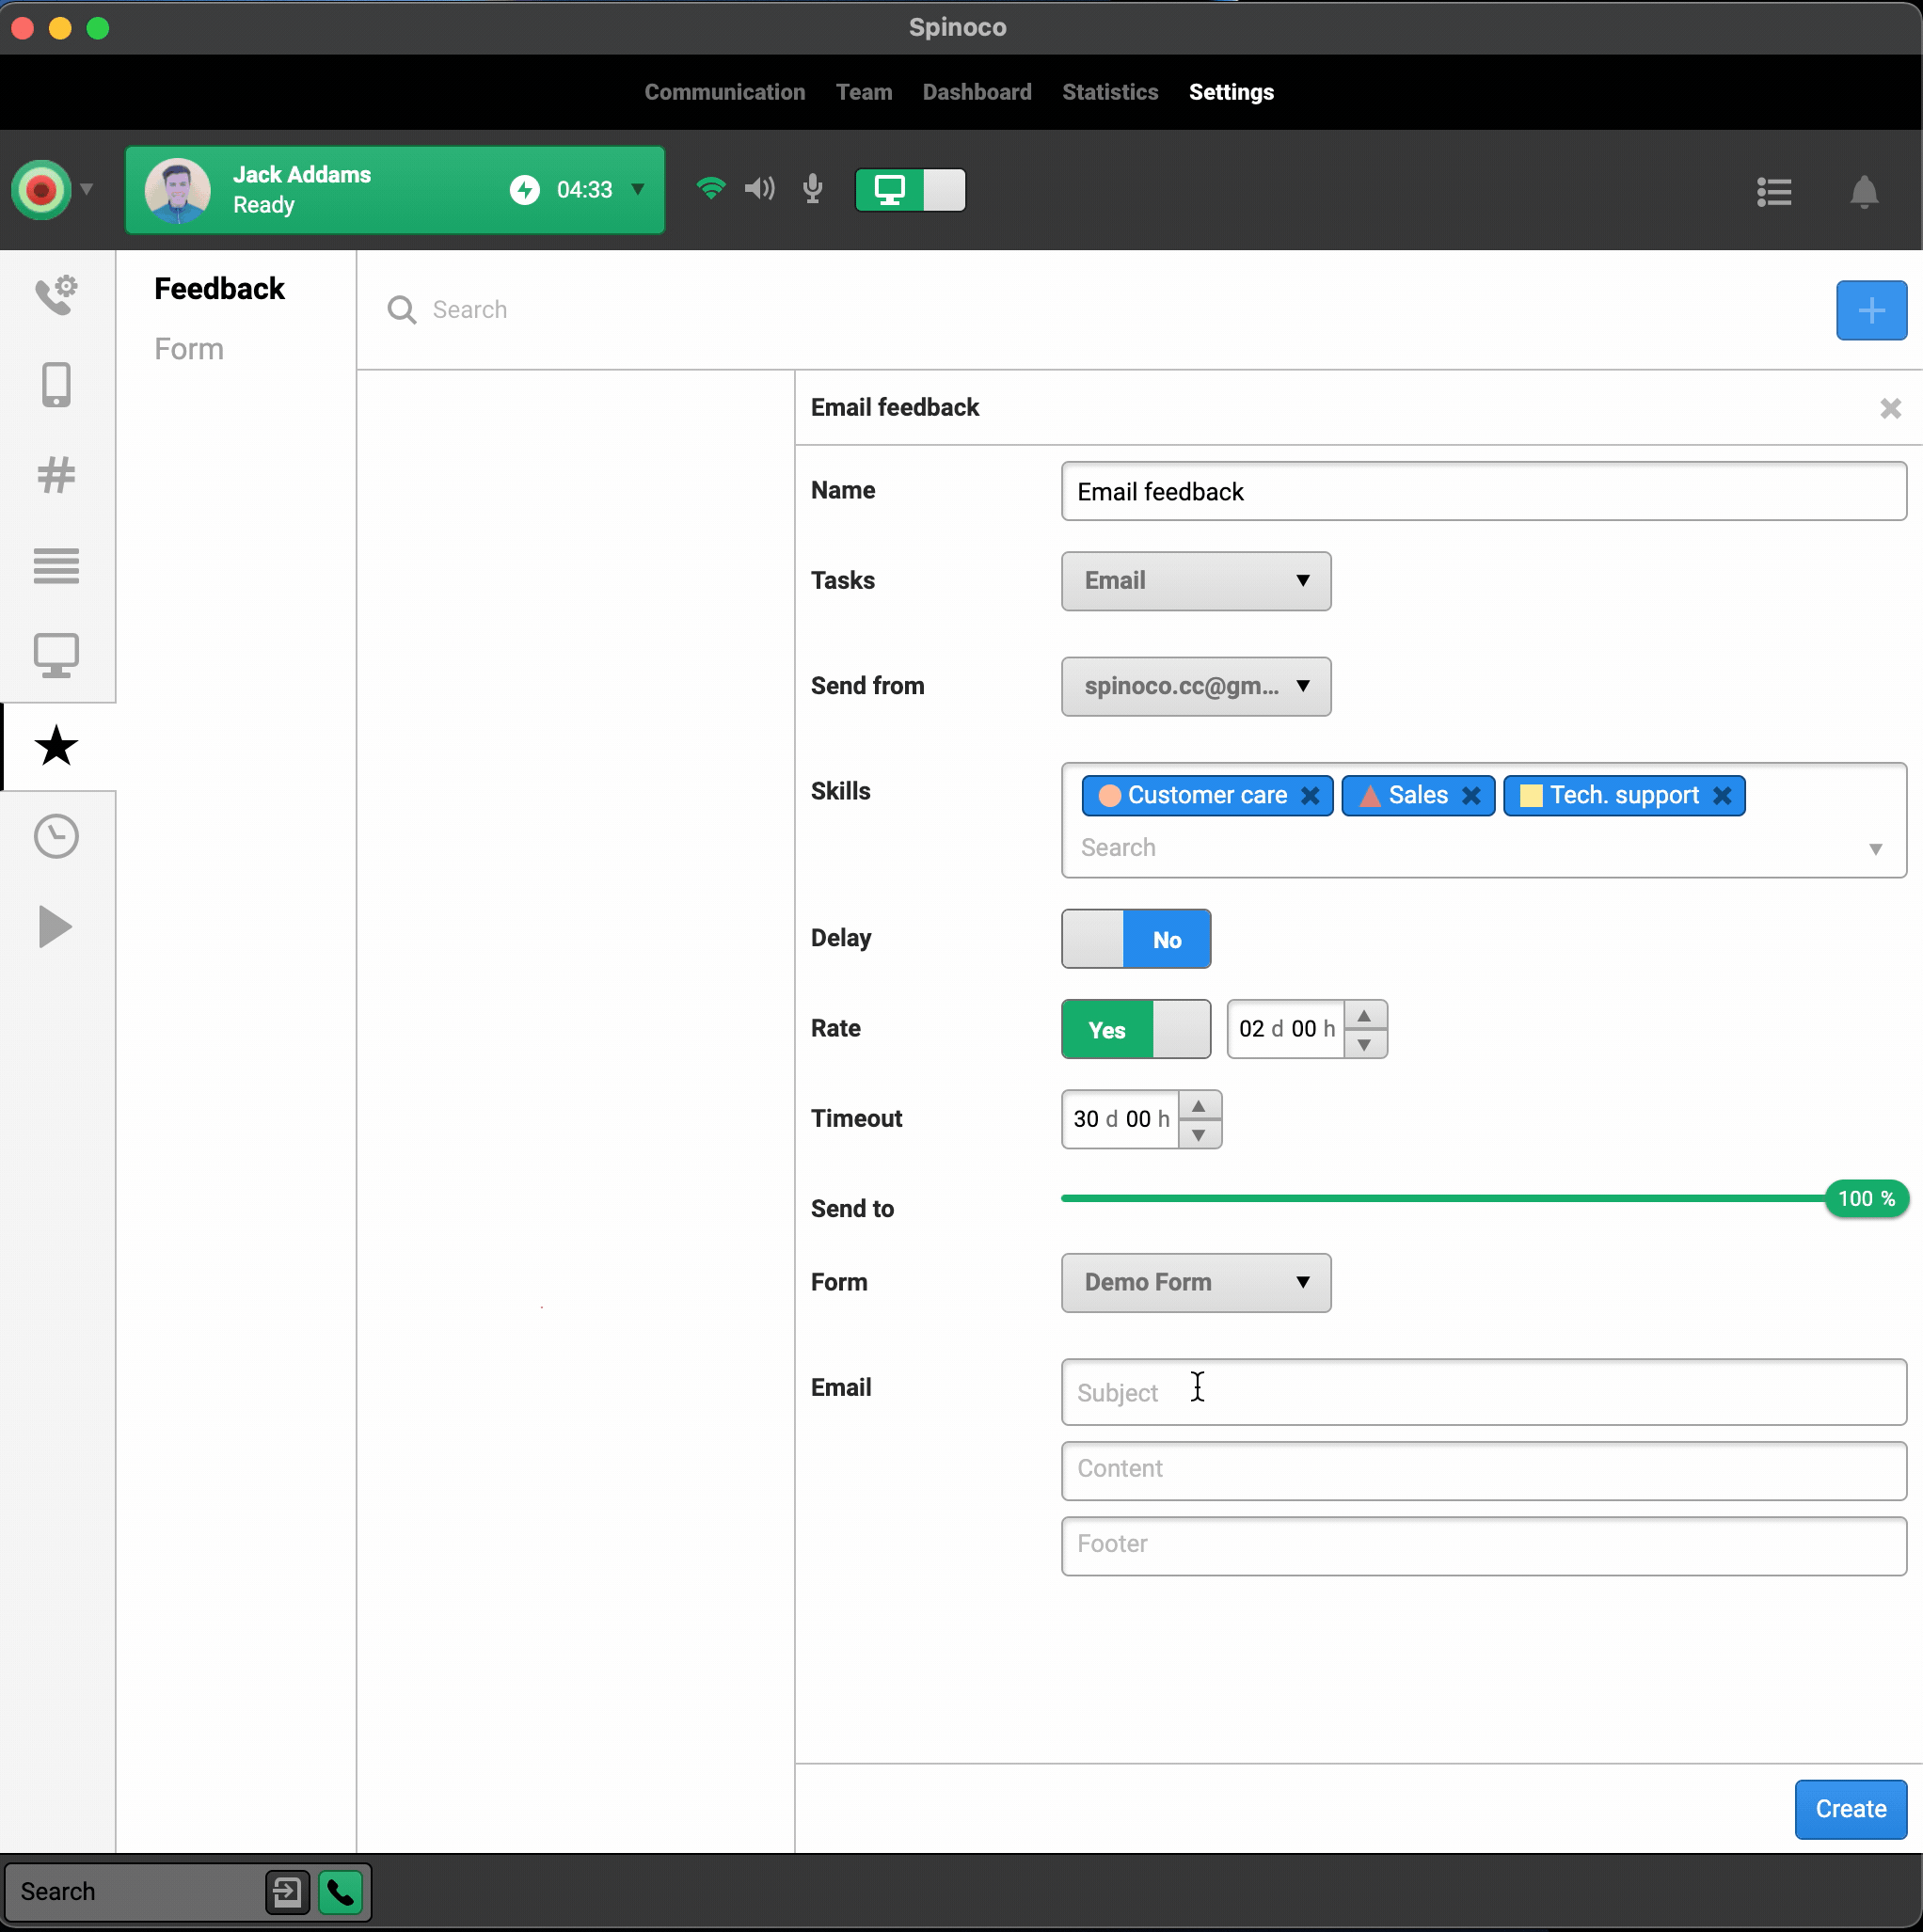
Start by giving the new Procedure a name. This name will only be used internally for your easier orientation among different procedures.
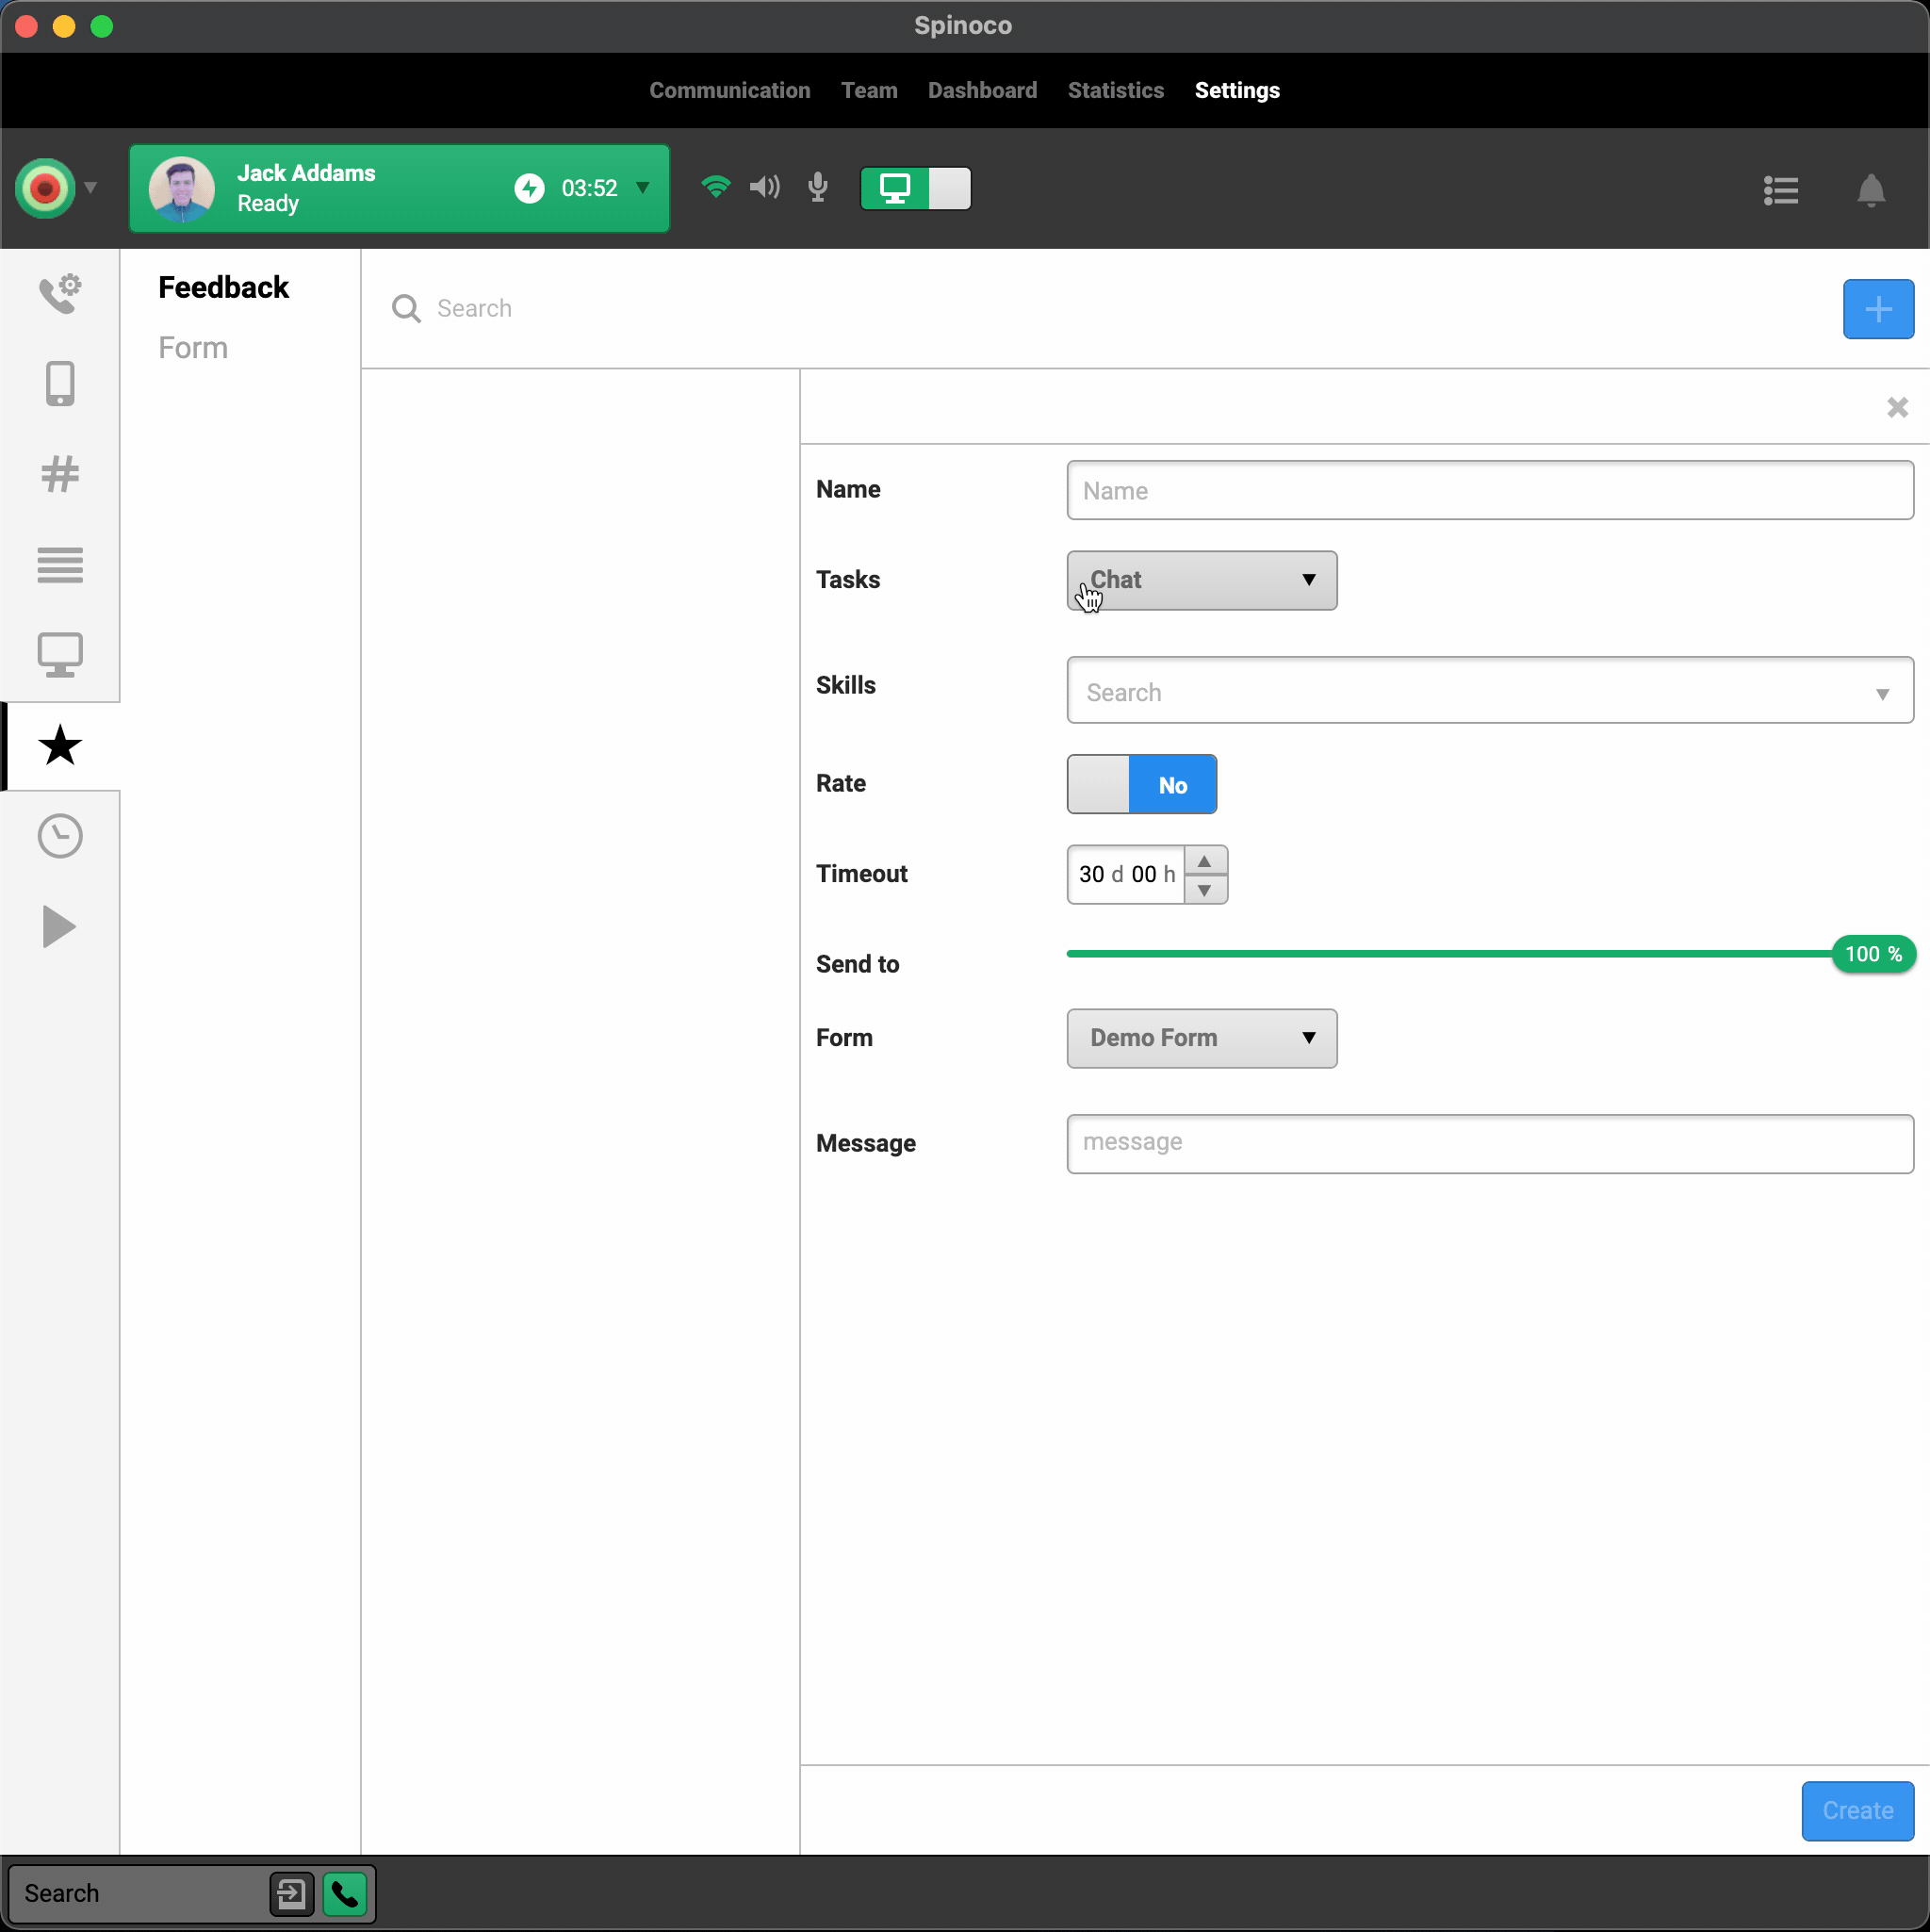
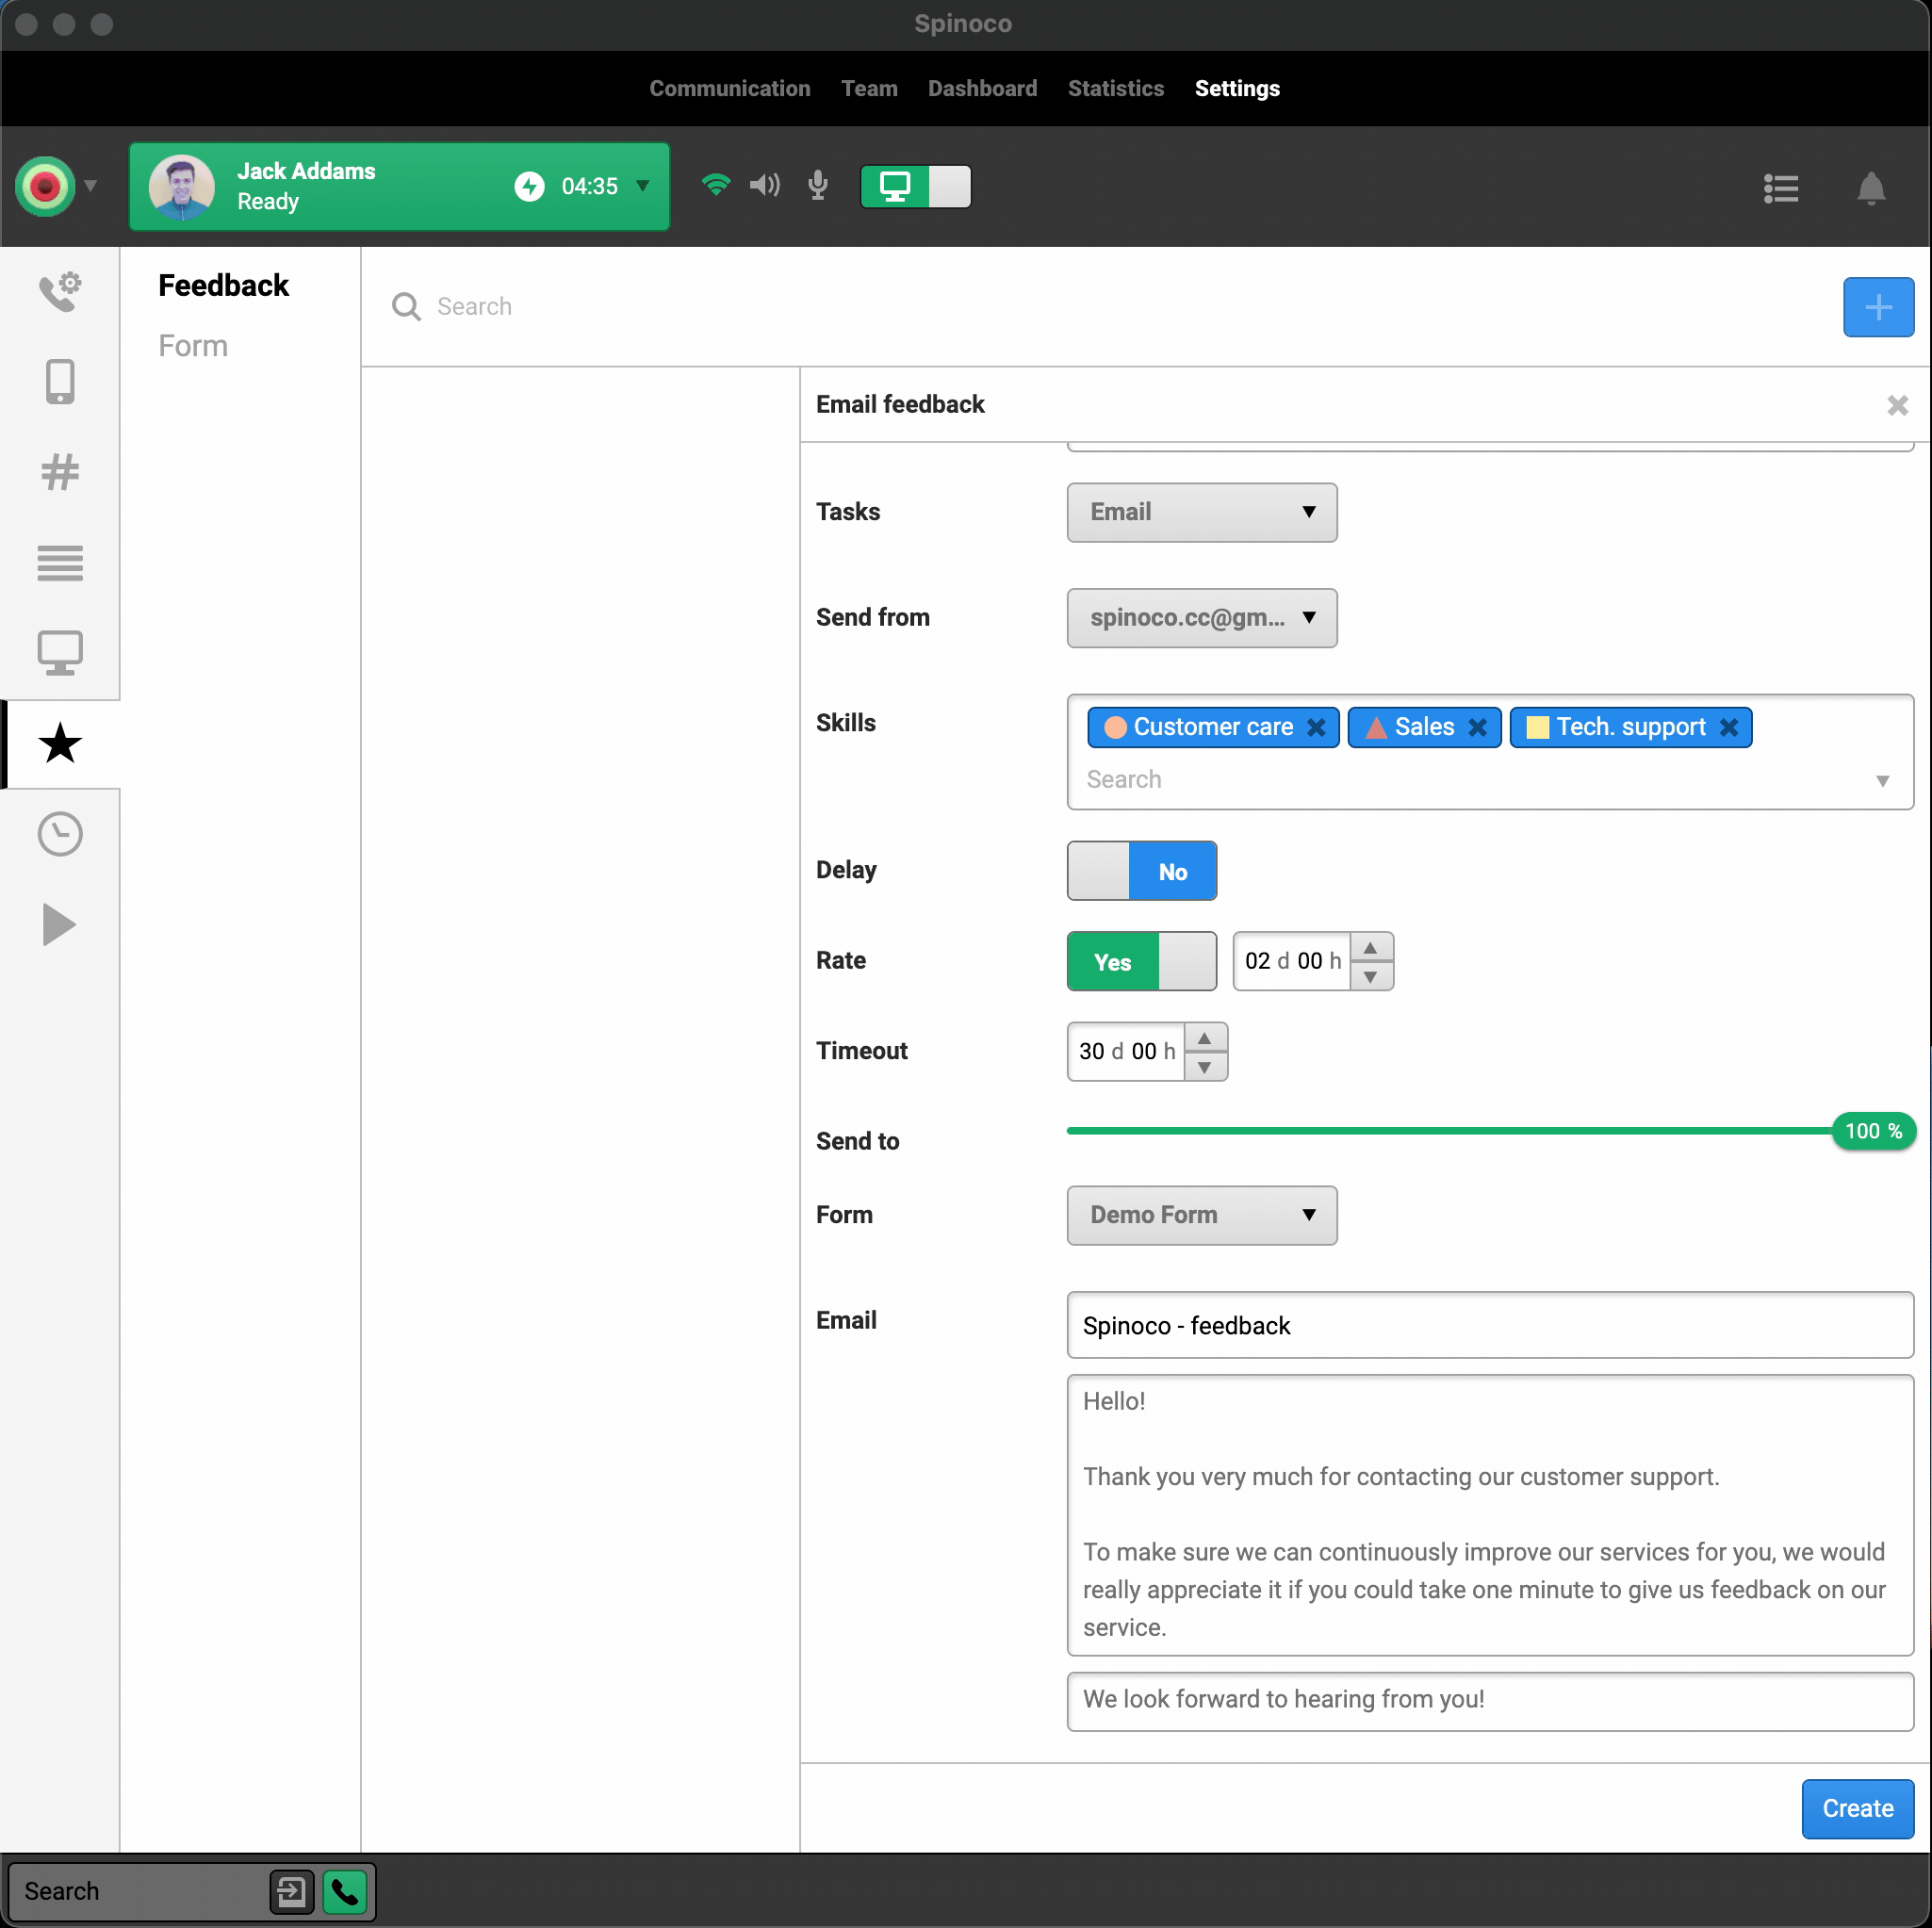
Next up, choose the task type for which the Feedback should be sent to clients. For this one, let's go with creating an Email Feedback Procedure. When selecting the Email Task type, you should also select the email address from which the feedback emails should be sent. This should always be an email address that is connected to Spinoco.
If you'd like to send feedback to clients after a call, you can do so, if you have an SMS gateway set up within Spinoco. With that, the "Call" option will be available from the Tasks type selection, and you can also select the specific SMS Gateway from which the SMS should be sent to clients, in case you have multiple gateways.
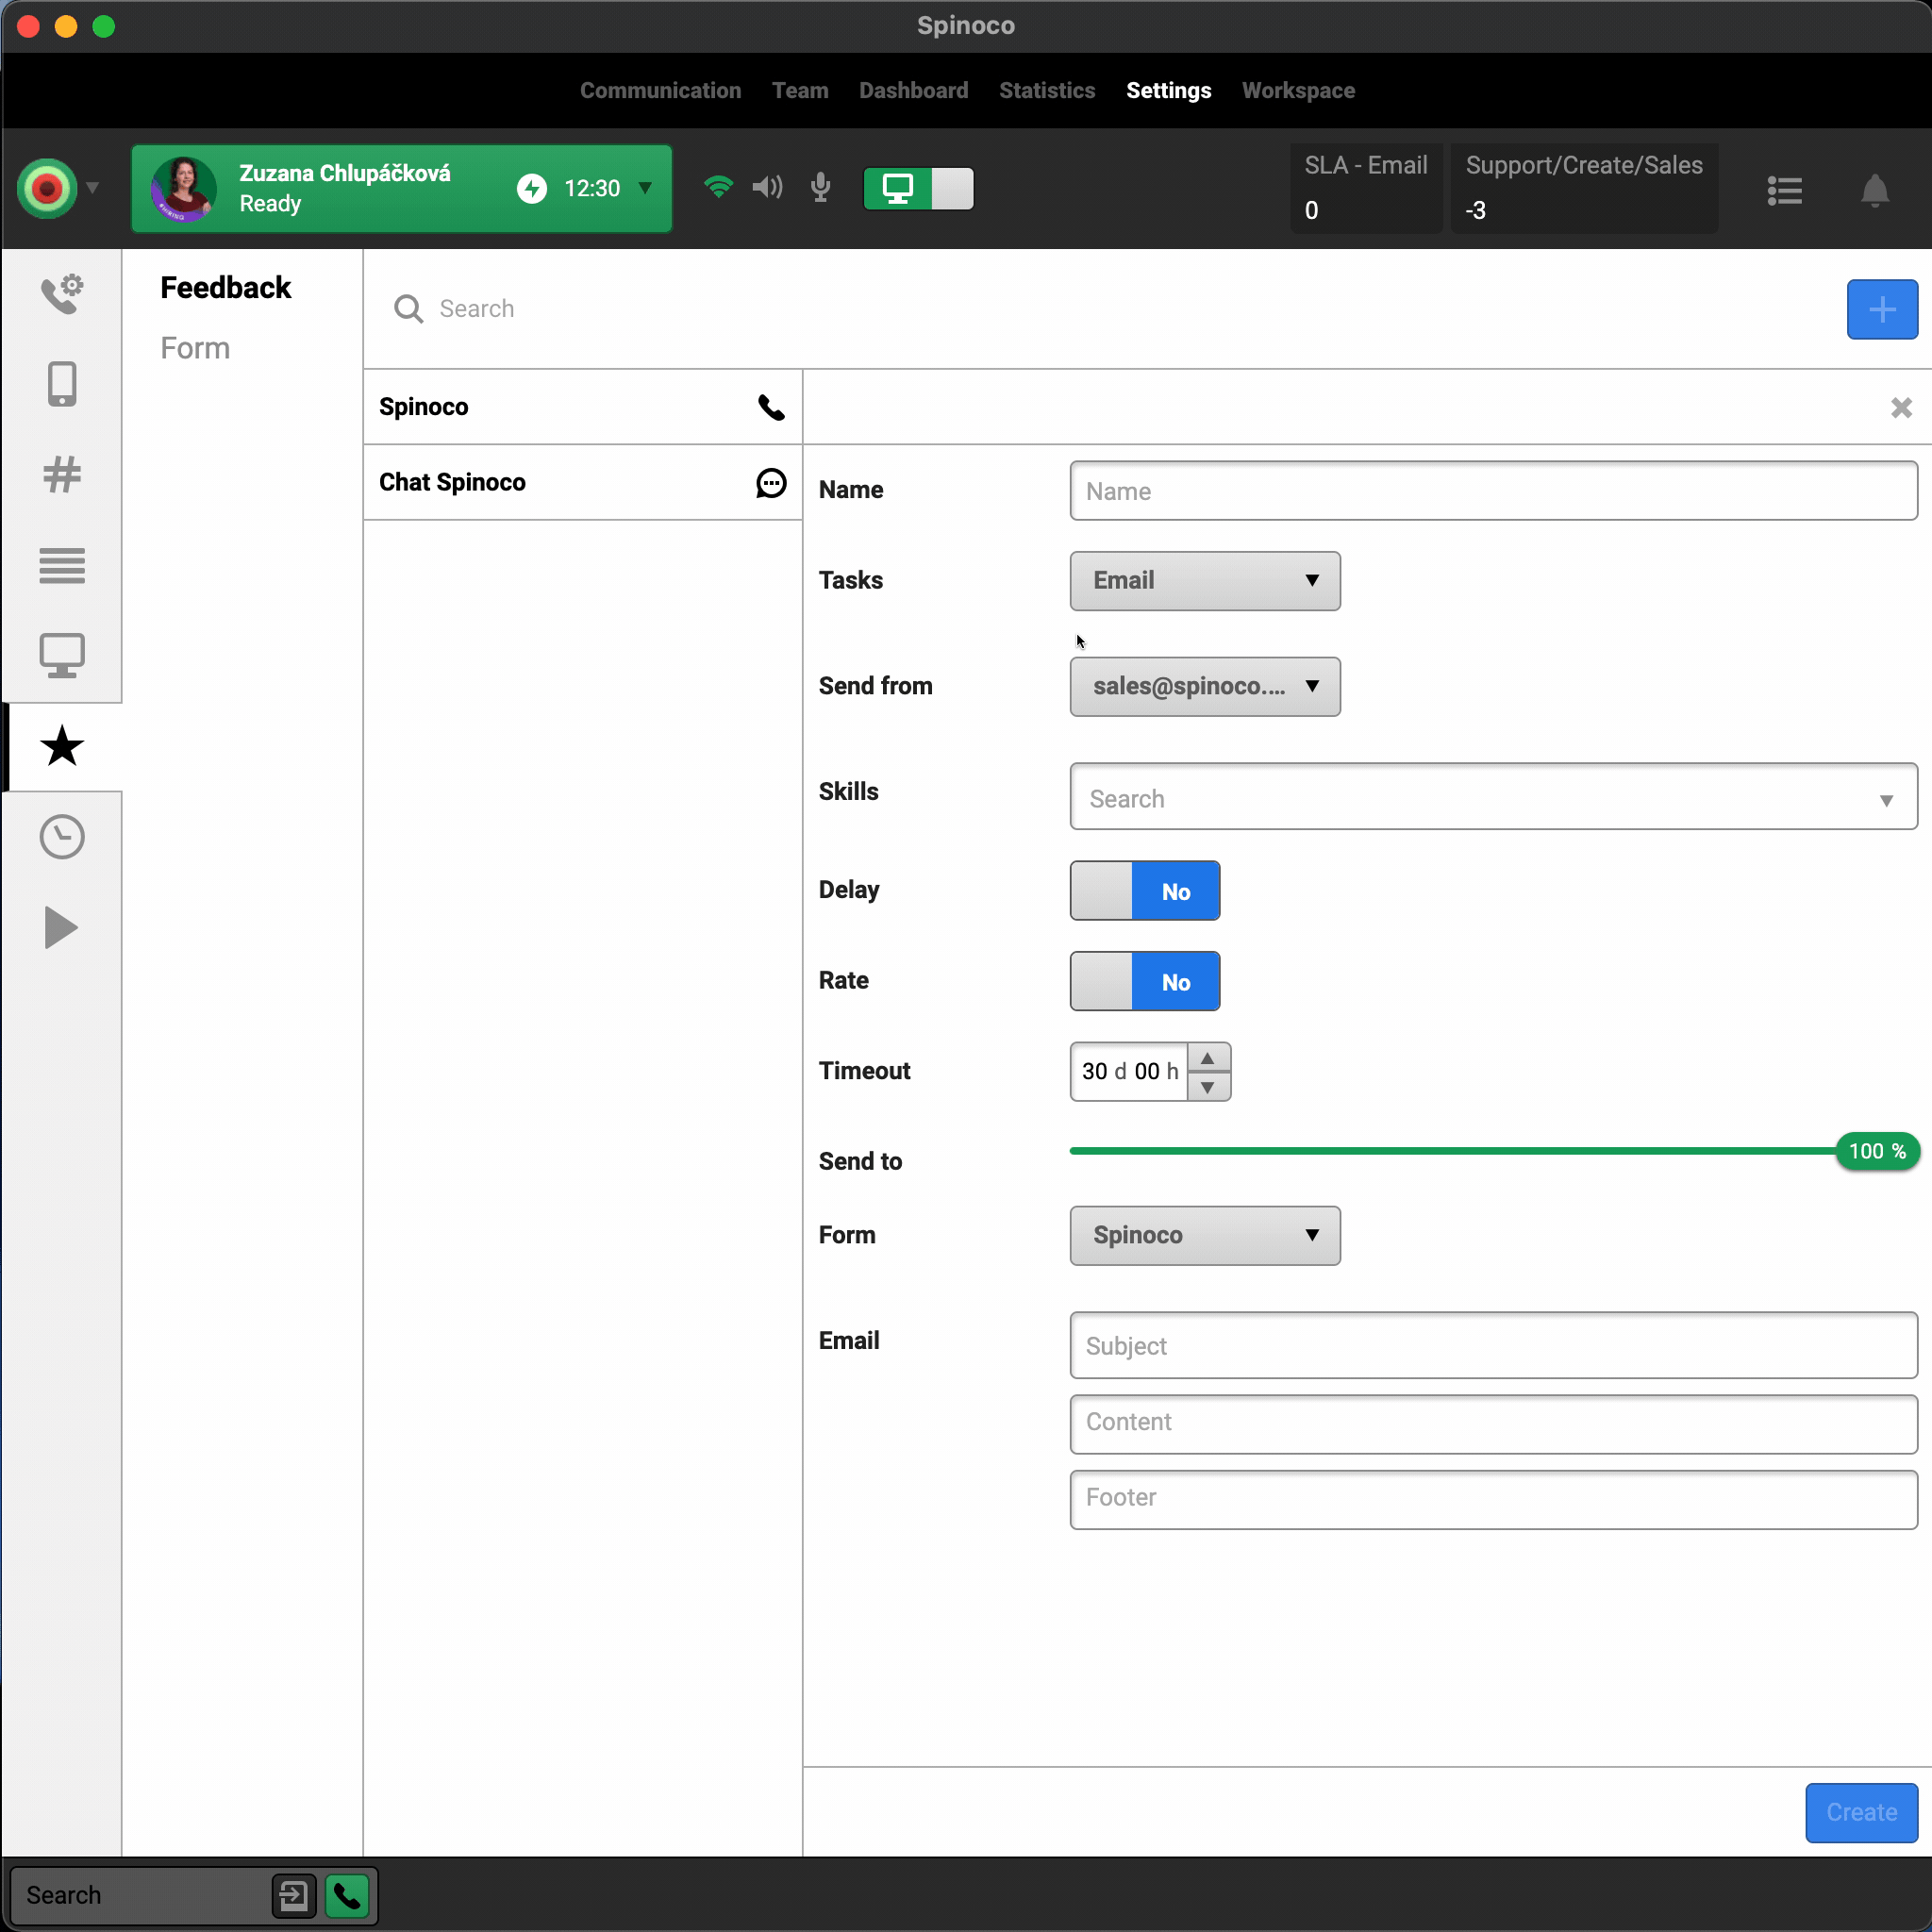
In the Skills section, you can specify the skills for which the Procedure will be applied. The Feedback will only be sent to such emails that are marked with one of the selected skills. You can choose as many skills as you'd like.

The following two fields are optional.
Delay specifies how long after a task was closed should the Feedback Form be sent to the client. If you leave this as "No," the Feedback Form will be sent immediately when an agent closes the task.
Rate limits the number of Feedback Forms that are sent to the client. If you specify, for example, one day, this will mean that only one Feedback Form will be sent to the same client within 24 hours. This is useful if you don't want to send too many Feedback Forms to clients who are in frequent contact with you. If you leave this empty, there will be no limit to the number of Feedback Forms sent to each client - for every closed task, a Feedback Form will be sent, subject to the remaining rules.
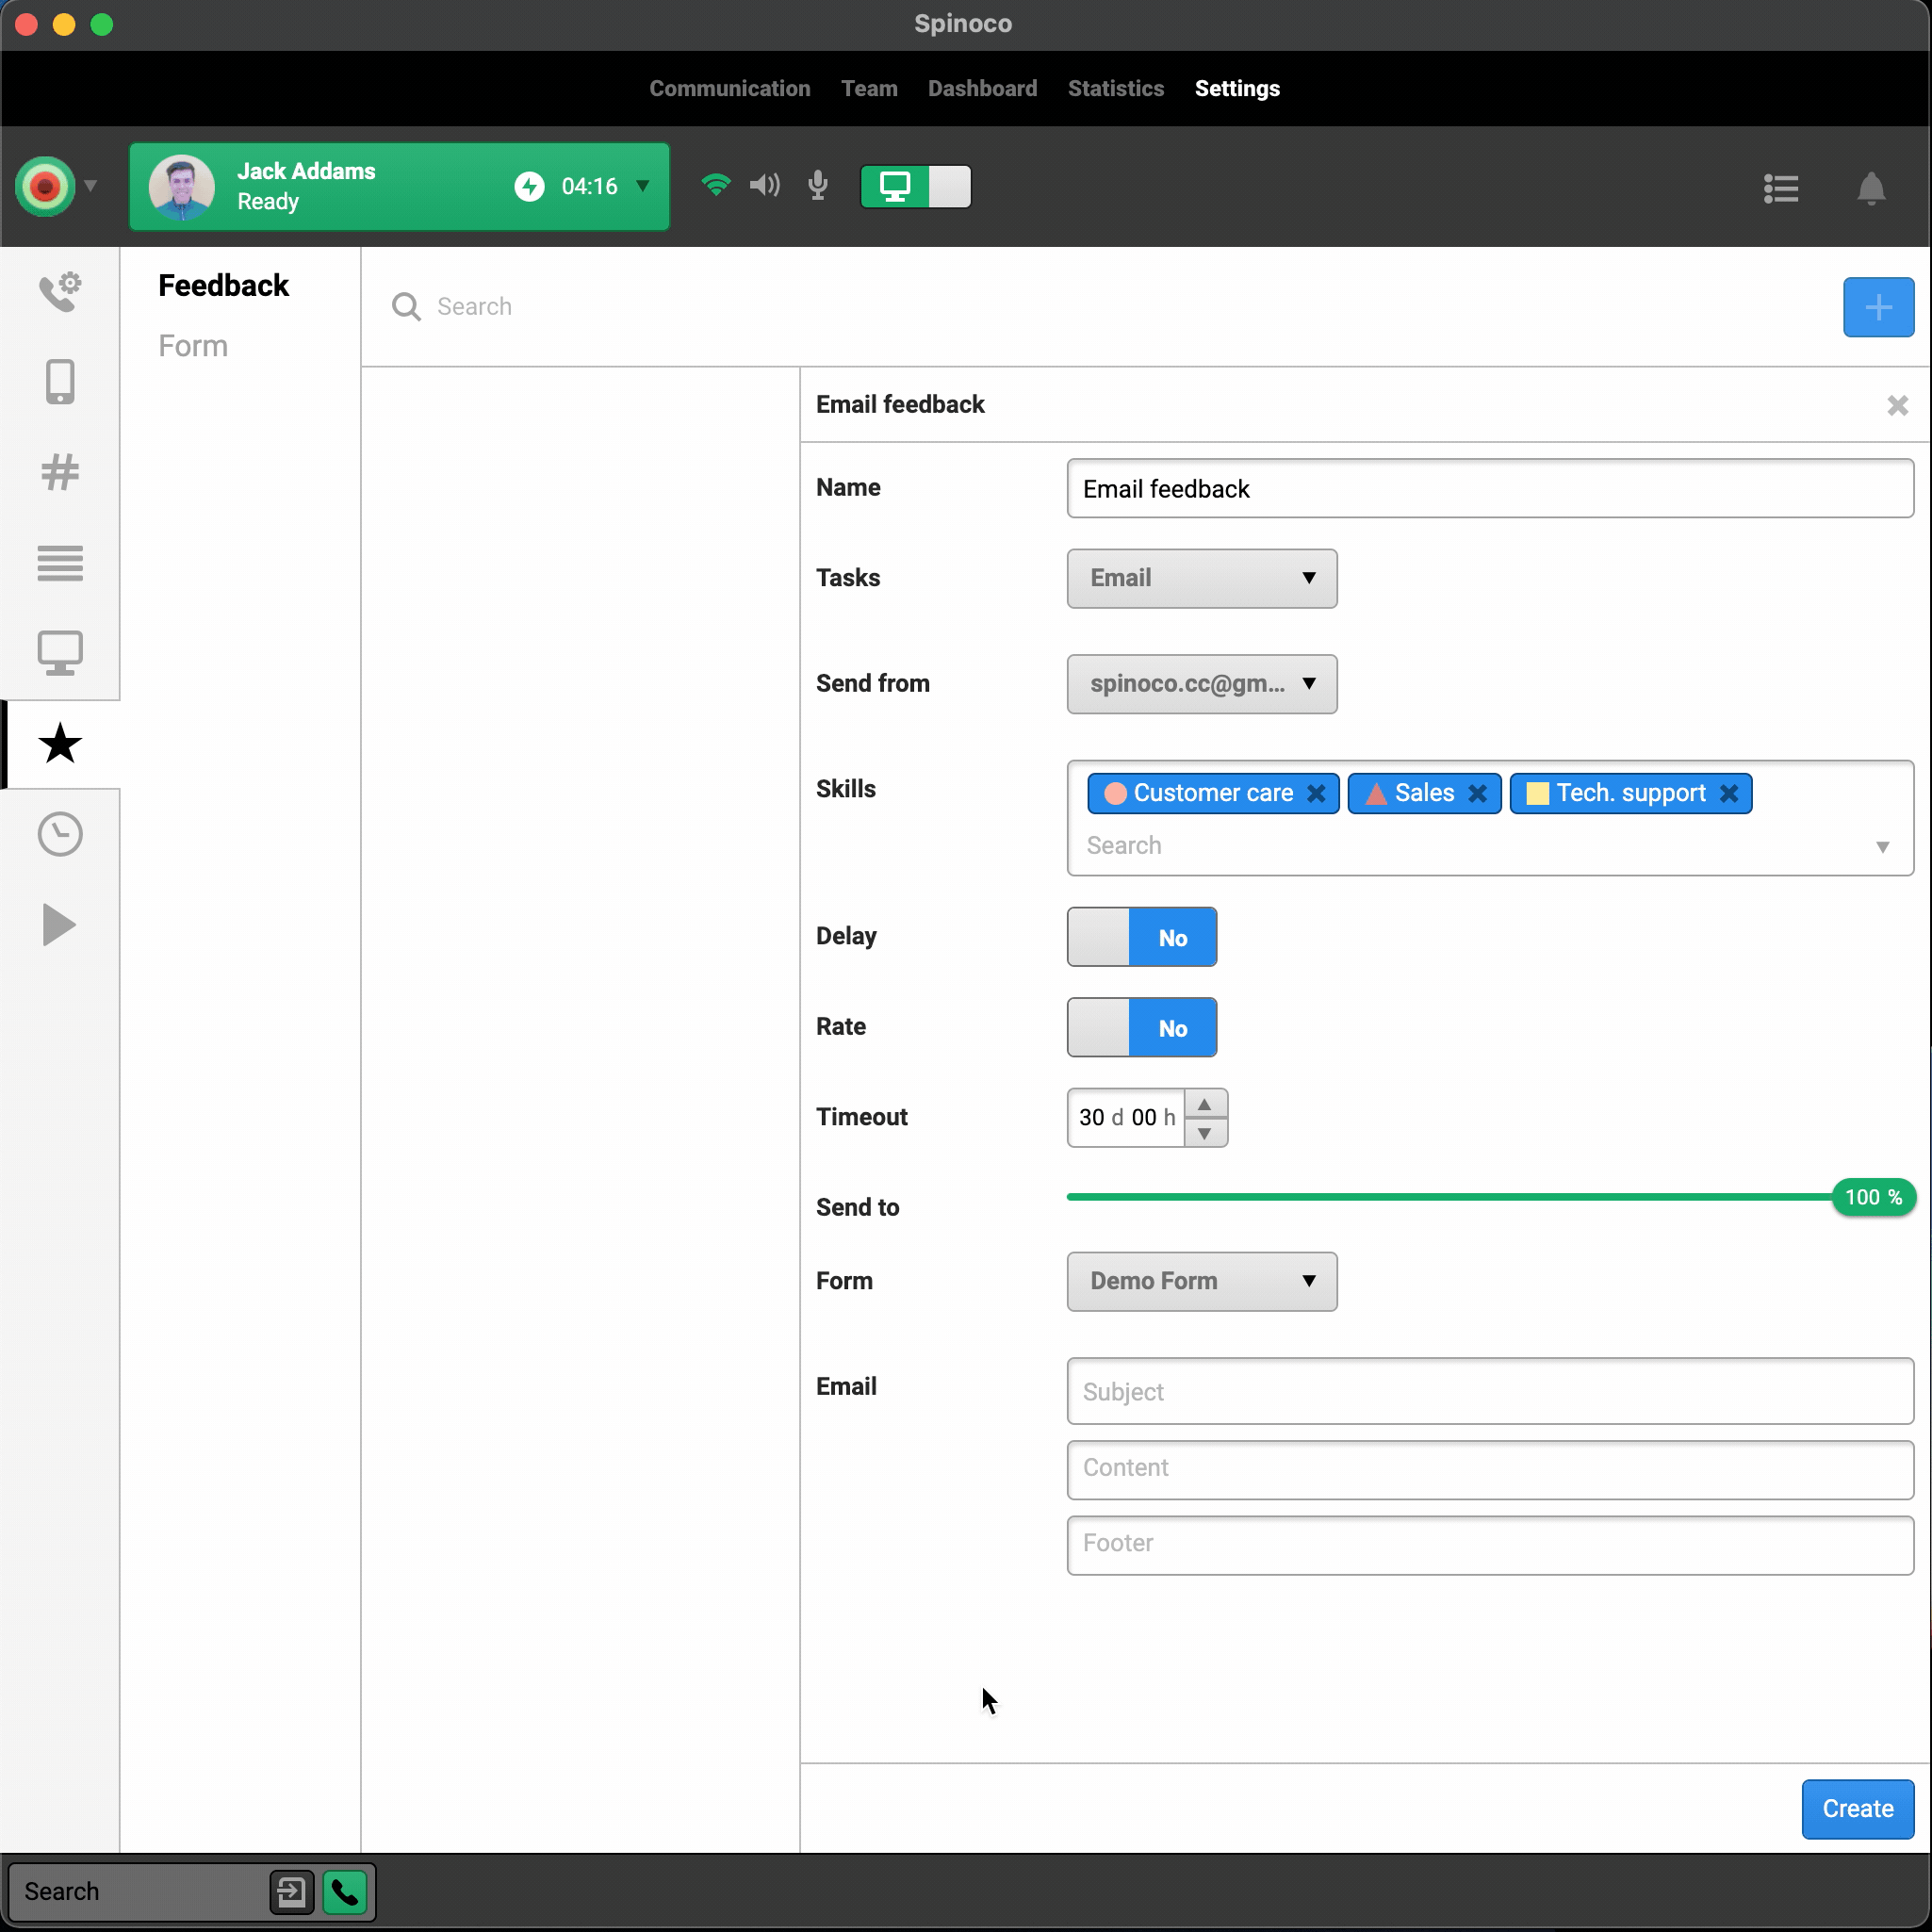
The Timeout field specifies the time that the customer has to fill in the Feedback, starting from when the Feedback was sent.
In the "Send to" field, you can modify the percentage of customers to whom the Feedback will be sent. So, for example, if you set this to 50%, the Feedback will only be sent to 50 % of closed feedback tasks. This is useful if you have a high volume of communication and do not want to overwhelm all of your clients.
The next step is to specify the Feedback Form, which determines the questions that will be sent as part of the Feedback Form.
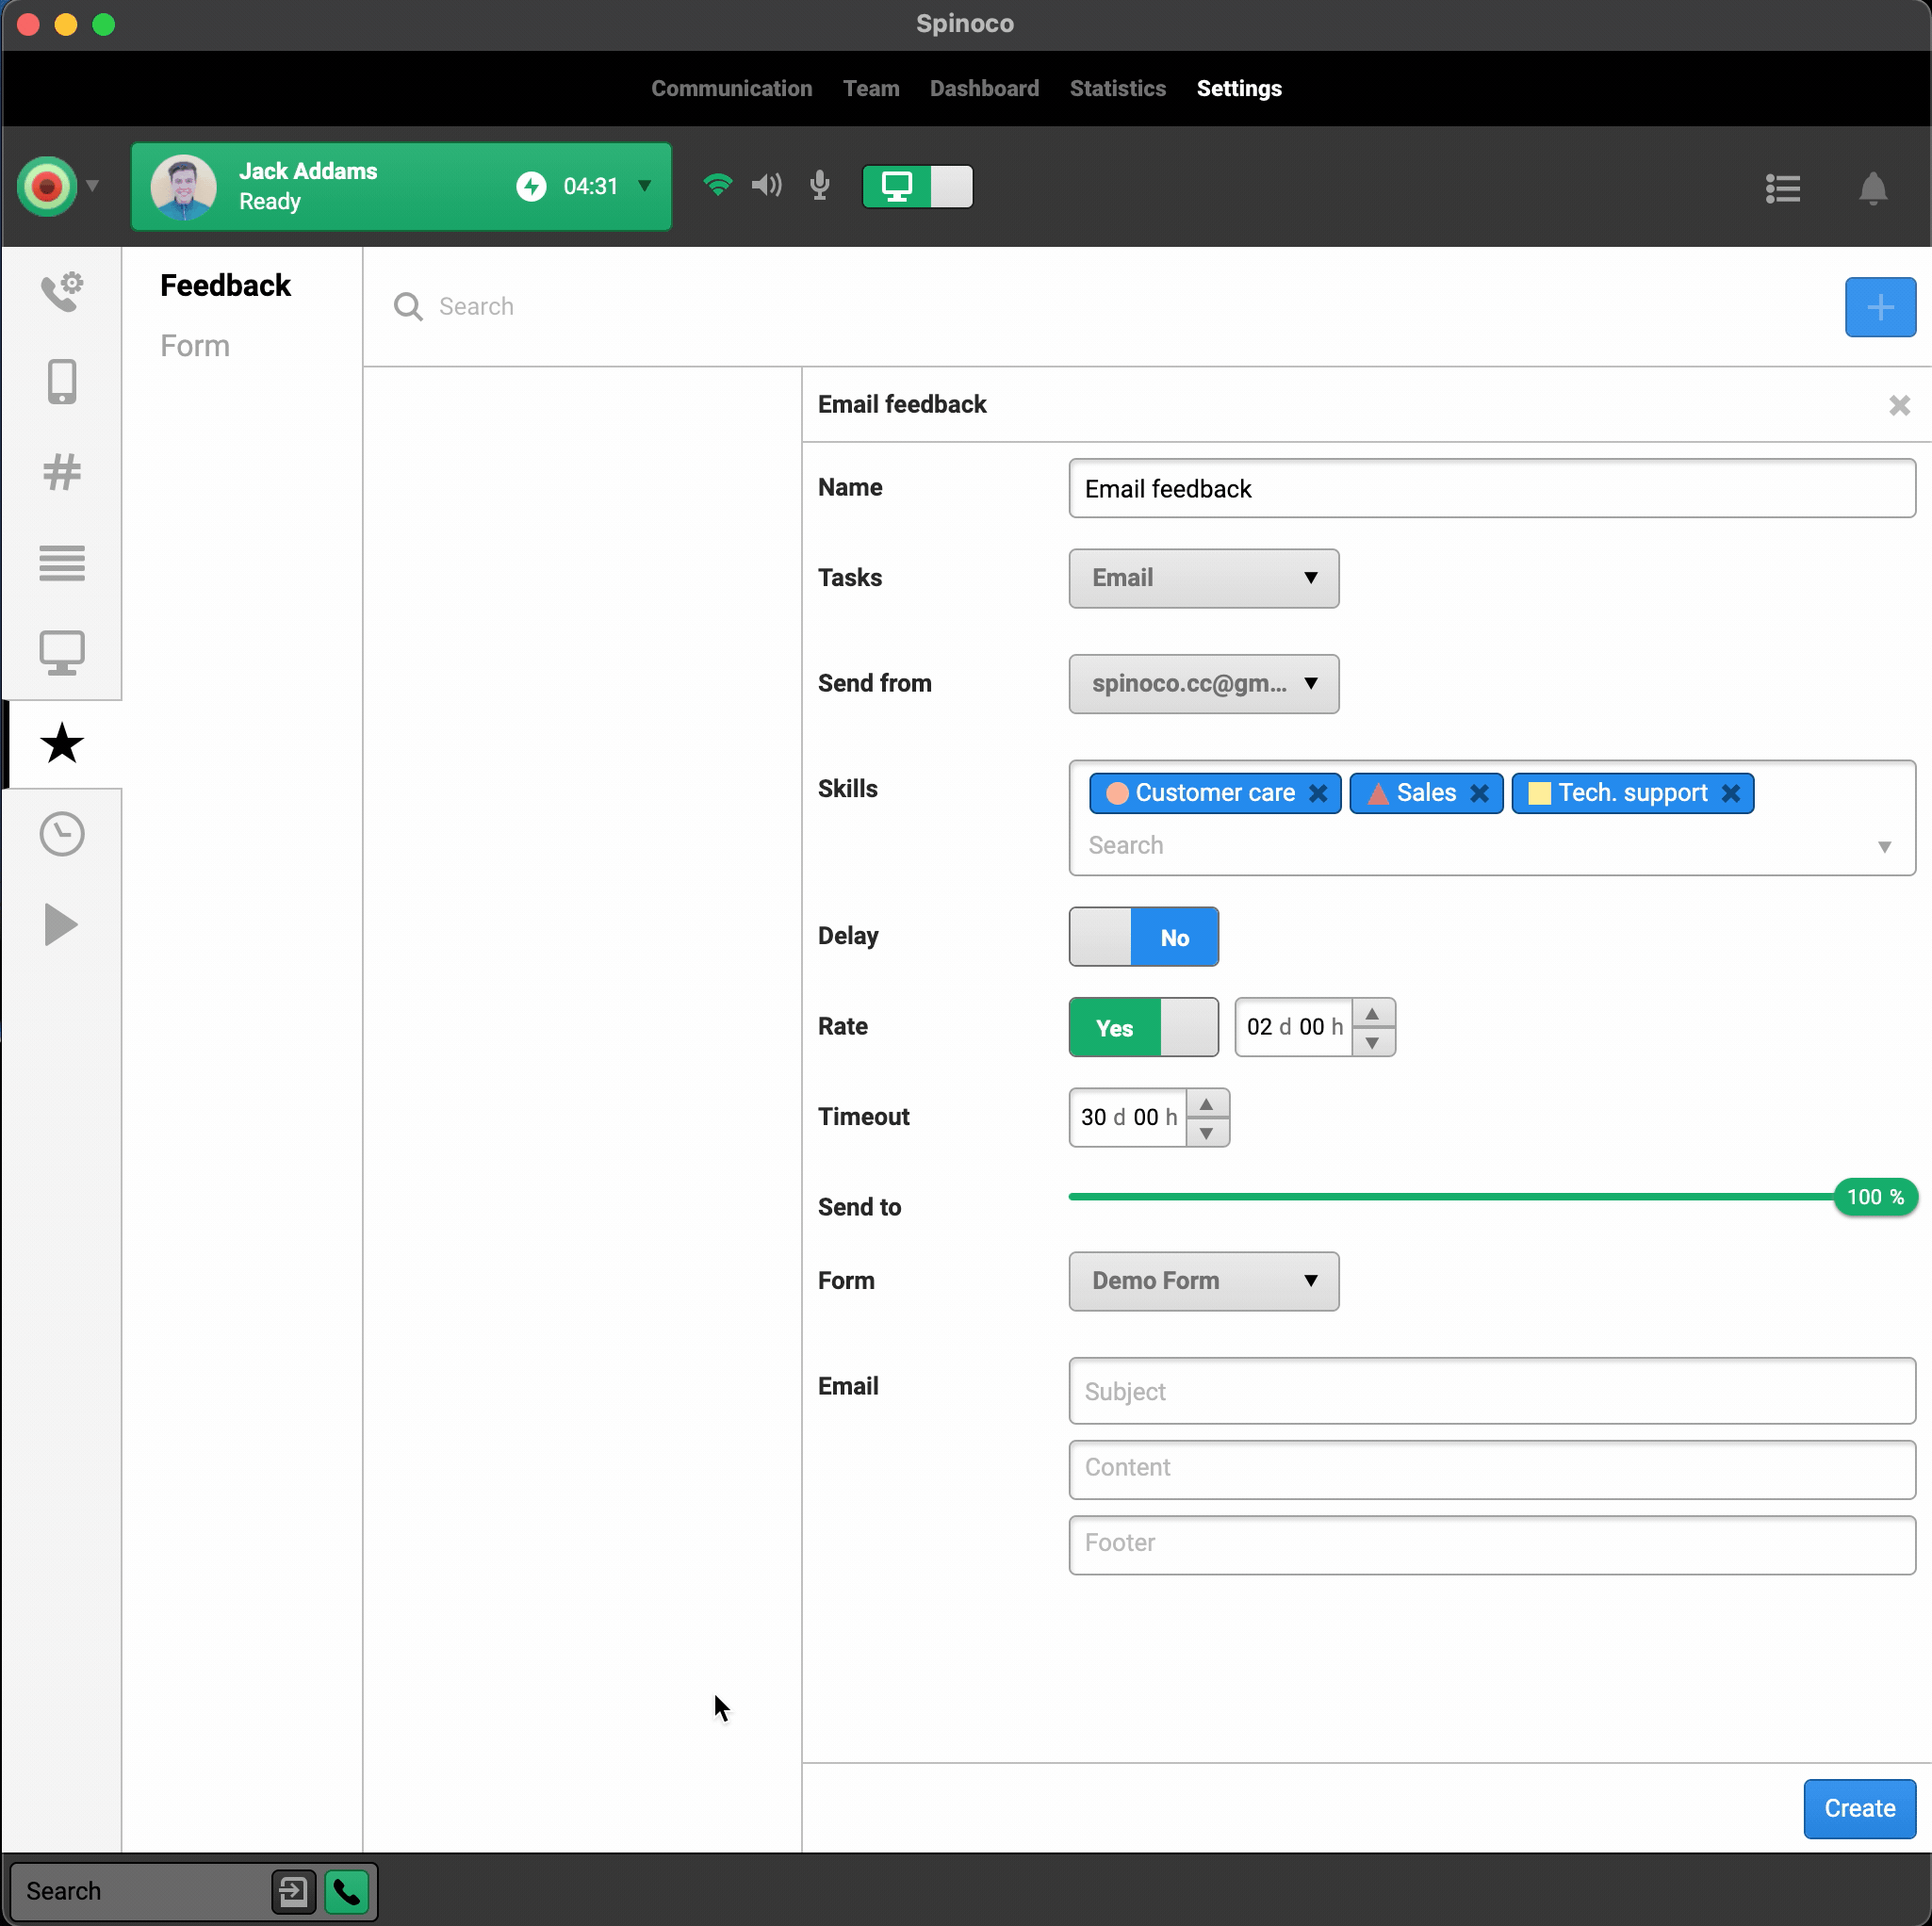
The last step is to fill in the custom text for the email sent to the clients, asking them to fill in the Feedback Form. You can specify the Subject, Content (body of the email), and Footer.
That's it; hit Create at the very bottom and follow the instructions to finish creating the Feedback Procedure. Your Feedback Procedure is now ready and activated!