
1) Ensure that your phone is compatible with the Spinoco application.
2) Make sure the HW phone is connected to the same LAN/WLAN network as the computer you will be adding the phone to Spinoco on. The computer must have the 5060 UDP port enabled for incoming traffic from the phone for this provisioning to work.
3) Open the Settings tab in Spinoco.
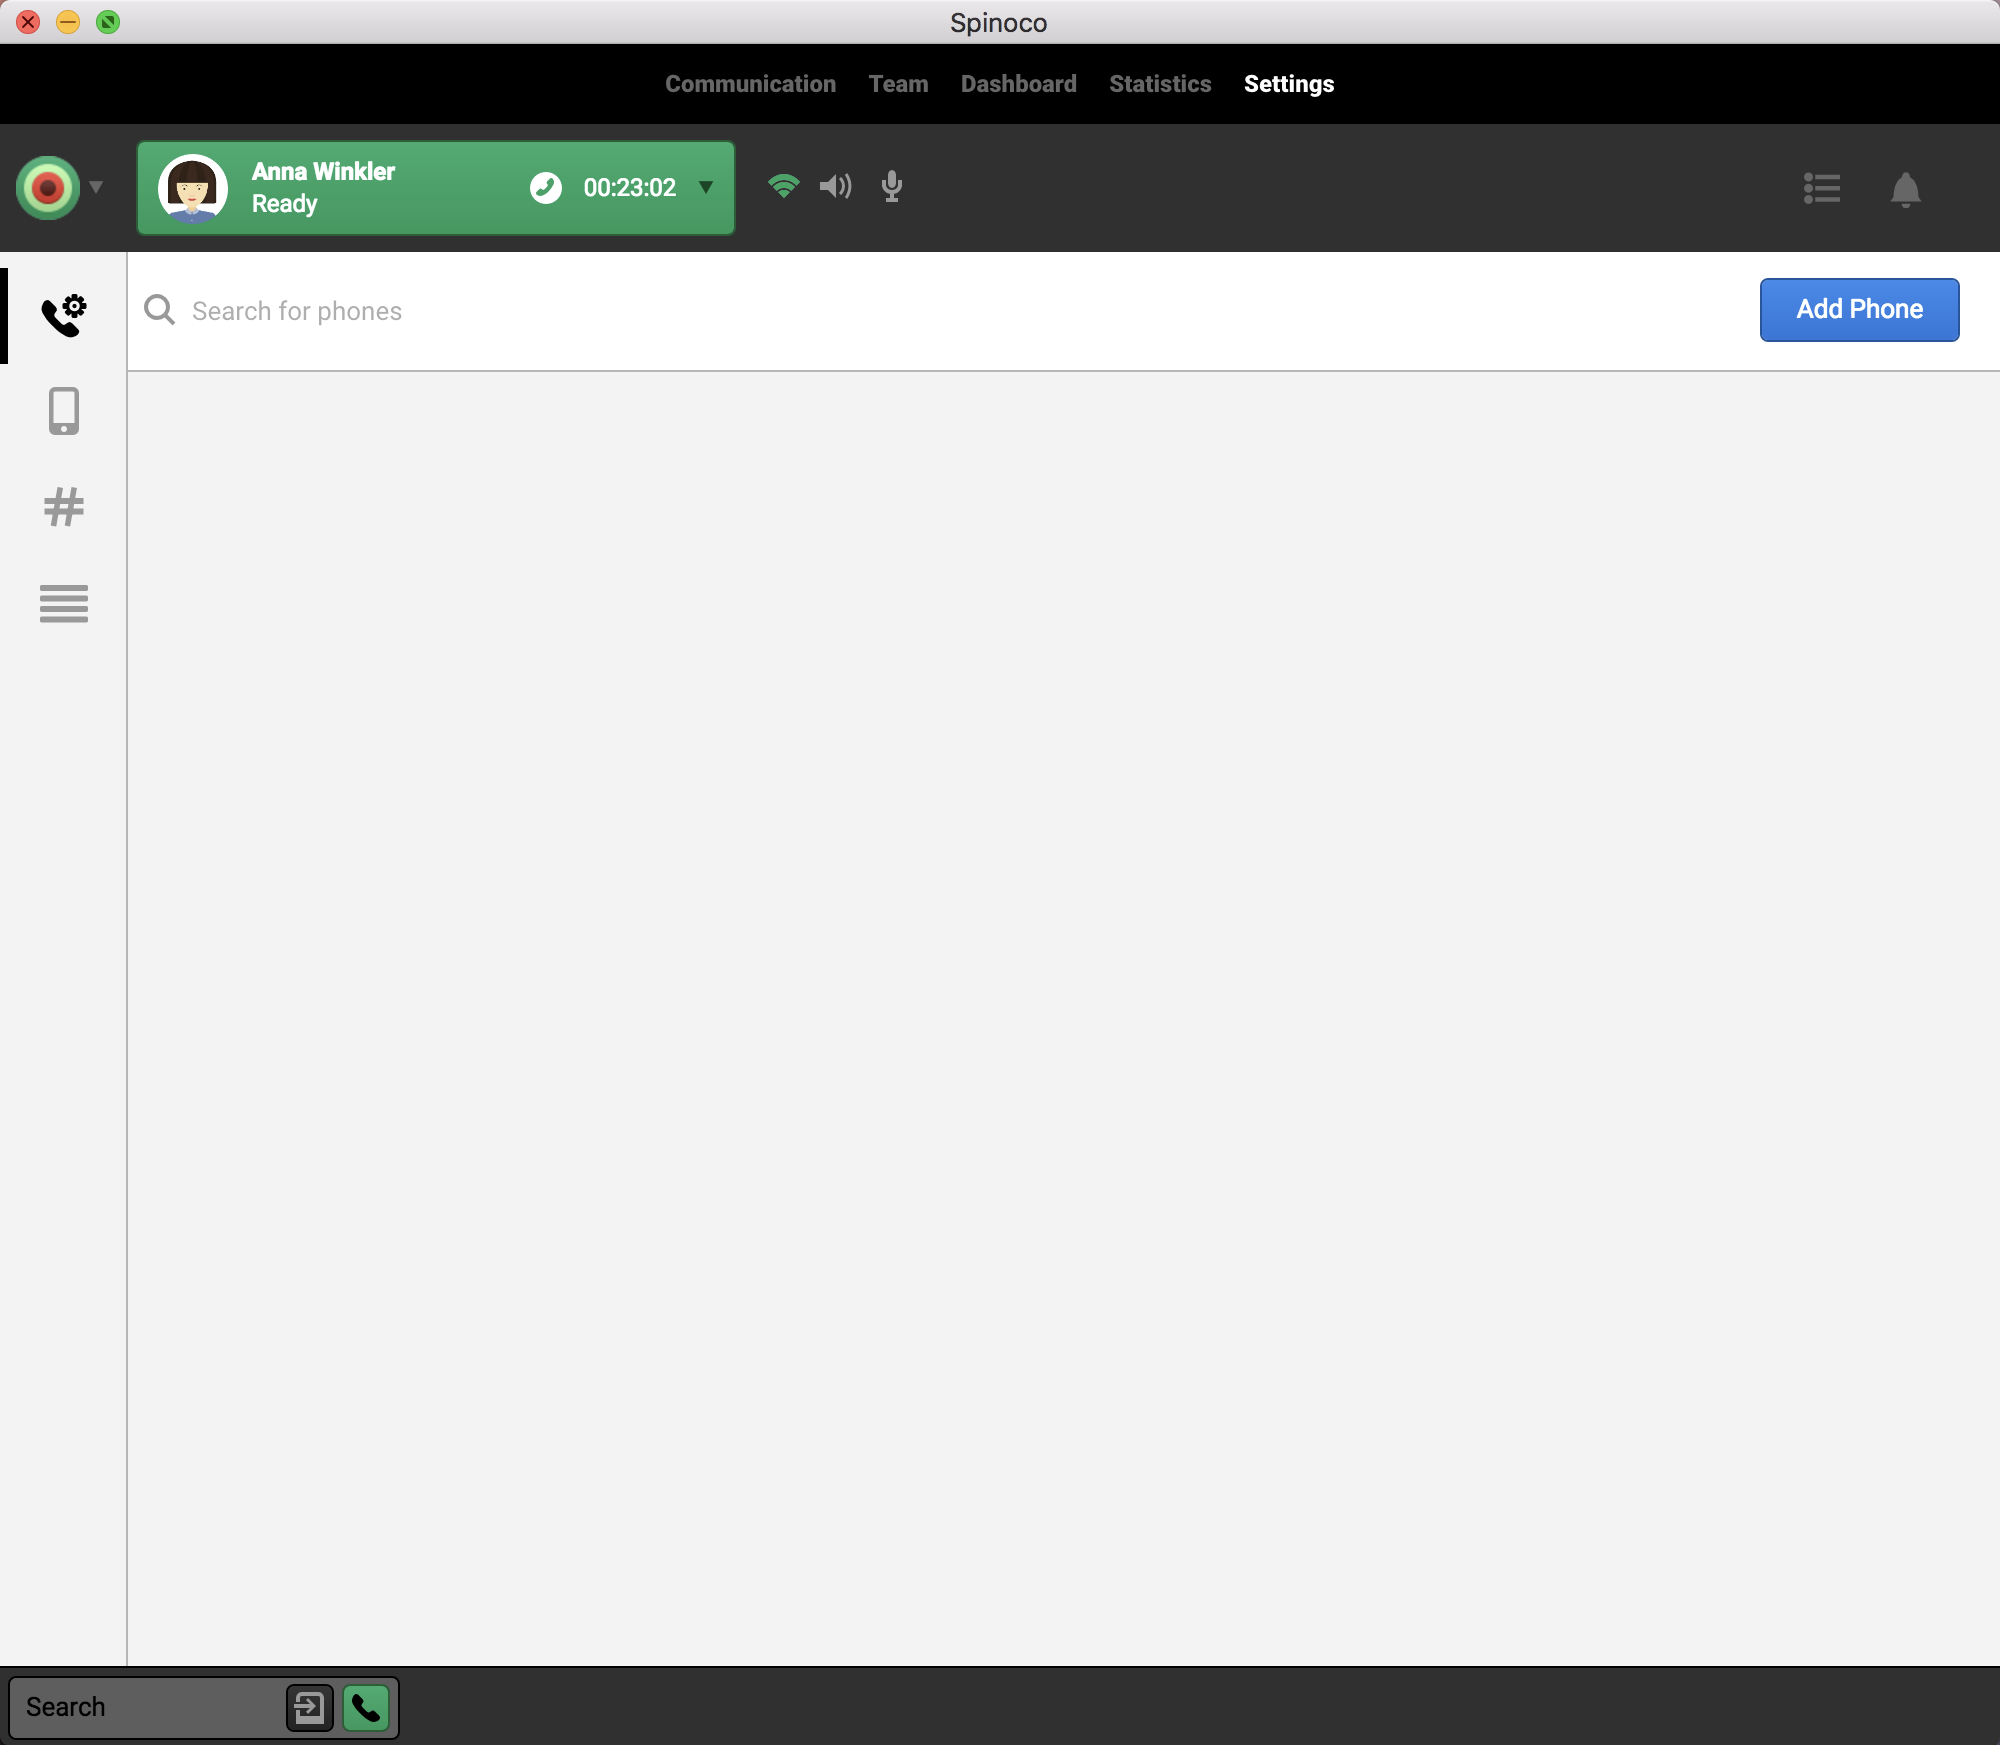
4) Press the blue Add Phone button.
5) Reset the phone into factory settings. If you have previously done this and no settings have been applied to the phone since that time, you can restart the phone. This might take up to a few minutes.
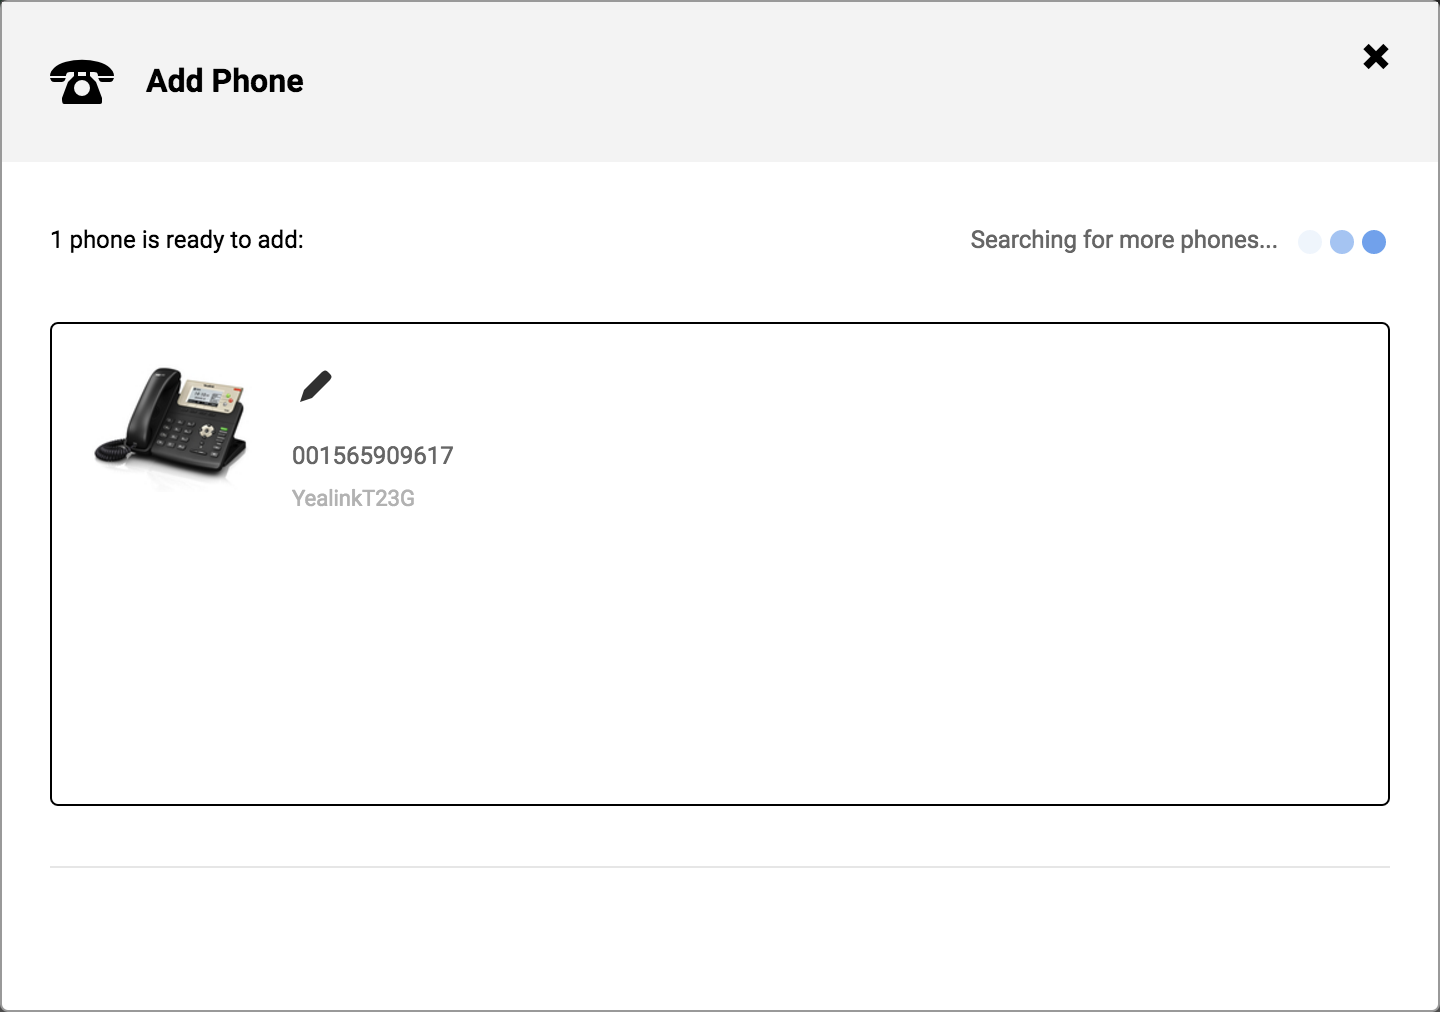
6) Once the reset is complete, your phone will appear in the selection of available phones. If it does not appear within 1 minute, please, try to restart it again.
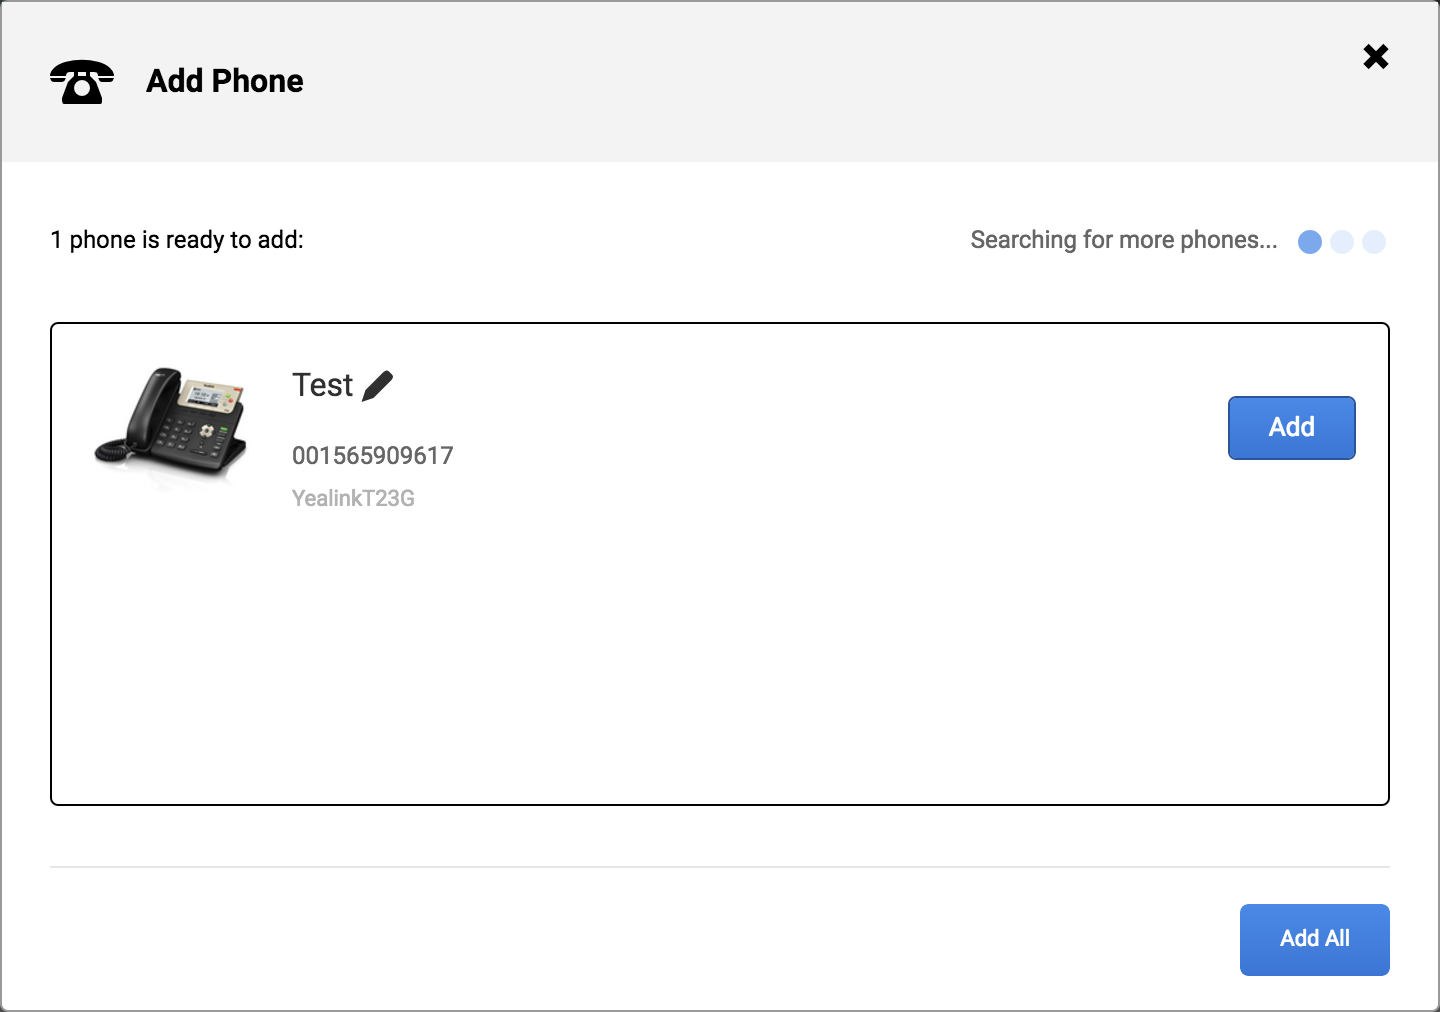
7) By clicking on the pencil next to the phone's image, open the input box to name the phone. Once done, click away from the input box.
8) If you would like to add just the phone, press the blue Add button next to the phone. Once familiar with the process, you may add several phones at once, using the Add all button at the bottom of the dialog.
9) Once you press the Add button, after about 30 seconds, the phone will automatically reboot. This is so that the newly received settings can be applied. This can take up to a few minutes.
10) You're all done, and your phone can now be used in Spinoco.