To start managing your voice application calendar, open the editing view of your voice application by navigating to the “Settings” tab, then selecting the “Apps” tab, and clicking on the voice application you want to manage. Start editing the voice application by hitting “Edit”, and then “Calendars”.
There will be a list of calendars available for you to manage if the voice application has any available. In this case, we will work with the “workhours” calendar in the list.
Click on the name of the calendar to roll out the calendar settings. Once you do that, you can start directly editing the calendar. The calendar settings are always the same for every week, so in the basic setting, you are specifying the behavior of the calendar for every week, Monday through Sunday.
In the below example, the starting setup is for the working hours to only take place on Mondays between 9 am and 9 pm.
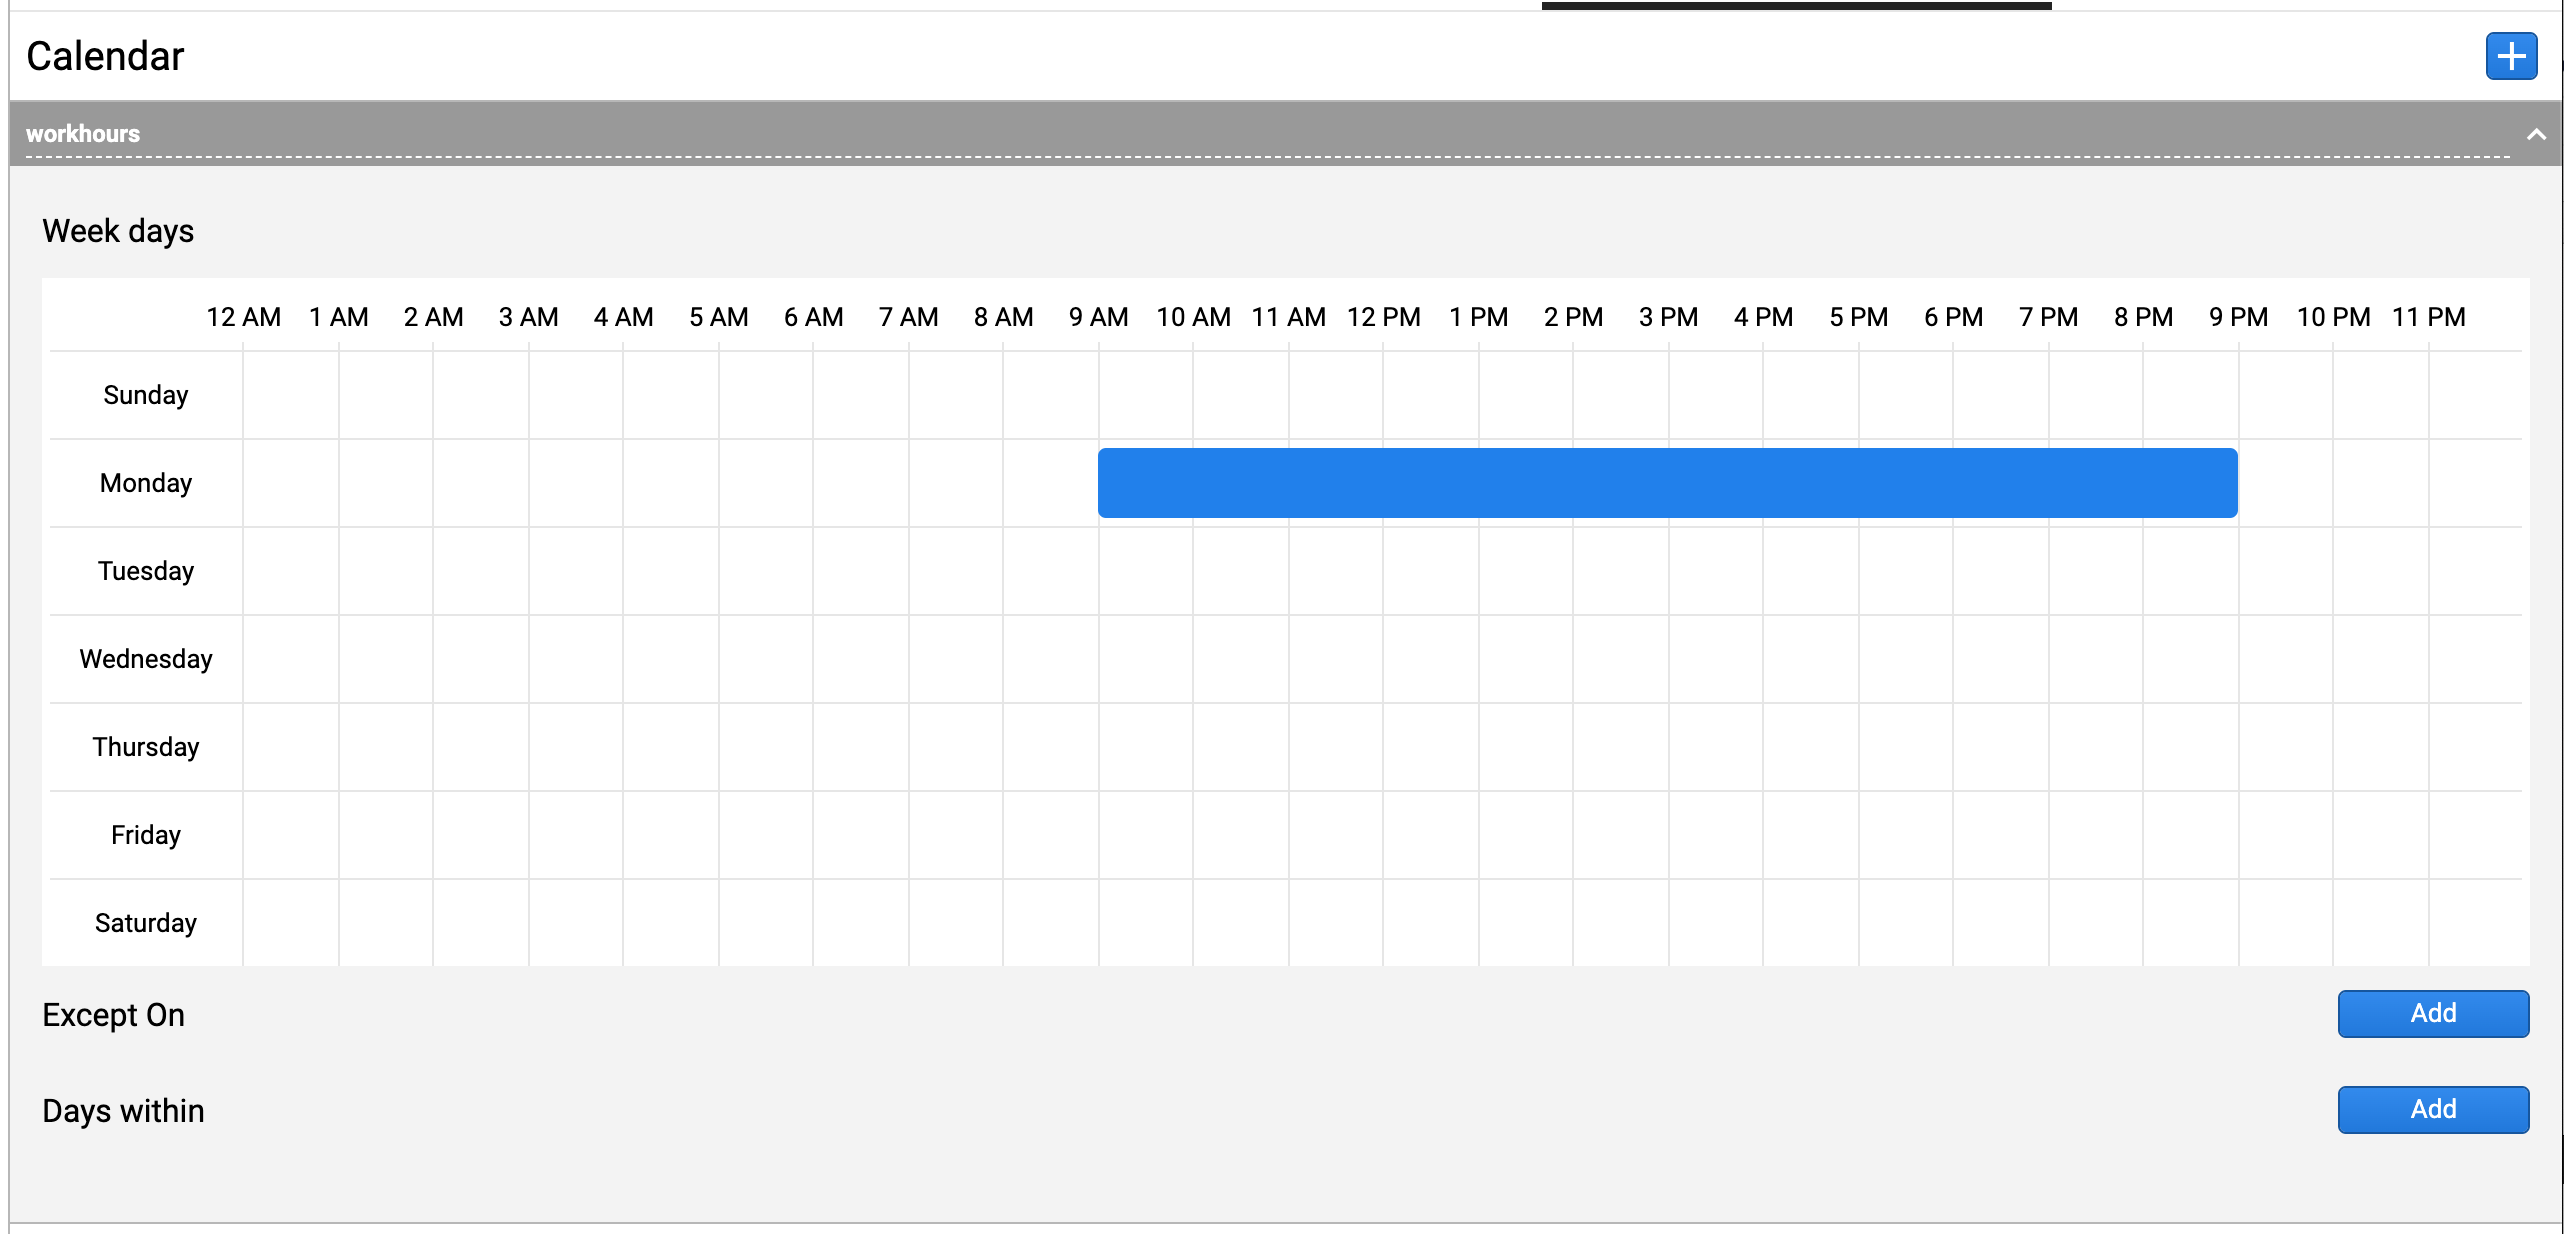
Let's change this so that working hours are from Monday to Friday, 9 am to 9 pm.
To get started, click on Tuesday's row. A blue rectangle identifying the active hours will appear for the whole 24 hour period. To edit it, click on the blue rectangle. You will be able to specify the time, during which the calendar should be active on Tuesdays. Once you are happy with your setup, hit the checkmark button to save Tuesday's settings.
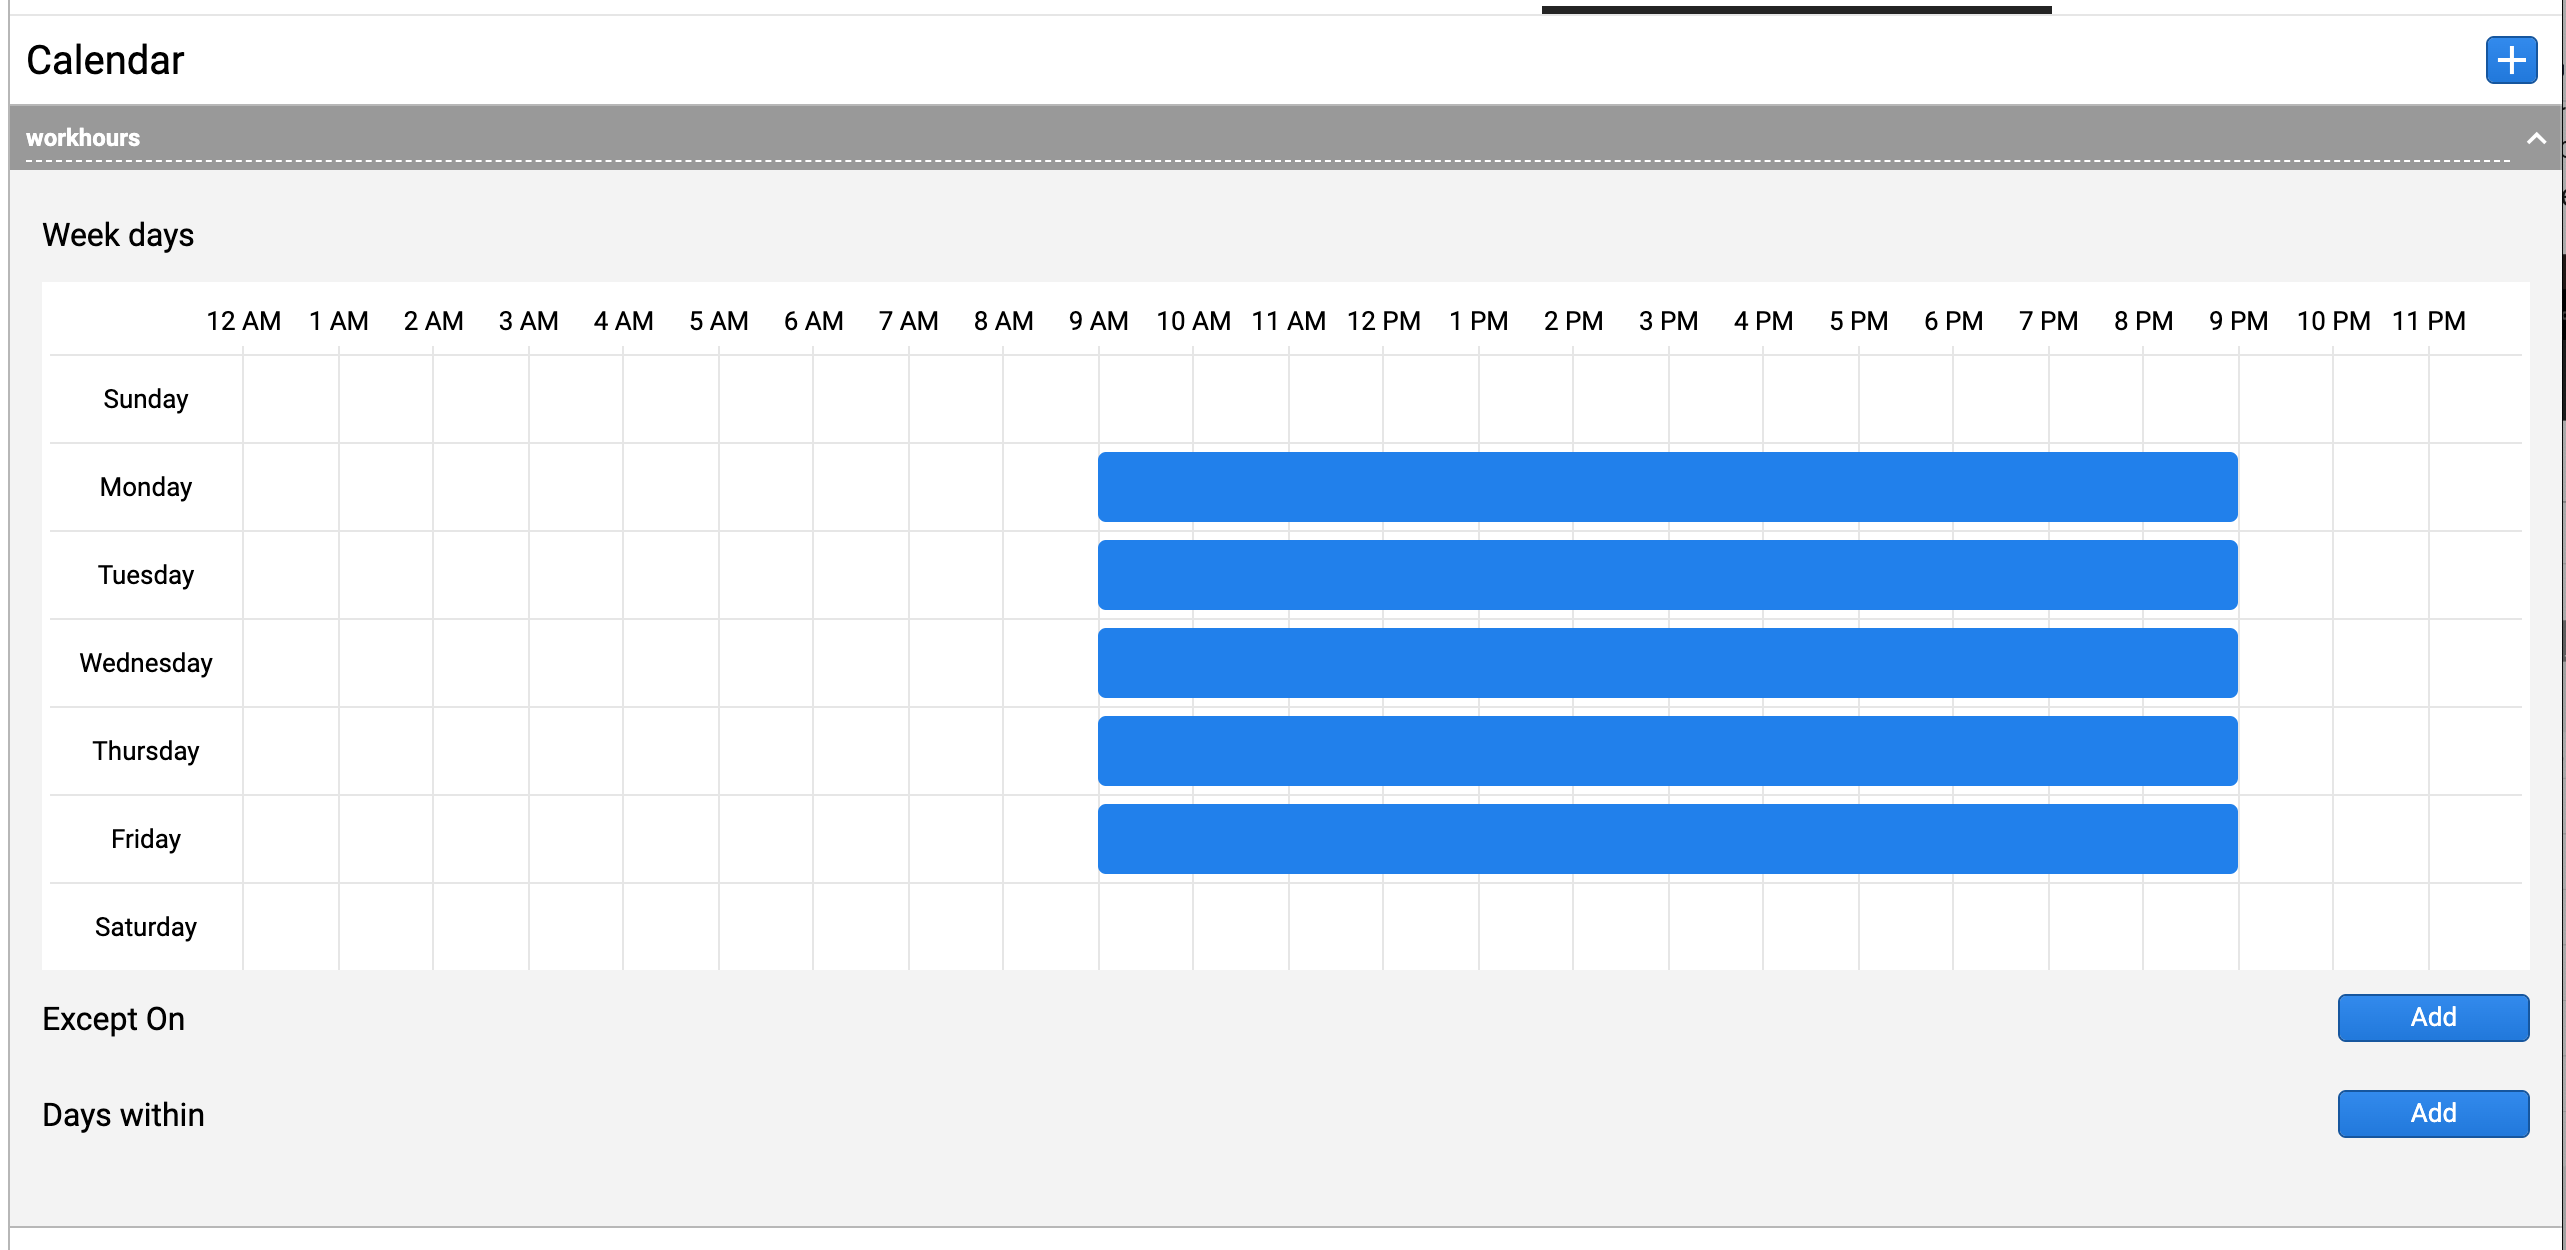
To set up the working hours for the remaining days, follow exactly the same procedure until your result looks like this:
Occasionally, you might need the calendar to behave differently on a specific day, for example, during a holiday. If that is the case, simply hit the “Add” button next to the Except On feature. This will allow you to override the calendar settings for specific days by selecting an exact date. In the example below, we have set it up so that every year on January 1st, regardless of what day it is, there will not be active working hours.
When you are finished setting up your calendar, hit the blue “Save” button at the top of the screen, type a reason for your edit of the voice application, hit save again, and you're all done. Your calendar is now ready.