To connect a new email account to Spinoco or to edit an existing account, select the "Settings" tab. If you do not see the Settings tab in the top tab bar selection, please contact your Spinoco administrator.
Select the mobile phone icon on the left-hand side of the Settings screen to get to the gateway settings screen.
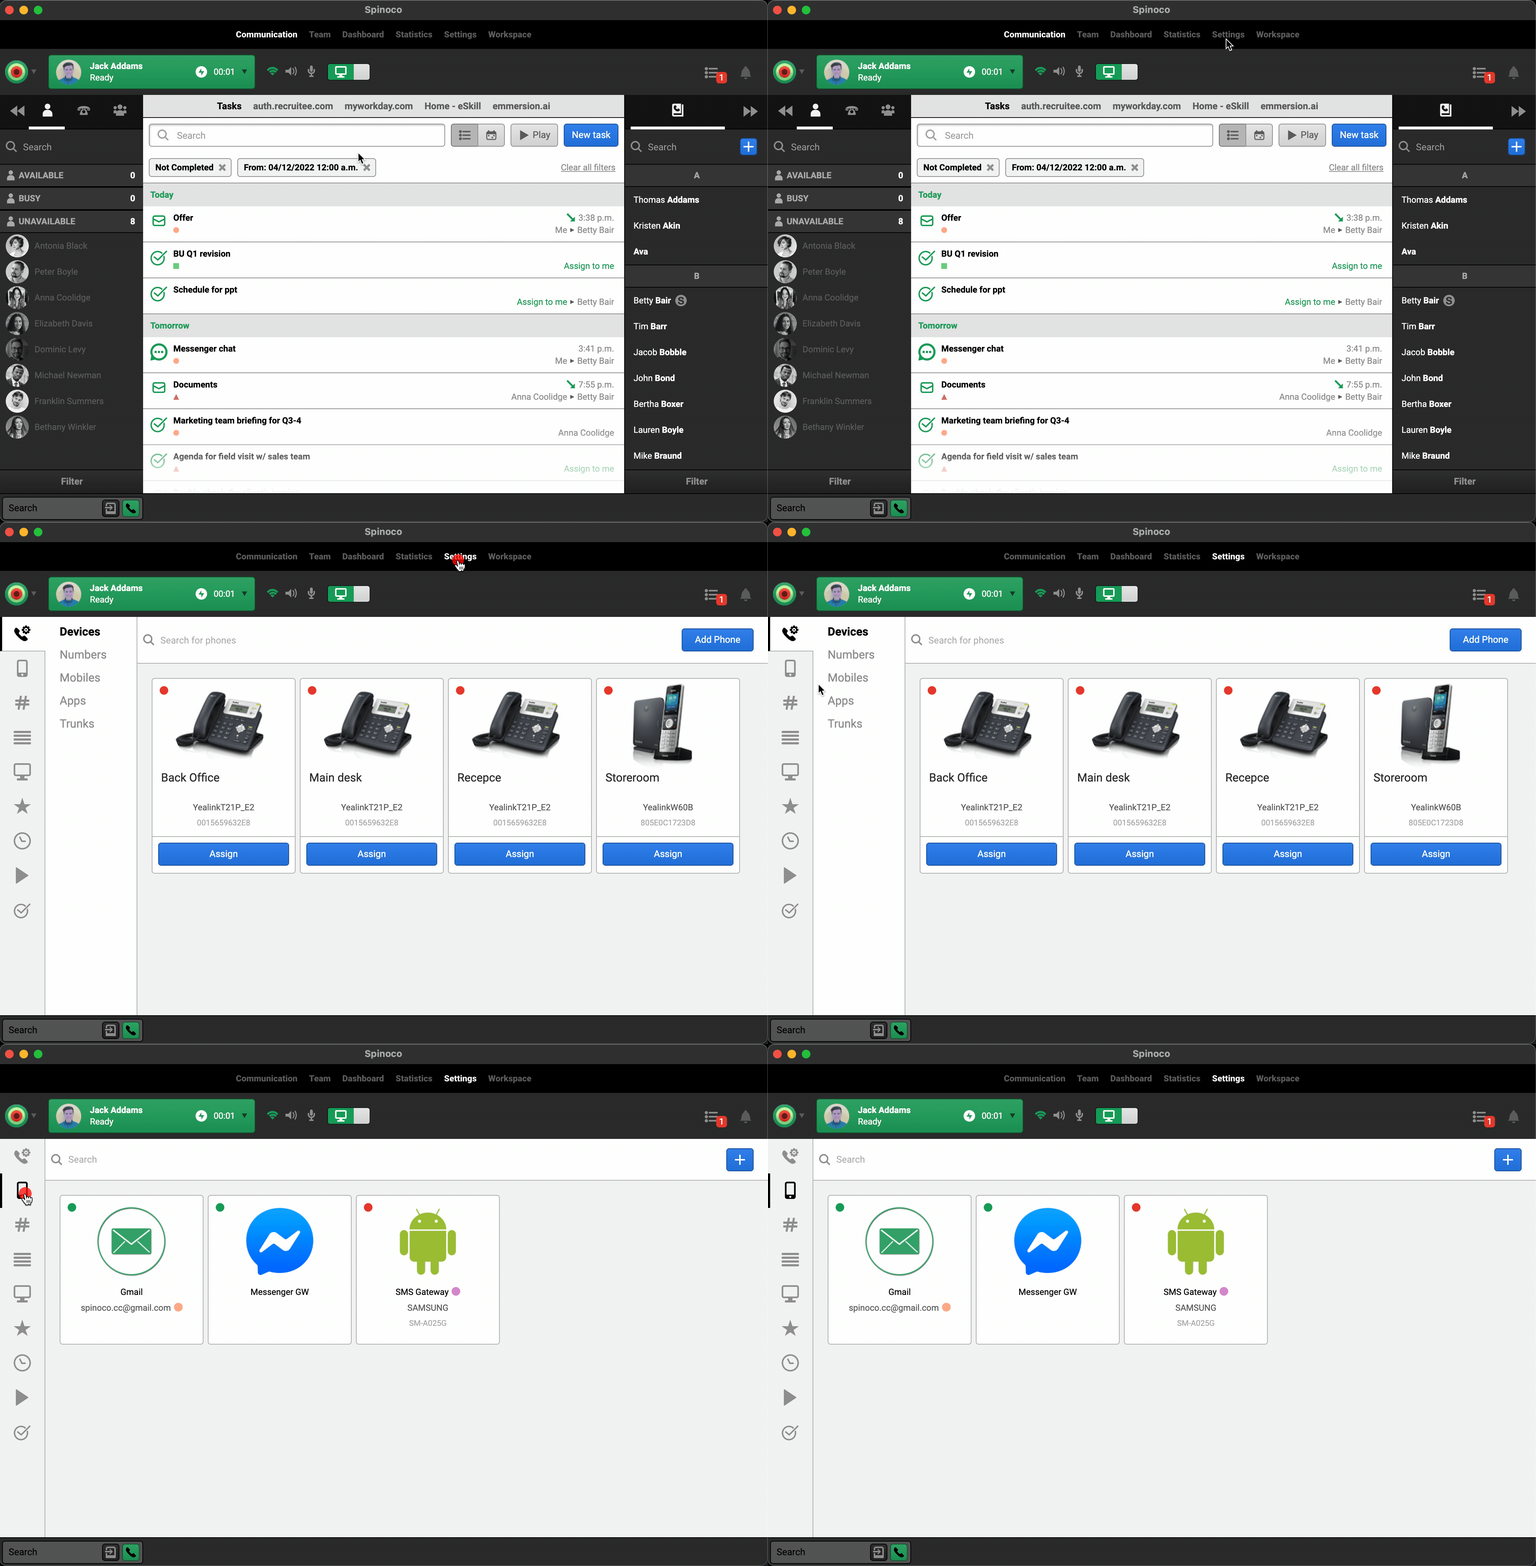
If you already have an email gateway available on this page, you can edit it straight away by clicking the pencil icon in its top right-hand corner.

If you do not have an existing email gateway yet, select the blue plus button at the top right of the screen. This will initiate the creation of a new Gateway.
In the editing dialog, you should give the gateway a name and enter your email server's SMTP and IMAP addresses and ports.
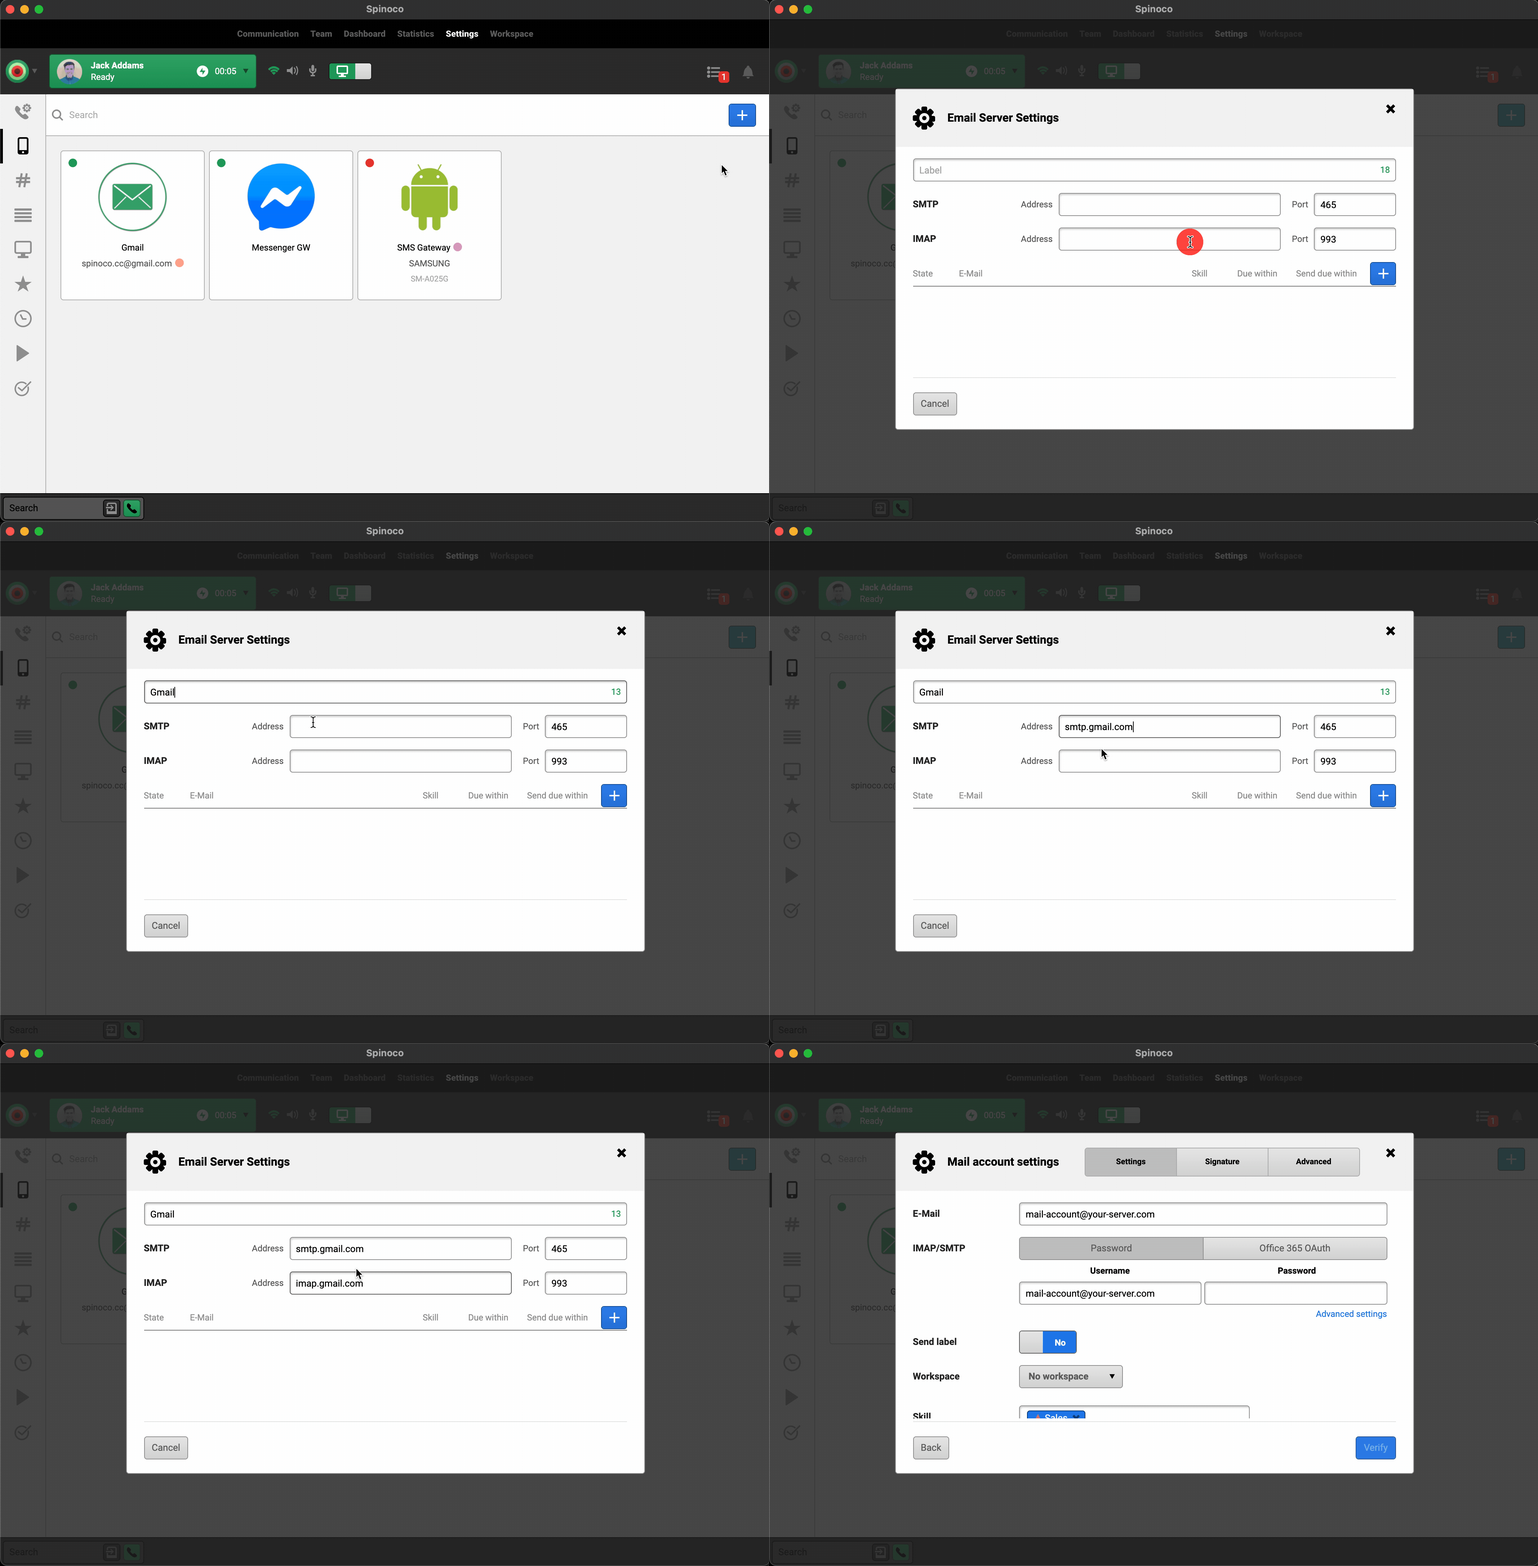 After clicking the plus button, select the Mail gateway option, and then you can add a specific email account for this mail server.
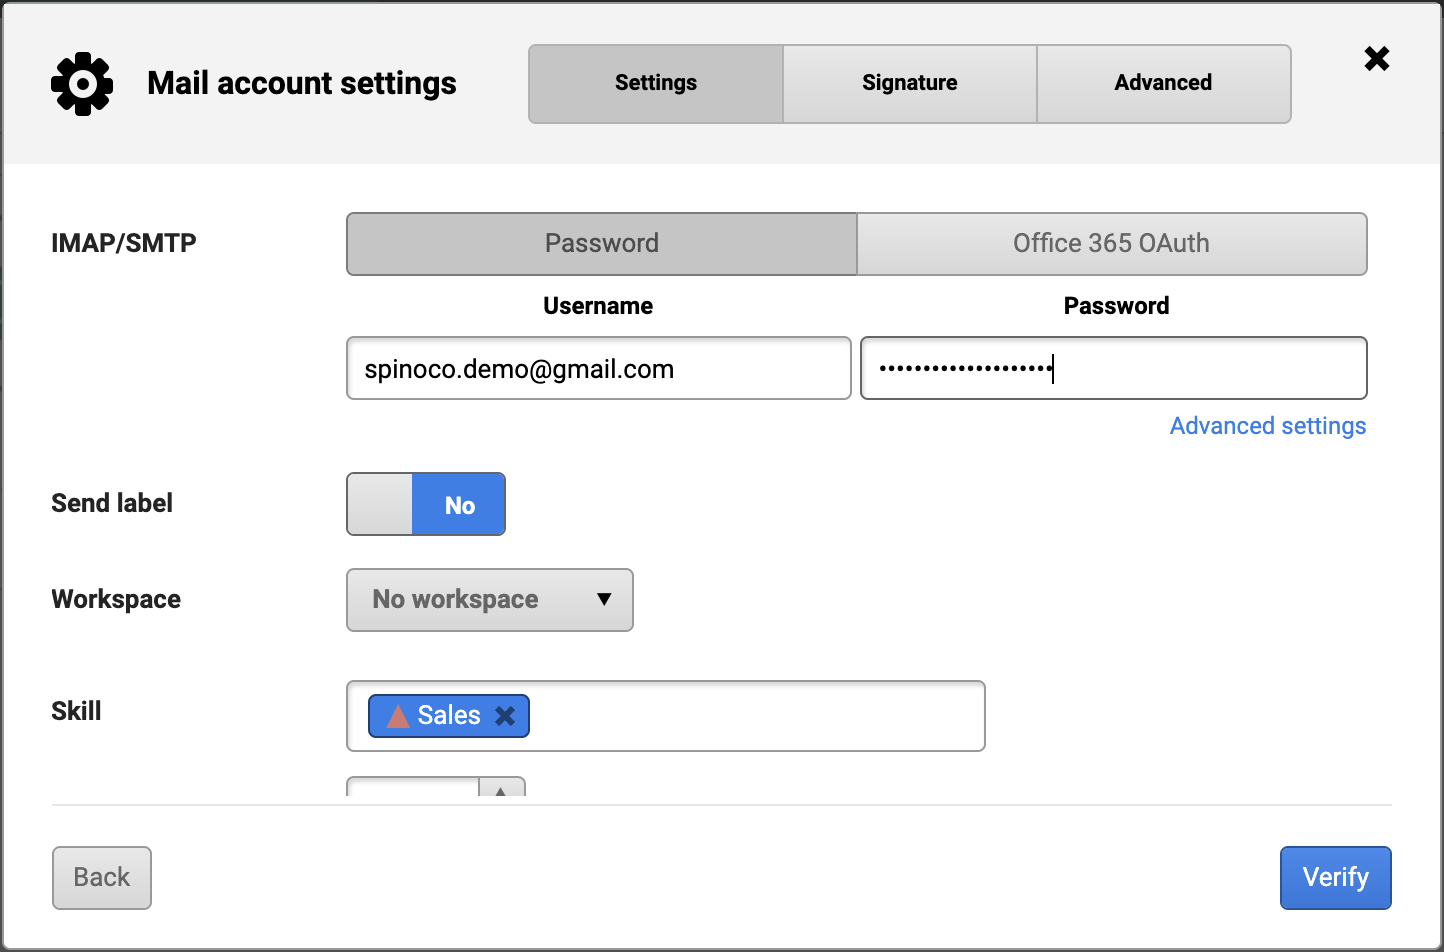
On the following screen, fill in relevant information about the email account - specifically, the username (email) and password. If you use Office 365, it is necessary to log in via the Office 365 OAuth, so please select this login option if that is the case. If you want the outgoing emails to be shown to recipients under a specific name (e.g., the team's name), select the "Send label" for the email account. If needed, select a workspace under which the requests from this email account should be assigned. Also, select the relevant skill which will be assigned to emails received through this account.
In further setting options, you can select the times for the due date of incoming and outgoing email tasks. You can also edit settings regarding automated assigning or offering of tasks.
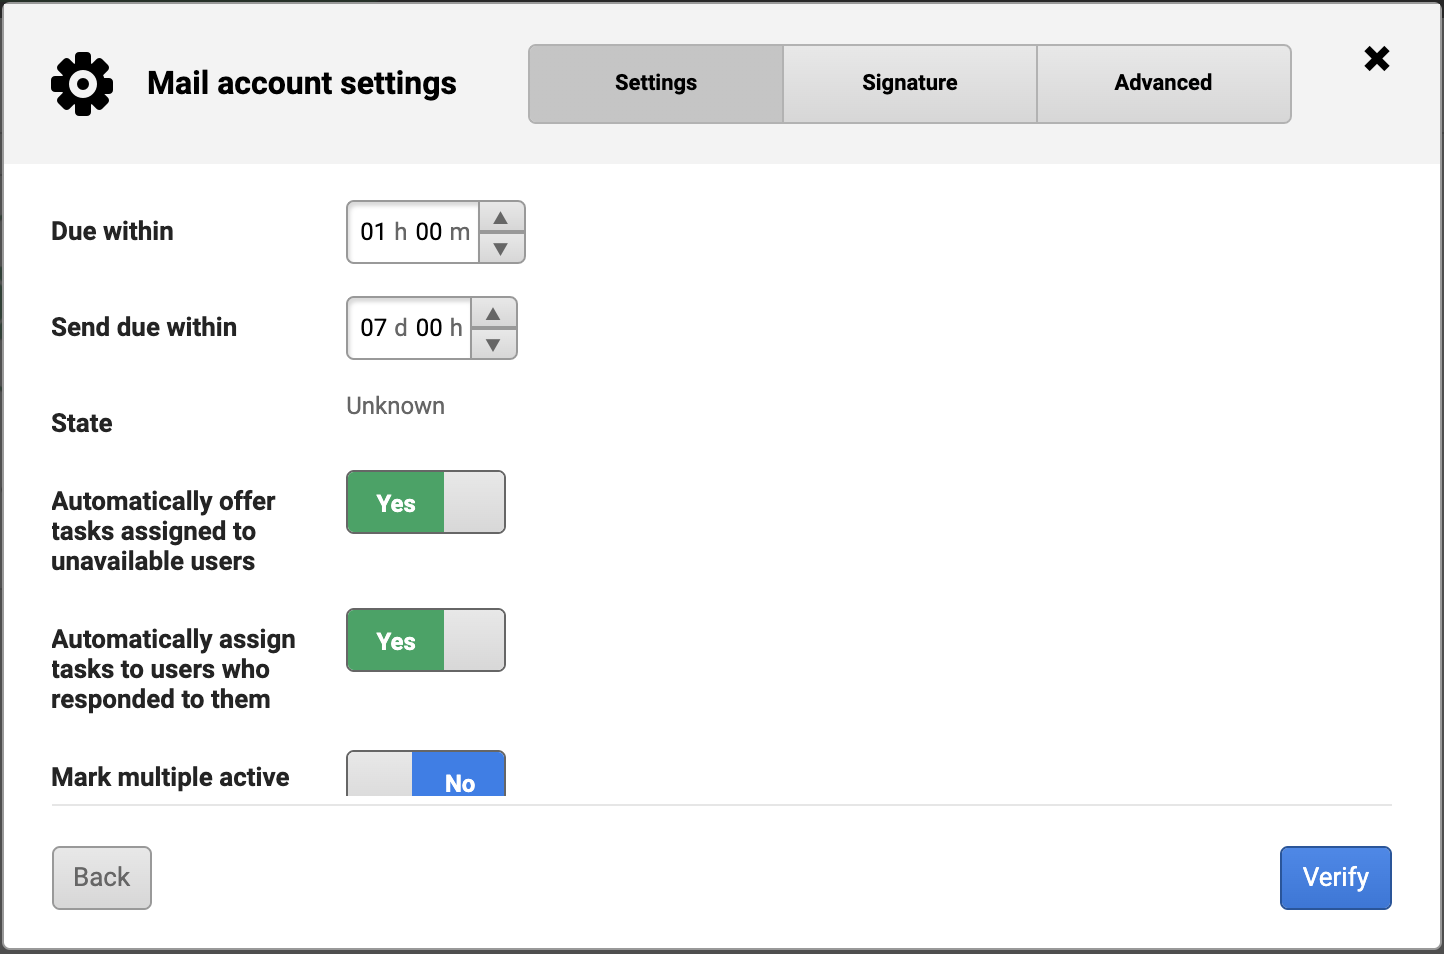
There is also the option to mark multiple active conversations with the same contact with a specific skill (to easily filter the clients who have multiple open requests with you), add a contact's skill to the email task, or automate email numbering.
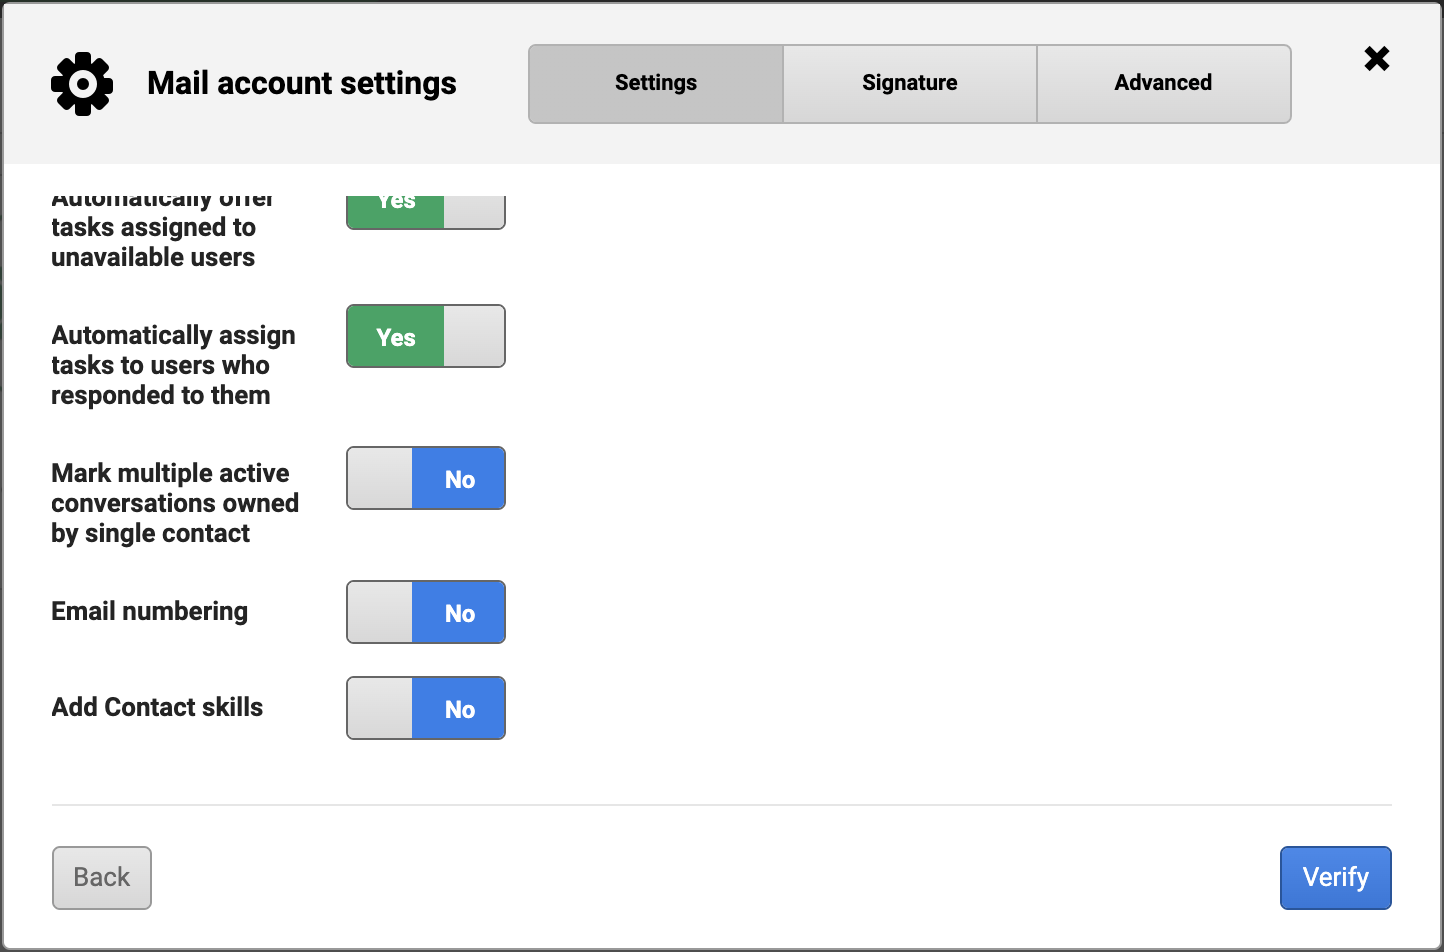
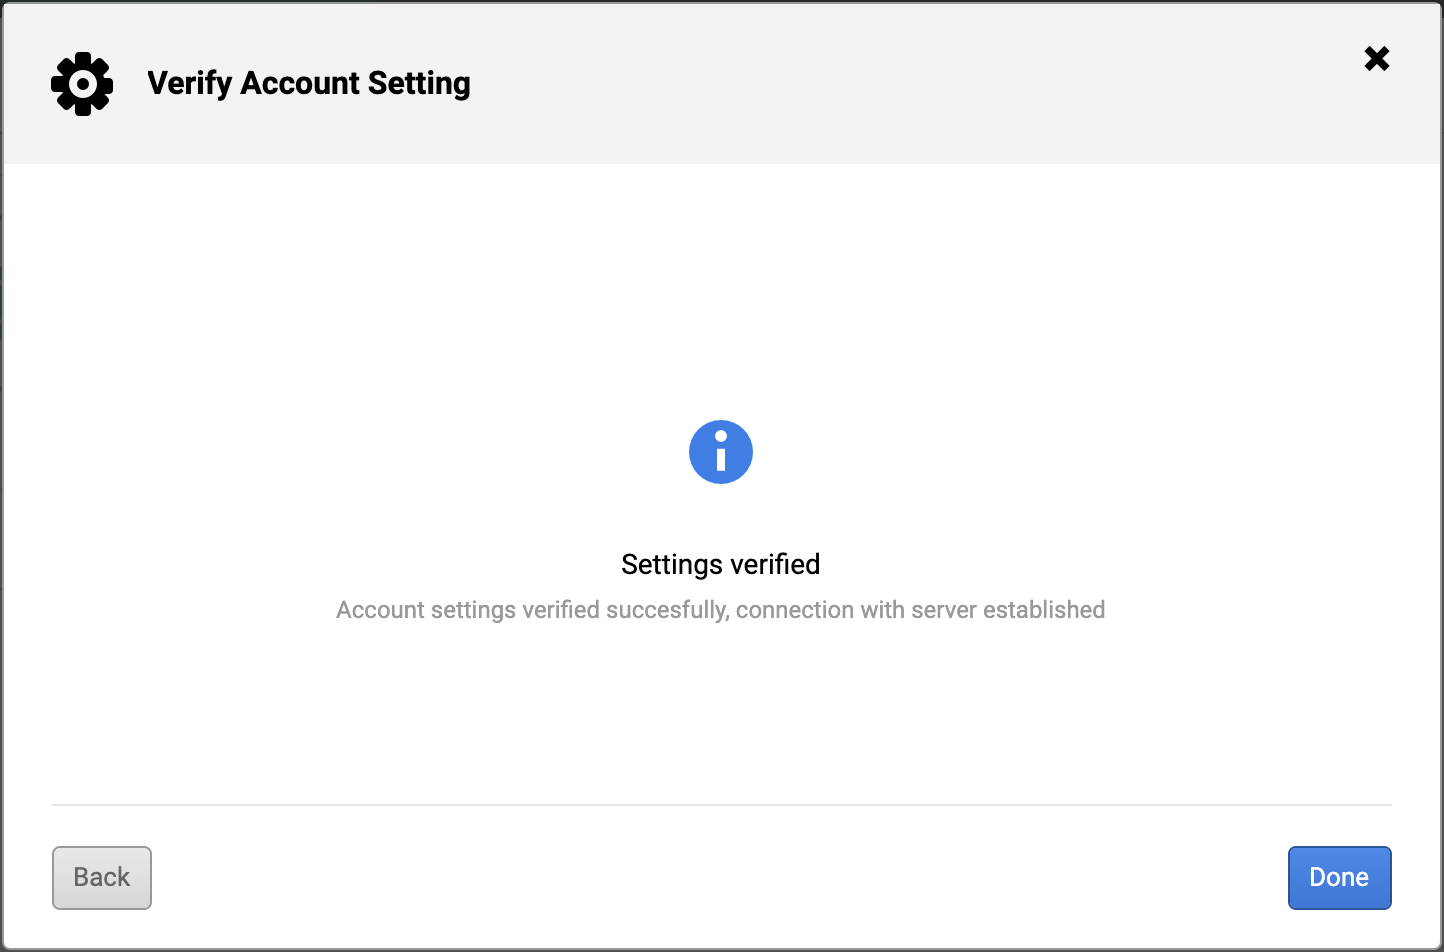
After filling in all the required information, press the "Verify" button in the bottom right corner of the dialog. In the next step, you will receive the confirmation that your settings were successfully verified, and you can confirm this by clicking the "Done" button.
The last step is to hit the "Save" button for the email gateway.
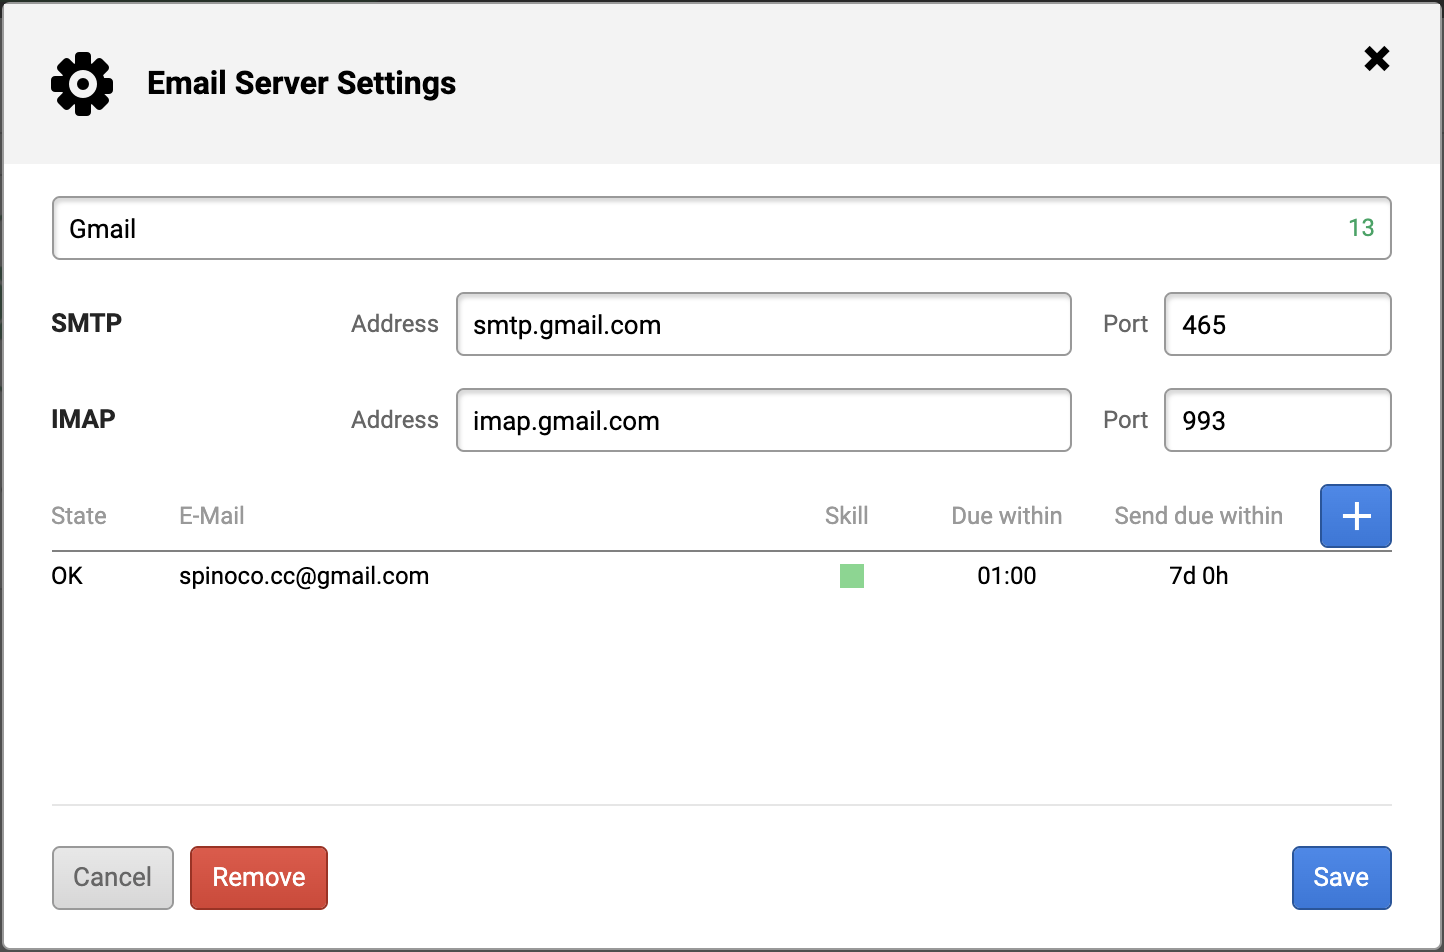
Once your email gateway is saved, your gateway is ready, and you can use your email account in Spinoco.