Your email gateway includes optional settings that give you more control over task routing, automated assignment, due dates, email numbering, and contact skill tagging. Use this guide to learn how to configure advanced settings for your mail account.
Once your email gateway is set up, access these settings:
- Select the Settings tab in the top navigation bar.
- Click the phone in the left sidebar to open Gateway Settings.
- Click the pencil on your mail gateway card to edit it.
- Click the pencil on your mail account to open the Mail account settings dialog.
Note: None of the settings in this guide are required for the gateway to function. They are tuning options for workflows and reporting.
Due dates for incoming and outgoing emails
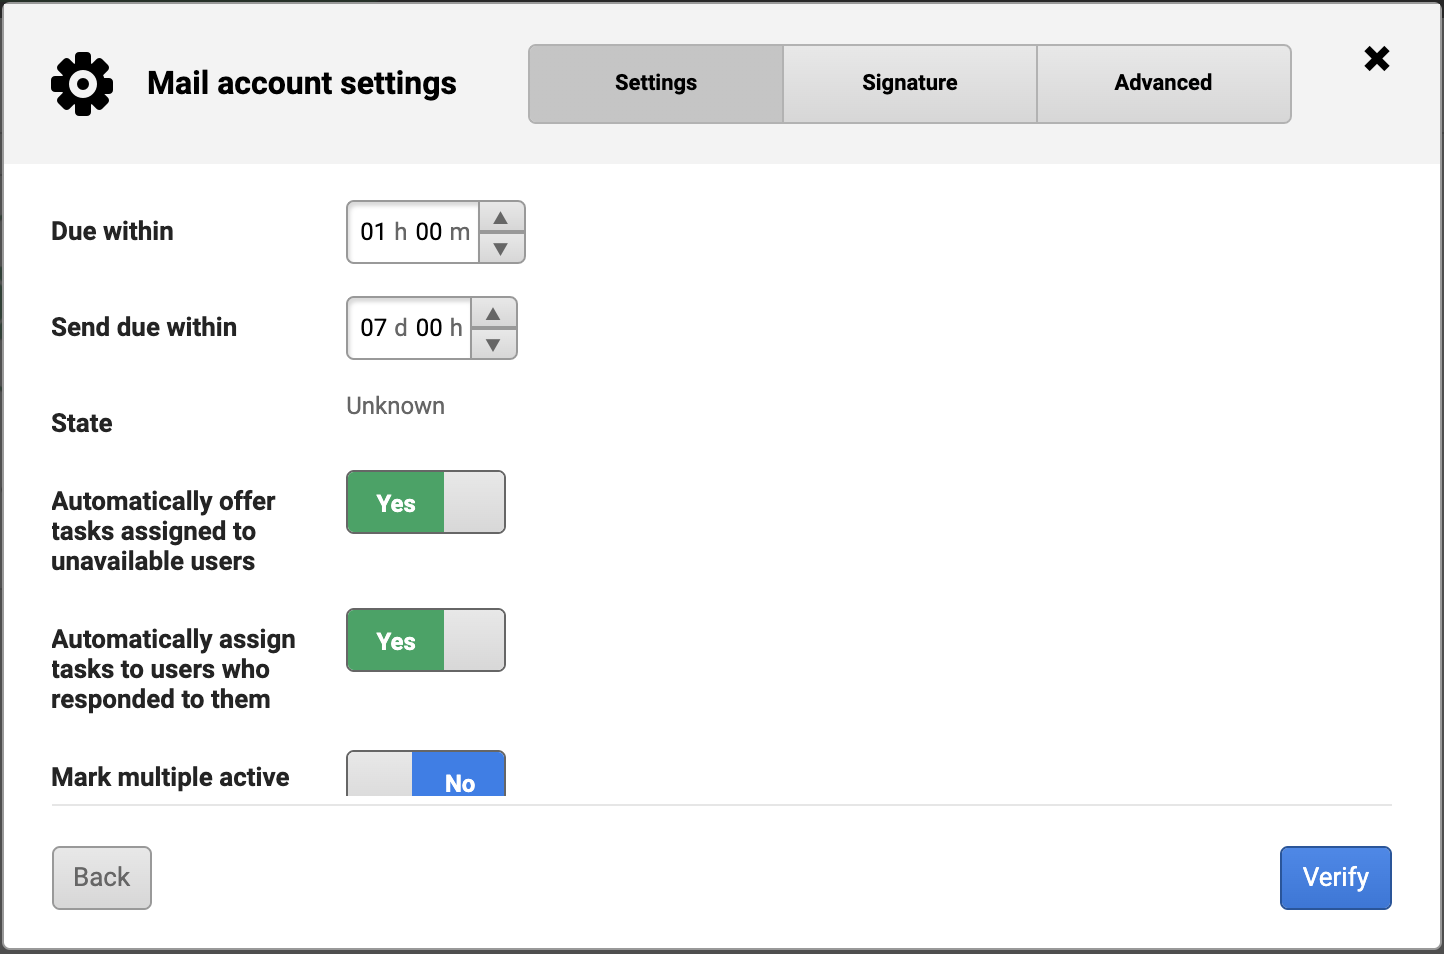
Under the Settings tab of the Mail account settings dialog, you can define time-based deadlines for email tasks:
- Due within — sets the time limit for responding to an incoming email task (default: 1 hour)
- Send due within — sets the time limit for outgoing tasks (default: 7 days)
These values determine when a task turns overdue in an agent's queue.
Automated task assignment and offering
Also under the Settings tab, you can control how email tasks are distributed to agents:
- Automatically offer tasks assigned to unavailable users — when enabled, tasks assigned to an unavailable agent are offered to other available agents
- Automatically assign tasks to users who responded to them — when enabled, subsequent replies in a thread are auto-assigned to the agent who last responded
Mark multiple active conversations, email numbering, and contact skills
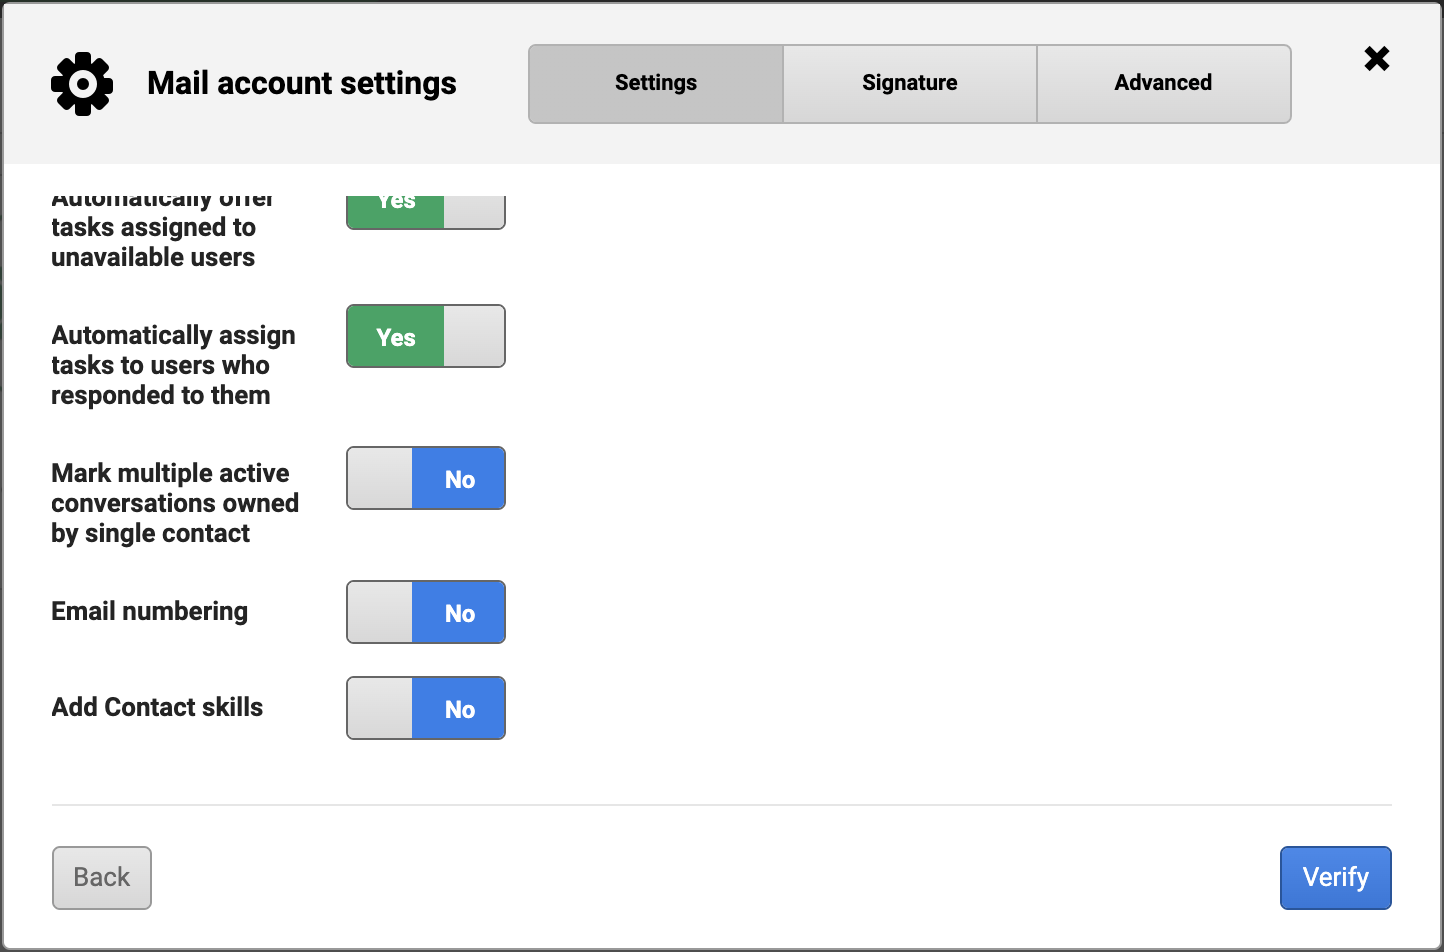
Further down the same screen, you will find three additional toggles:
- Mark multiple active conversations owned by single contact — when enabled, a skill tag is applied to any contact with more than one open conversation, making it easy to filter clients with multiple active requests
- Email numbering — when enabled, each incoming email task is automatically assigned a sequential reference number for tracking and referencing cases
- Add Contact skills — when enabled, the skill(s) associated with a contact's profile are automatically added to the email task created from their message
Once you done configuring your advanced settings, save your changes:
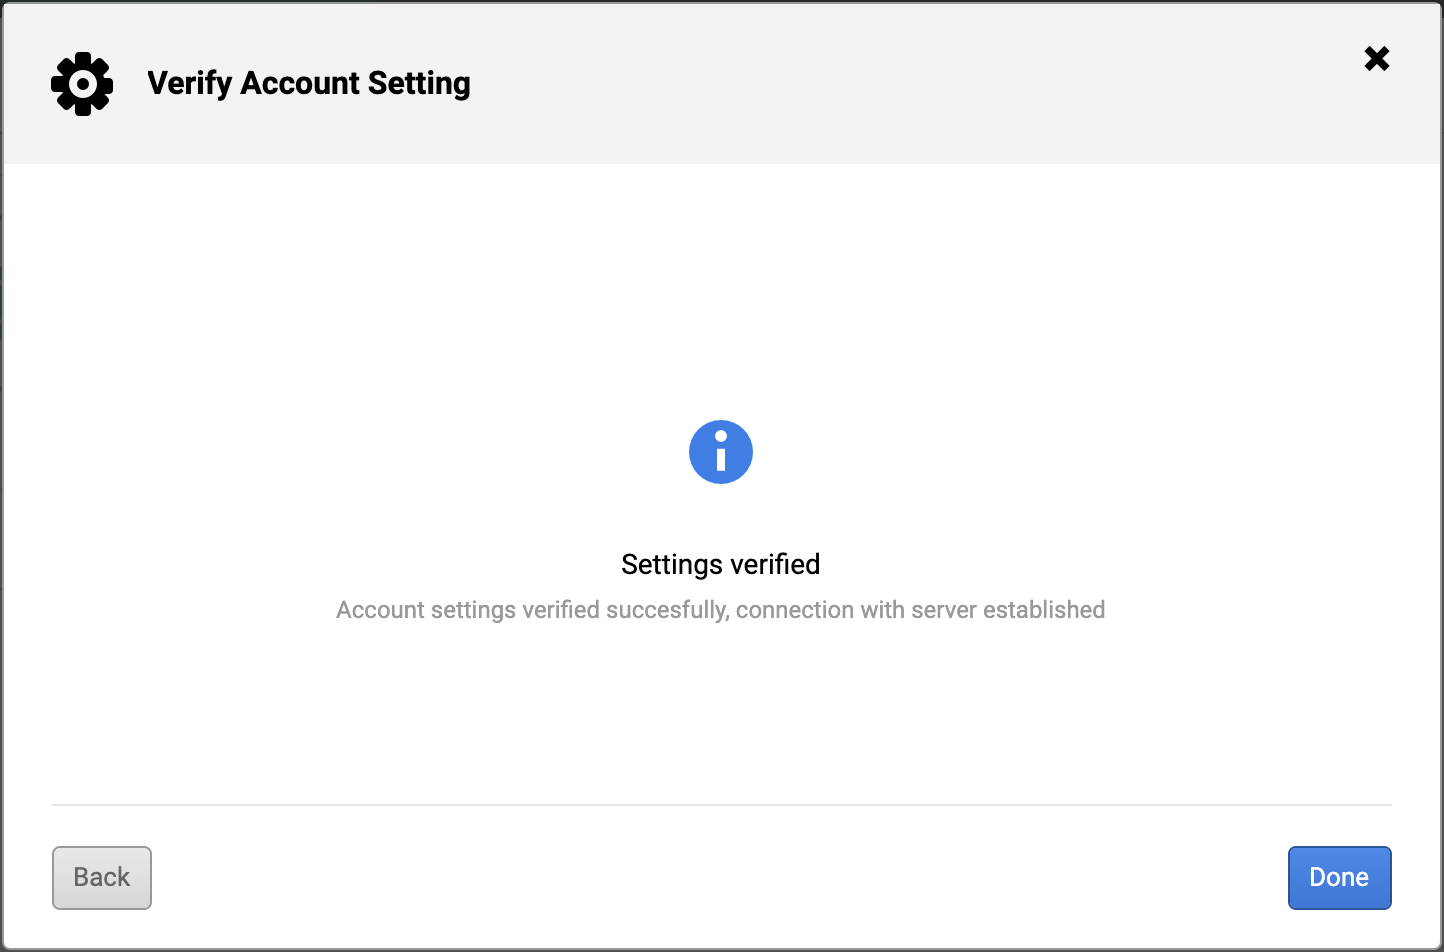
- Click Verify to re-validate the connection.
- Click Done, then click Save on the Email Server Settings screen to apply your changes.